Quick Start Guide
Installation Instructions
This Quick Start Guide describes how to install and configure your new QLogic host bus adapter in four simple steps:
■Step 1. Verify the package contents.
■Step 2. Install the adapter hardware.
■Step 3. Install the adapter driver.
■Step 4. Install the SANsurfer iSCSI HBA Manager application.
| Keep the host bus adapter in the antistatic bag until installation. The host bus adapter contains parts that can be |
| damaged by electrostatic discharge (ESD). Before handling the host bus adapter, use standard methods to discharge |
CAUTION! | static electricity. Place the host bus adapter on the bag when examining it. Retain the bag for future use. |
Step 1. Verify the Package Contents
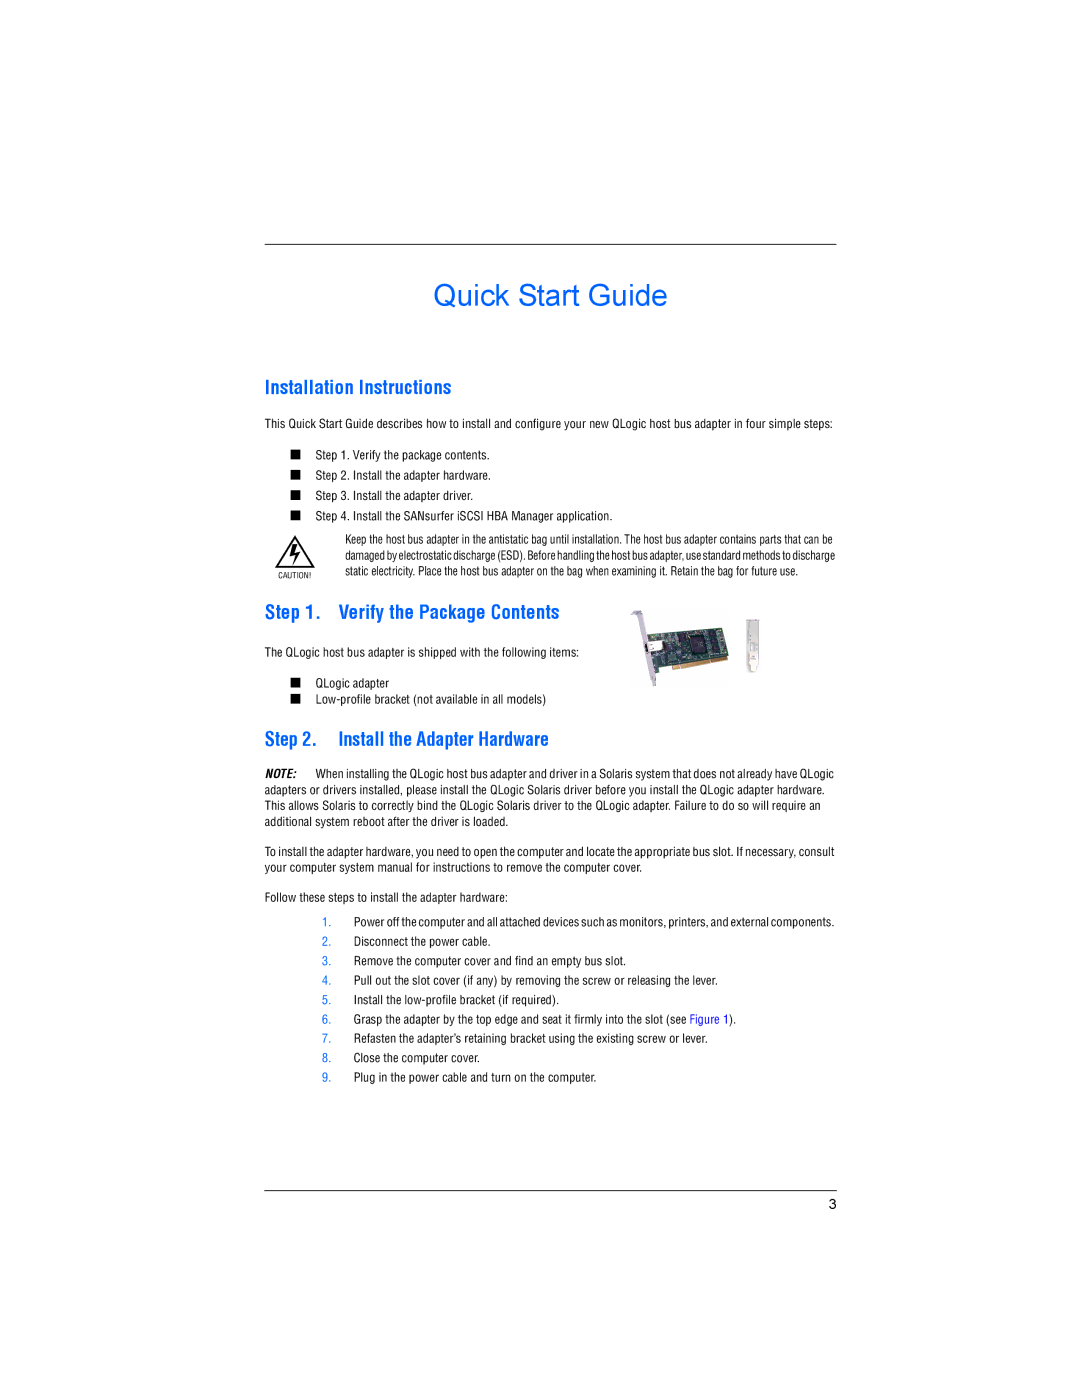
The QLogic host bus adapter is shipped with the following items:
■QLogic adapter
■
Step 2. Install the Adapter Hardware
NOTE: When installing the QLogic host bus adapter and driver in a Solaris system that does not already have QLogic adapters or drivers installed, please install the QLogic Solaris driver before you install the QLogic adapter hardware. This allows Solaris to correctly bind the QLogic Solaris driver to the QLogic adapter. Failure to do so will require an additional system reboot after the driver is loaded.
To install the adapter hardware, you need to open the computer and locate the appropriate bus slot. If necessary, consult your computer system manual for instructions to remove the computer cover.
Follow these steps to install the adapter hardware:
1.Power off the computer and all attached devices such as monitors, printers, and external components.
2.Disconnect the power cable.
3.Remove the computer cover and find an empty bus slot.
4.Pull out the slot cover (if any) by removing the screw or releasing the lever.
5.Install the
6.Grasp the adapter by the top edge and seat it firmly into the slot (see Figure 1).
7.Refasten the adapter’s retaining bracket using the existing screw or lever.
8.Close the computer cover.
9.Plug in the power cable and turn on the computer.
3