programming remote learn
You can program your controller with 2 to 8 codes used by your VCR’s remote control, and then set it so it transmits these codes to your VCR when a connected camera receives a PIR alert.
Place and point the VCR’s remote control window directly at the controller’s IR window within a distance of 30cm (1 foot).
Press and hold 6/AUTO/MANUAL/NEXT for
about two seconds. The controller beeps and the setup menu appears on the TV/monitor’s display.
Repeatedly press 6/AUTO/MANUAL/NEXT to select the Remote Learn on the menu. LEARN/ VCR flashes quickly. The remote learn function is activated, and the controller checks for IR codes. If it does not receive any IR codes after 10 seconds, the controller exits from remote learn mode and
LEARN/VCR turns off.
Press the key on your VCR’s remote control you want the controller to learn. If the controller learns the IR code, it beeps and OK appears on the display. LEARN/VCR flashes quickly if the controller is ready to learn the next command.
To exit the controller’s programming mode, repeatedly press AUTO/MANUAL/NEXT until the cursor moves next to Exit. Then press ![]() /VCR/
/VCR/
SET.
If you do not press another button on your remote control or if you try to program more than 8 VCR functions, the controller beeps and automatically exits from the Remote Learn mode after about 10 seconds.
Make sure you point your IR
Notes transmitter to the VCR’s sensor window directly. If your VCR does not
respond, please try again.
You can set the IR codes from 2 to 8.
ERR appears on the display when there is an error. The controller beeps for about two seconds and exits from the Remote Learn mode. Repeat step 3 to try again.
To test your learned code, press and hold ![]() /VCR/SET
/VCR/SET
setting the scan time
Your controller is preset to stay on each camera for a fixed period, and then switch to the next camera. To change the scan time, do the following:
Repeatedly press NEXT to select Scan Time.
Press SET to enter the setting into controller’s memory.
Proceed to other menu setting, or repeatedly press NEXT to select "Exit” to exit the menu mode.
setting the alarm time
You can set the time the alarm sounds between three and 30 seconds, in
Repeatedly press NEXT to select Alarm Time. Press SET to enter the setting into the controller’s memory.
Proceed to another menu setting, or repeatedly press NEXT to select Exit and exit the menu mode.
setting the recording time of the VCR
Use this menu to set the time period your VCR records when the PIR sensor is activated.
Repeatedly press NEXT to select Dwell Time. Press SET to enter the setting into the swichbox’s memory.
Proceed to other menu setting or repeatedly press NEXT to select Exit and exit the menu mode.
For operation with the VCR, see Setting Your VCR to Record.
setting the clock
Set the
Repeatedly press NEXT to select Set Clock.
Repeatedly press SELECT to choose 12 hour or 24 hour format. Then, repeatedly press SET until the correct month appears.
Press SELECT repeatedly to choose date, year,
setting your VCR to record
Press ![]() /VCR/SET to enter VCR mode. LEARN/VCR lights.
/VCR/SET to enter VCR mode. LEARN/VCR lights.
The controller starts recording when it receives a signal from avcamera. Recording flashes on the upper right corner of the display.
LEARN/VCR flashes slowly and the controller begins to record the camera signals. A triggered signal during the recording may be ignored.
When record time is finished, the controller automatically stops recording. Recording disappears from the display.
The VCR mode is still activated, and the controller will automatically record again when the triggered signal is received the next time.
You must select the camera channel(s) to record,
and make sure the channels are connected Notes to cameras. The corresponding channels’ PIR
function must be set to ON in the setup menu first.
using the N/O, N/C trigger mode
The N/O and N/C terminal will be triggered when it receives a triggered signal from a camera and the controller alarms at the same time. The triggering period corresponds to the alarm time by the setting in the Setup menu.
N/O and N/C terminals
using the scan function
The controller is preset to automatically scan all connected cameras for three seconds.
Press 6/AUTO/MANUAL/NEXT to toggle between
In the
4/CAM/SELECT/SELECT to select camera channels 1 to
4.The corresponding channel indicator lights when you select the channel.
This equipment has been tested and found to comply with the limits for a Class B digital device, pursuant to Part 15 of the FCC Rules. These limits are designed to provide reasonable protection against harmful interference in a residential installation. This equipment generates, uses, and can radiate radio frequency energy and, if not installed and used in accordance with the instructions, may cause harmful interference to radio communications. However, there is no guarantee that interference will not occur in a particular installation. If this equipment does cause harmful interference to radio or television reception, which can be determined by turning the equipment off and on, the user is encouraged to try to correct the interference by one or more of the following measures:
•Reorient or relocate the receiving antenna.
•Increase the separation between the equipment and receiver.
•Connect the equipment into an outlet on a circuit different from that to which the receiver is connected.
Consult your local RadioShack store or an experienced radio/TV technician for help.
If you cannot eliminate the interference, the FCC requires that you stop using your phone. Changes or modifications not expressly approved by RadioShack may cause interference and void the user’s authority to operate the equipment.
Keep the controller dry; if it gets wet, wipe it dry immediately. Use and store the controller only in normal temperature environments. Handle the controller gently and carefully. Do not drop it. Keep the controller away from dust and dirt, and wipe it with a damp cloth occasionally to keep it looking new. Modifying or tampering with controller’s internal components can cause a malfunction and might invalidate its warranty. If your controller is not performing as it should, take it to your local RadioShack store for assistance.
for about two seconds. The controller immediately sends out the IR command to the VCR.
©2004. RadioShack Corporation. |
|
All rights reserved. RadioShack and | |
RadioShack.com are trademarks | 06A04 |
used by RadioShack Corporation. | Printed in China |
hour, minute and press SET to set the correct digit.
Proceed to another menu setting, or repeatedly press NEXT to select Exit and exit the menu mode.
using the intercom
You can talk with the person near a camera using the intercom function. To talk to someone near a camera, press and hold INTERCOM on the controller. Speak into the controller. To listen to the person from your TV or monitor speaker, release
INTERCOM.
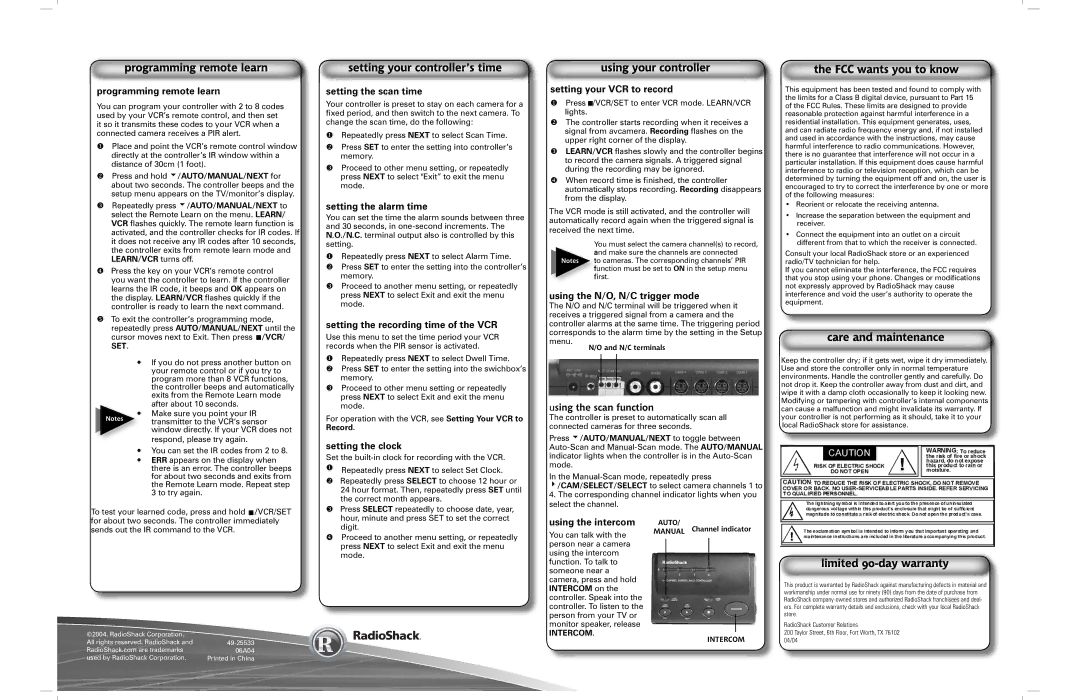
AUTO/
MANUAL Channel indicator
INTERCOM
This product is warranted by RadioShack against manufacturing defects in material and workmanship under normal use for ninety (90) days from the date of purchase from RadioShack
RadioShack Customer Relations
200 Taylor Street, 6th Floor, Fort Worth, TX 76102 04/04