Do not place speakers where they might be knocked over or exposed to falling objects.

Center-Channel Speaker

The center channel output contains the majority of the dialogue and sound that comes from on-screen action. Therefore, you should place the center-channel speaker as close as possible to the television, either just above or below the screen. Place the front edge of the center- channel speaker grille flush with the edge of the television.

Note: The center-channel speaker is magnetically shielded to prevent interference with your television’s picture when used on the supplied stand.

Attaching the Speaker Stand

Thread the supplied thumbscrew through the hole in the bracket and into the screw hole in the back of the speaker (make sure the notches in the bracket face inward, toward the speaker). Do not tighten it.

BracketThumbscrew

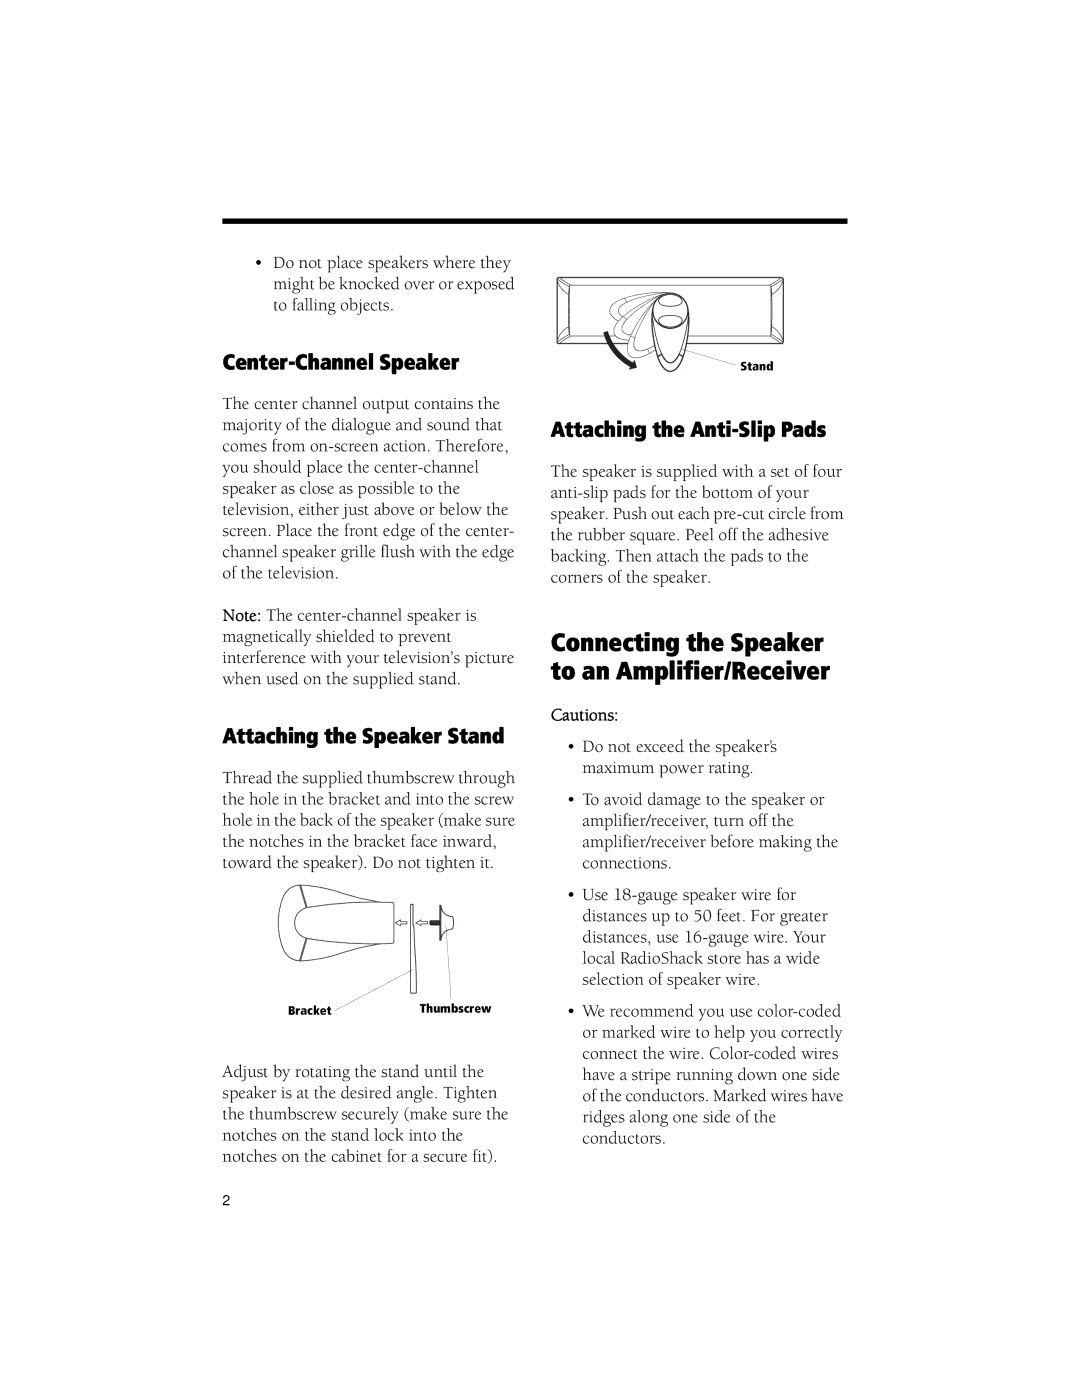
Adjust by rotating the stand until the speaker is at the desired angle. Tighten the thumbscrew securely (make sure the notches on the stand lock into the notches on the cabinet for a secure fit).

Stand

Attaching the Anti-Slip Pads

The speaker is supplied with a set of four anti-slip pads for the bottom of your speaker. Push out each pre-cut circle from the rubber square. Peel off the adhesive backing. Then attach the pads to the corners of the speaker.

Connecting the Speaker to an Amplifier/Receiver

Cautions:

Do not exceed the speaker’s maximum power rating.

To avoid damage to the speaker or amplifier/receiver, turn off the amplifier/receiver before making the connections.

Use 18-gauge speaker wire for distances up to 50 feet. For greater distances, use 16-gauge wire. Your local RadioShack store has a wide selection of speaker wire.

We recommend you use color-coded or marked wire to help you correctly connect the wire. Color-coded wires have a stripe running down one side of the conductors. Marked wires have ridges along one side of the conductors.

2

Page 2
Image 2
Radio Shack PRO-LS200 manual Connecting the Speaker to an Amplifier/Receiver