SCR-64 specifications
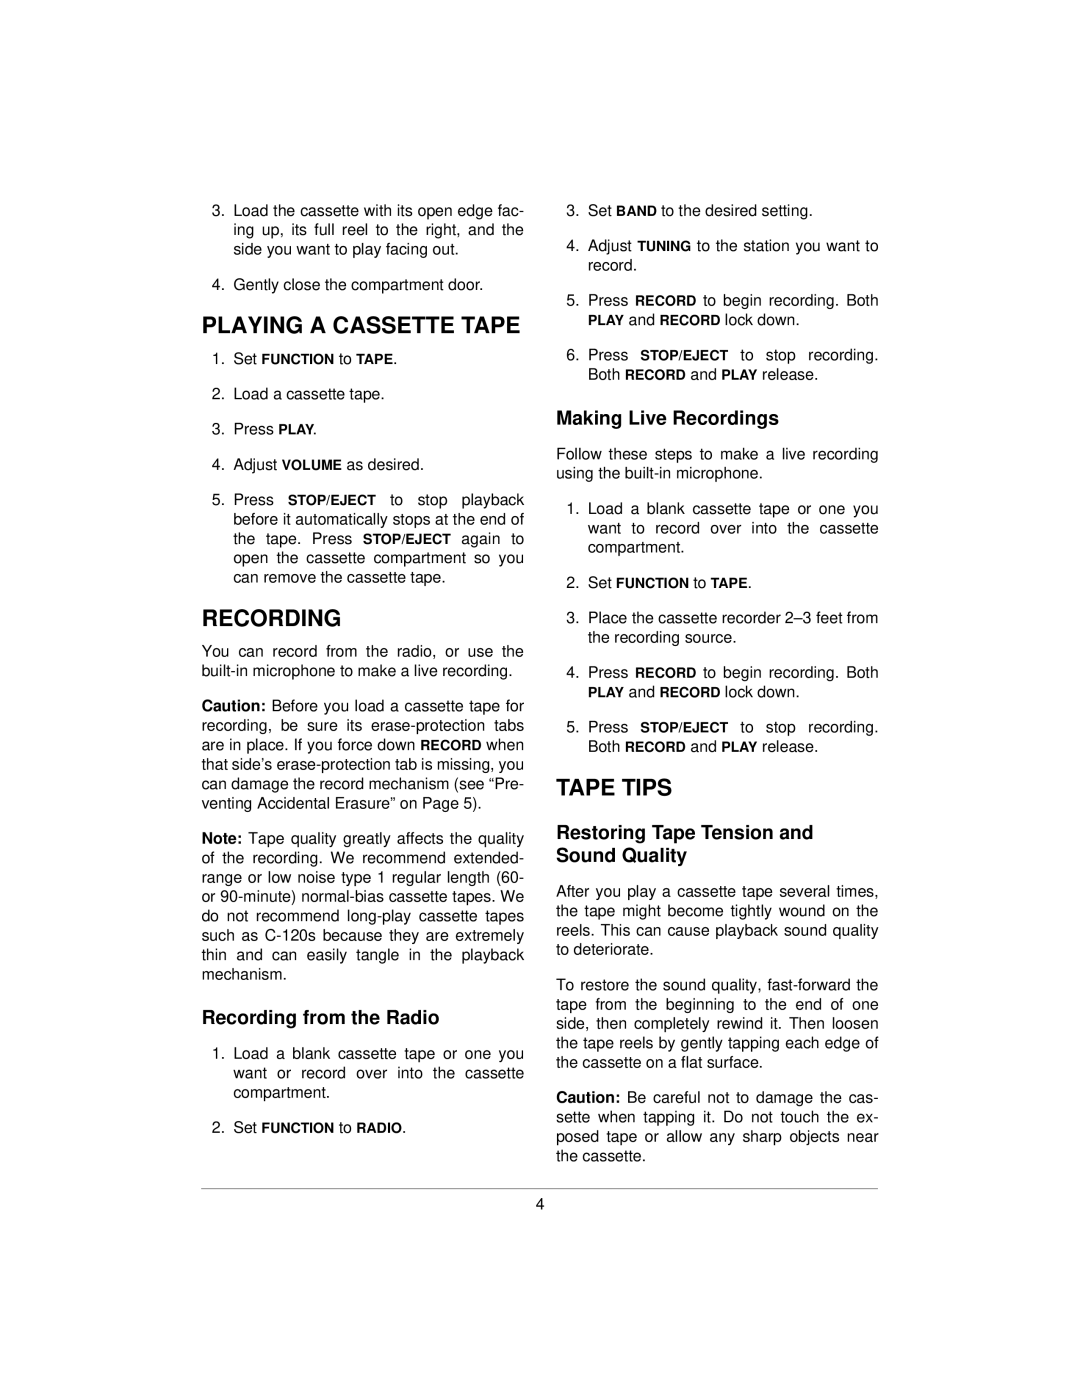
The Radio Shack SCR-64 was a compact and versatile shortwave radio receiver that gained popularity among enthusiasts during the late 1970s and early 1980s. It was well-regarded for its portability, ease of use, and robust performance, making it an ideal choice for both novice and experienced users interested in exploring the shortwave spectrum.One of the standout features of the SCR-64 was its broad frequency coverage. It was capable of receiving signals across several frequency bands, typically ranging from 1.6 MHz to 30 MHz, enabling users to tune into a diverse array of stations broadcasting from around the world. This wide range of capabilities made the SCR-64 an excellent tool for listening to international news, amateur radio, and various cultural programs.
The SCR-64 incorporated analog tuning, allowing users to manually select frequencies using a dial. While some modern radios have shifted towards digital displays, the analog dial found on the SCR-64 offered a tactile experience that many old-school radio enthusiasts appreciated. The design facilitated precision tuning, allowing users to fine-tune the reception of distant signals with ease.
Additionally, the SCR-64 boasted a built-in telescopic antenna that significantly improved signal reception. This portable feature ensured that users could easily adjust the antenna's length and angle for optimal listening, particularly in areas with high levels of radio interference. An external antenna jack was also available, enabling enthusiasts to connect more powerful antennas for enhanced reception capabilities.
The radio's user-friendly layout included a simple control panel with clear labeling for volume and tone adjustments. It prioritized an intuitive experience, allowing users to focus on the excitement of discovering new broadcasts rather than getting bogged down by complicated settings.
Powering the SCR-64 was another practical consideration. It operated on regular batteries, making it easily usable in remote locations without access to electrical outlets. Its lightweight design further contributed to its portability, making it a popular choice for travelers and outdoor enthusiasts.
In summary, the Radio Shack SCR-64 was a well-balanced shortwave receiver with impressive features for its time. Its broad frequency range, analog tuning, built-in antenna, and portability made it a cherished option for anyone interested in the world of radio communication. Though technology has advanced significantly since its release, the SCR-64 remains a nostalgic symbol of radio listening culture, continuing to spark interest among collectors and vintage radio aficionados today.
