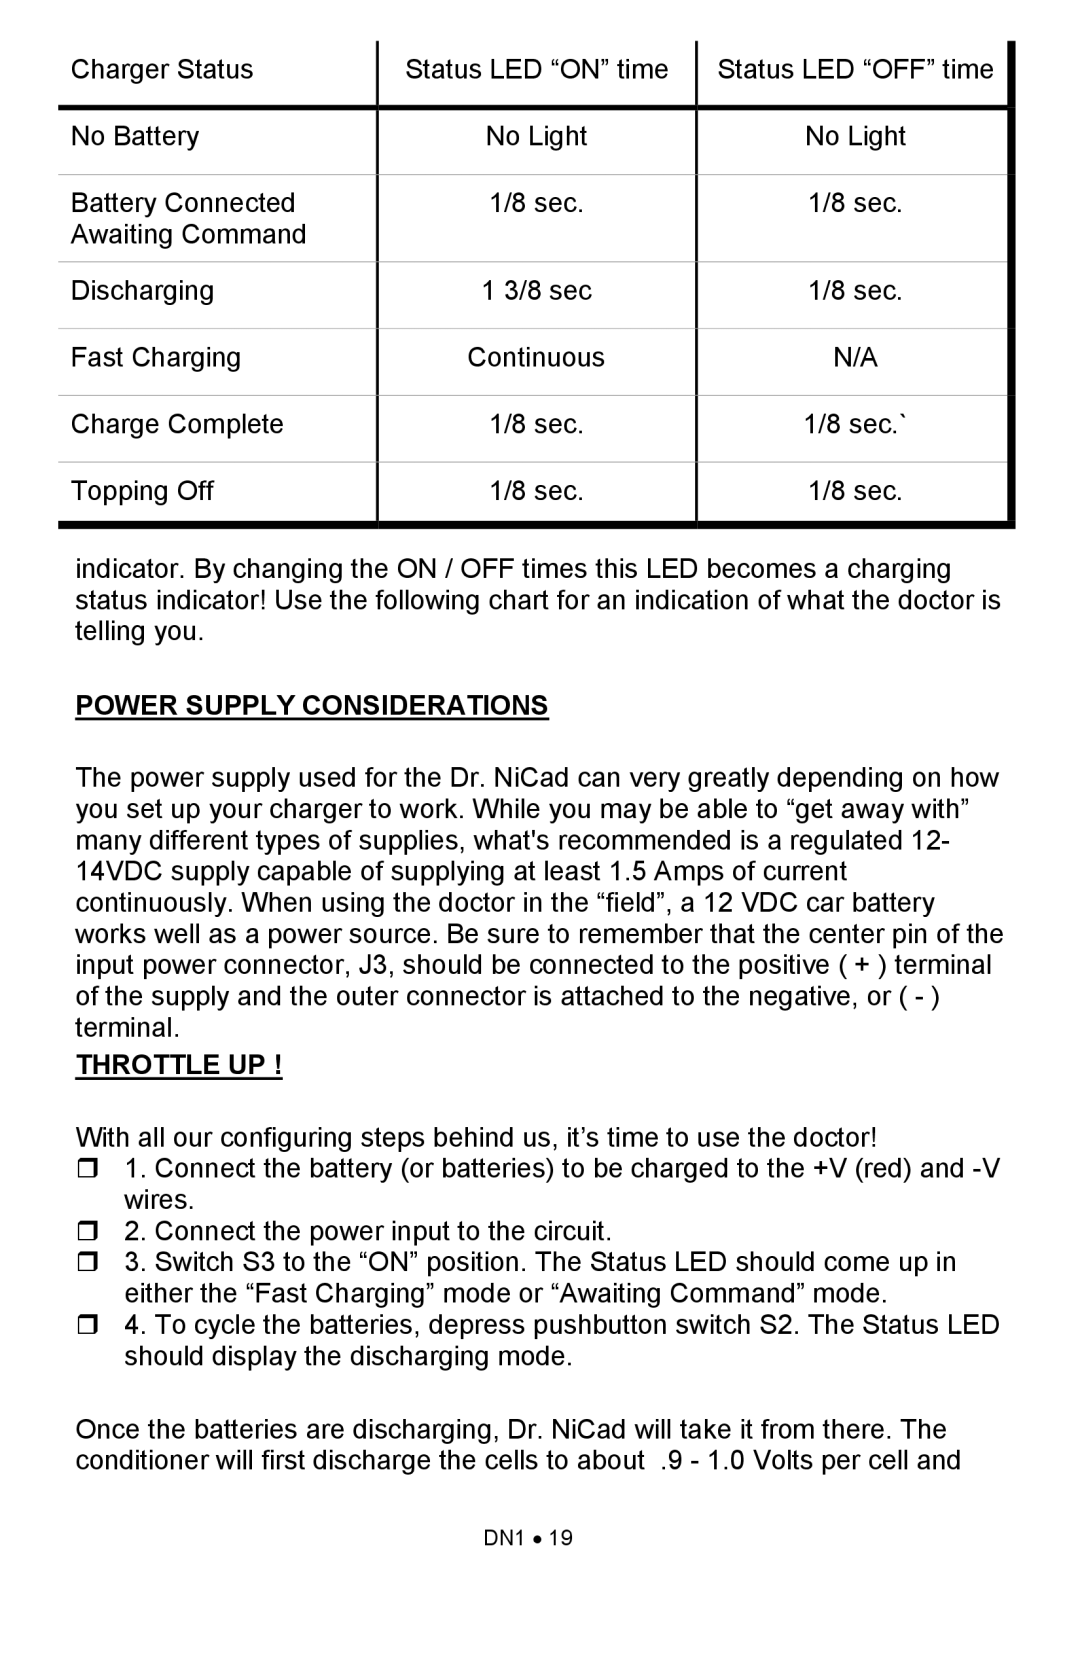
DN1 specifications
Ramsey Electronics DN1 is a versatile and compact digital audio transmitter that caters to a variety of audio transmission needs. It is designed for hobbyists, educators, and DIY enthusiasts looking to create their own wireless audio systems. The DN1 offers a reliable solution for transmitting audio signals over short distances without the clutter of wires.One of the main features of the DN1 is its ability to transmit audio in the FM band, which provides clear sound quality and minimizes interference. The device operates at a frequency range of 88 to 108 MHz, allowing users to choose the optimal frequency for their specific environment. This adaptability makes it suitable for applications like personal broadcasting, classrooms, or small events.
The DN1 is equipped with a simple-to-use interface, featuring adjustable audio input levels and an LED indicator for power and modulation status. It supports both mono and stereo audio inputs, making it a flexible option for various audio sources. Users can connect the transmitter to devices such as audio players, microphones, or computers, which allows for seamless integration into existing setups.
Another significant characteristic of the DN1 is its compact and lightweight design, making it easy to transport and mount in different locations. Its robust construction ensures durability, making it ideal for both indoor and outdoor use. This makes the DN1 an excellent choice for users who need a portable solution for DIY projects or presentations.
The device operates on a low-power consumption model, which is not only environmentally friendly but also cost-effective. It can be powered by a standard 9V battery or an external power supply, adding to its convenience and versatility.
In terms of performance, the DN1 boasts a transmission range of several hundred feet in optimal conditions, ensuring that audio signals remain strong and consistent even in larger areas. This range, combined with its ease of use, makes it an appealing option for those looking to broadcast audio without the limitations of wired connections.
Overall, Ramsey Electronics DN1 stands out as an innovative transmitter that brings together user-friendly features, excellent audio quality, and practical design. Whether for personal use, educational purposes, or event hosting, the DN1 meets the demands of modern audio transmission needs, allowing users to experiment and expand their audio capabilities with ease.

