
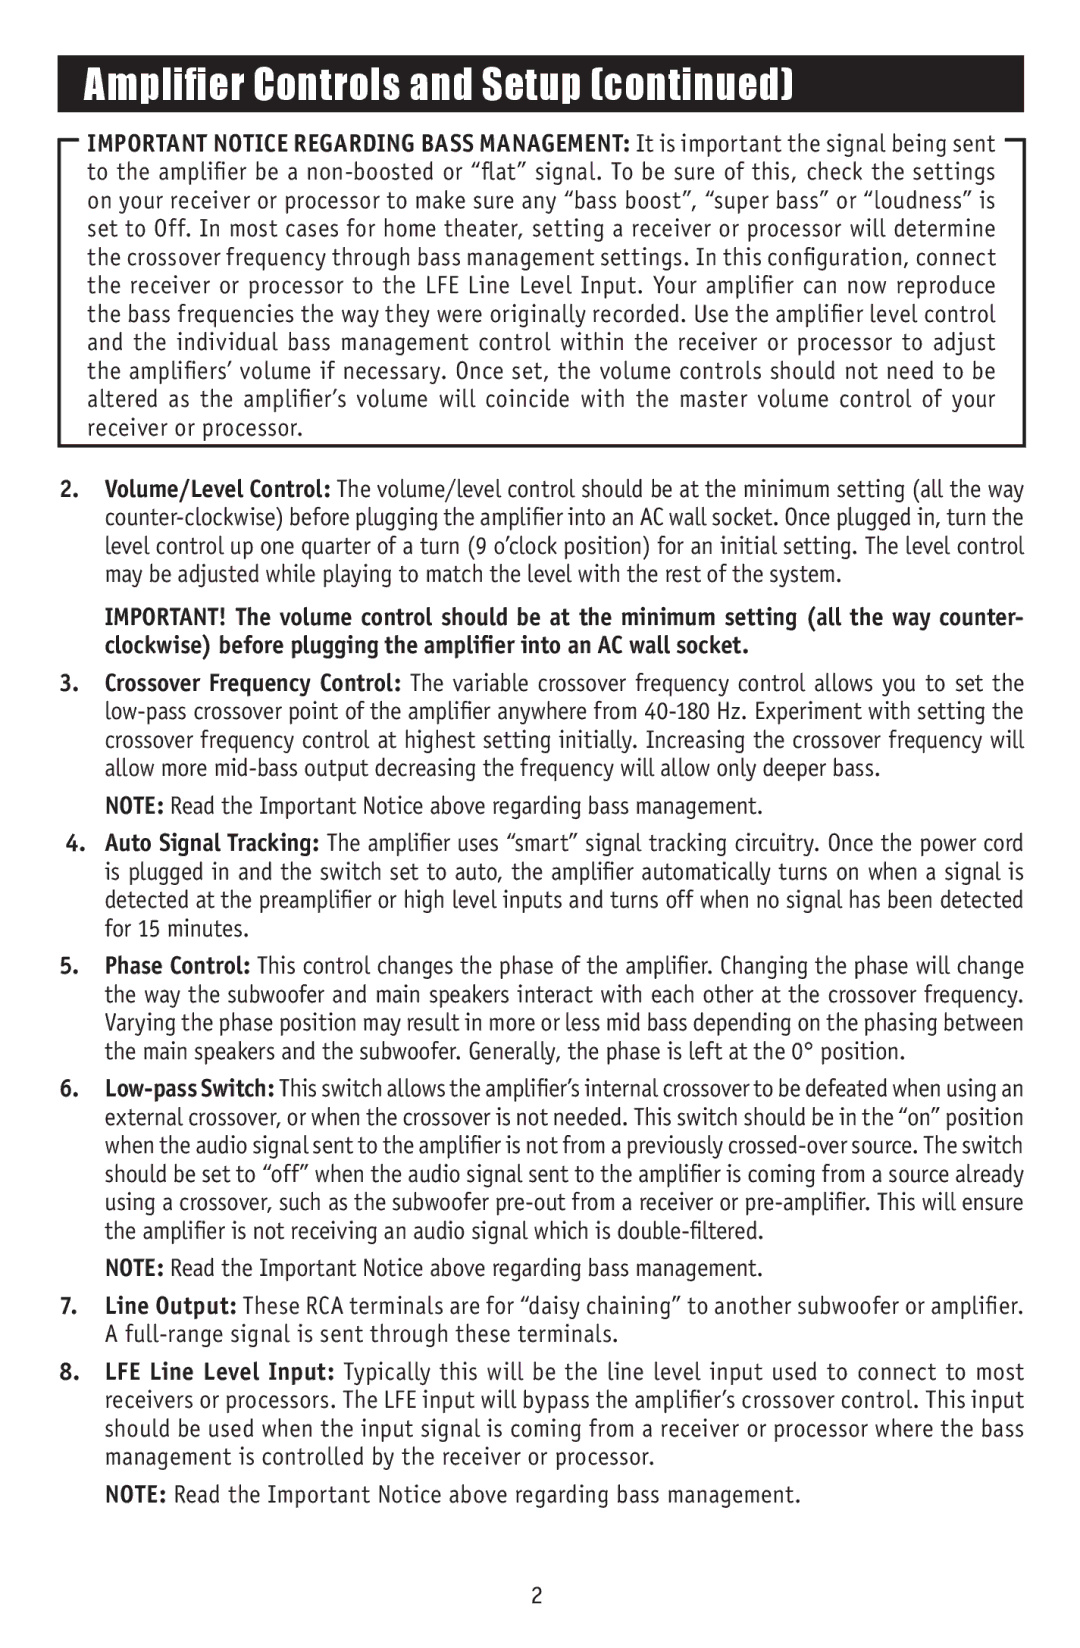
CA-200 specifications
The RBH Sound CA-200 is a state-of-the-art speaker designed for audiophiles and home theater enthusiasts who demand exceptional sound quality and performance. With a sleek and modern aesthetic, it seamlessly integrates into various home environments while delivering an audio experience that captivates listeners.One of the standout features of the CA-200 is its high-efficiency design. Utilizing advanced materials and engineering, this speaker boasts a power handling capability that allows it to reproduce sound at high volumes without distortion. This is especially important for movie enthusiasts and music lovers who want to feel every nuance of their audio experience, from the thumping bass to the delicate high notes.
The CA-200 incorporates RBH Sound's proprietary technologies, including the use of custom-engineered drivers. These drivers are designed to provide a balanced and accurate sound signature, ensuring that every note is rendered faithfully. The tweeter delivers crystal-clear highs while the mid-range and woofer work together to produce rich, full-bodied sounds that make music and films come alive.
Another notable characteristic of the CA-200 is its versatility. It can be used in various configurations, from a standalone speaker to a part of a larger surround sound system. This flexibility makes it an excellent choice for both casual listeners and dedicated audiophiles who appreciate the ability to tailor their audio setup to their specific needs.
The enclosure of the CA-200 is crafted with precision and care, utilizing materials that minimize resonance and interference. This careful construction contributes to a wider soundstage, allowing listeners to experience a more immersive audio environment. The speaker’s stylish design enables it to fit effortlessly into any room decor, making it as visually appealing as it is sonically impressive.
For connectivity, the CA-200 is designed to work with a variety of audio sources, providing options for both wired and wireless connections. This ensures compatibility with modern home entertainment systems, enhancing the overall convenience for the user.
In summary, the RBH Sound CA-200 is a remarkable speaker that combines cutting-edge technology, exceptional sound quality, and stylish design. With its high-efficiency performance, proprietary driver technology, and versatile usage options, it sets a new standard for audio excellence in the home theater and music listening arenas.