Listening, viewing and recording
Tip: For operation details of the ![]()
![]() video converter, please open the
video converter, please open the ![]() help file by pressing the ‘F1’ key on your computer.
help file by pressing the ‘F1’ key on your computer.
Note:
•Picture files should be copied to the “Media” folder for viewing in Windows® XP if Windows Media Player 10 is installed. If Windows Media Player 10 is not installed or your computer is running Windows® 2000, picture files should be copied to the root directory for viewing.
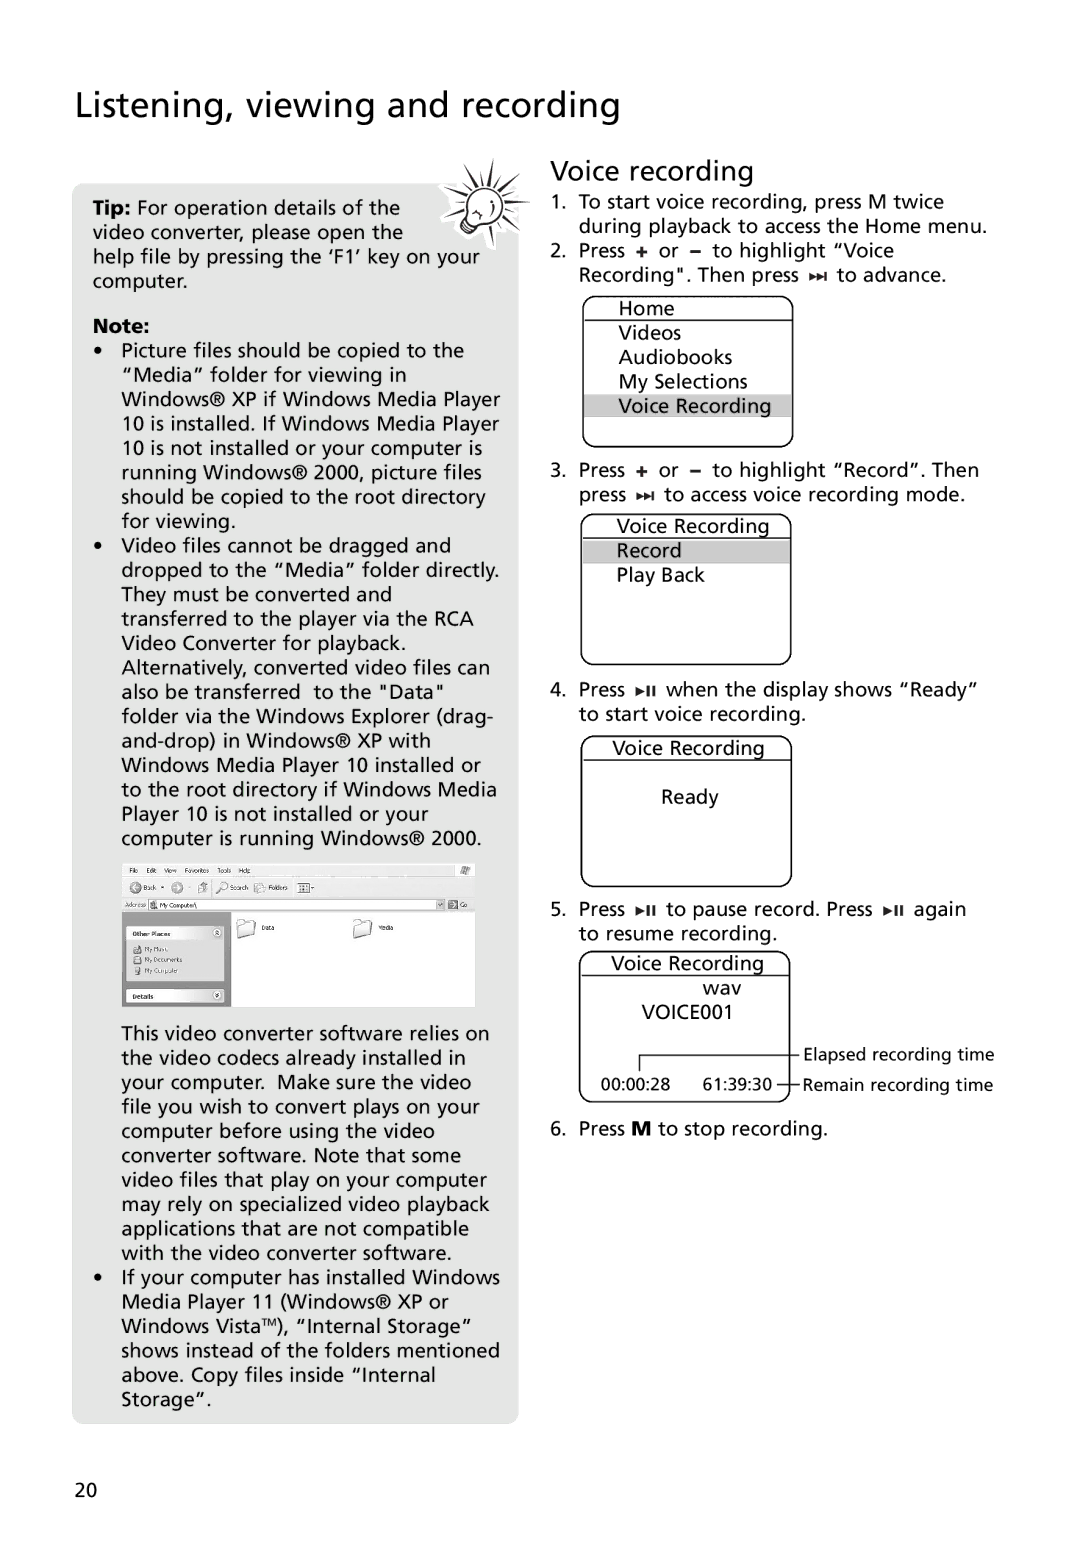
•Video files cannot be dragged and dropped to the “Media” folder directly. They must be converted and transferred to the player via the RCA Video Converter for playback. Alternatively, converted video files can also be transferred to the "Data" folder via the Windows Explorer (drag-
This video converter software relies on the video codecs already installed in your computer. Make sure the video file you wish to convert plays on your computer before using the video converter software. Note that some video files that play on your computer may rely on specialized video playback applications that are not compatible with the video converter software.
•If your computer has installed Windows Media Player 11 (Windows® XP or Windows VistaTM), “Internal Storage” shows instead of the folders mentioned above. Copy files inside “Internal Storage”.
Voice recording
1.To start voice recording, press M twice during playback to access the Home menu.
2. Press |
| or |
| to highlight “Voice | |
|
| ||||
Recording". Then press | to advance. | ||||
Home
Videos
Audiobooks
My Selections
Voice Recording
3. Press |
| or |
| to highlight “Record”. Then |
|
| |||
press |
| to access voice recording mode. | ||
Voice Recording
Record
Play Back
4.Press ![]()
![]()
![]() when the display shows “Ready” to start voice recording.
when the display shows “Ready” to start voice recording.
Voice Recording
Ready
5.Press ![]()
![]()
![]() to pause record. Press
to pause record. Press ![]()
![]()
![]() again to resume recording.
again to resume recording.
Voice Recording
wav VOICE001
Elapsed recording time
00:00:28 | 61:39:30 |
| Remain recording time |
|
6. Press M to stop recording.
20
