Audio Component Code List
CD |
| AUDIO RECEIVER | |
Aiwa | 175, 203 | Aiwa | 250, 251, 252, 253 |
ADC | 200 | .......................... | 254, 255, 256, 257 |
ADO | 201 | JVC | 258 |
Akai | 205 | Kenwood | 258 |
Denon | 208 | RCA | 259 |
Dynatech | 177 | Sony | 260, 261, 262 |
Emerson | 178 | Yamaha | 263 |
Fisher | 179, 212, 213 | LASER DISC |
|
GE | 216 |
| |
Hitachi | 180 | RCA | 133 |
Inkel | 220 |
|
|
JVC | 181, 221 |
|
|
Kenwood | 183, 222, 224 |
|
|
Luxman | 225 |
|
|
NEC | 184 |
|
|
Marantz | 185, 226 |
|
|
MCS | 228 |
|
|
Mitsubishi | 229, 230 |
|
|
Nakamichi | 232, 233 |
|
|
Onkyo | 186, 234, 235 |
|
|
Optimus | 237, 238, 239 |
|
|
Panasonic | 188 |
|
|
Pioneer | 189, 240 |
|
|
RCA | 190, 211 |
|
|
Sanyo | 250 |
|
|
Sears | 207 |
|
|
Sherwood | 243 |
|
|
Sony | 195, 209, 244 |
|
|
Teac | 245, 246, 247 |
|
|
Technics | 197 |
|
|
Toshiba | 231 |
|
|
Yamaha | 198, 199, 248 |
|
|
Operating Audio Functions
Note: Not all functions work for all brands. See page 13 for the Audio code list to operate your brand of equipment.
TURNING ON THE RECEIVER OR MINI-SYSTEM
Point the remote control at the receiver and press the AUDIO button. The receiver should turn on. In some cases, it may require pressing the AUDIO button and then the ON•OFFbutton to turn the system on.
SELECTING A DEVICE INPUT
Device inputs such as CD Player or Tape Deck may be selected depending on the features of your receiver or
Note: You may need to experiment with your system since manufacturers products do not all work the same way.
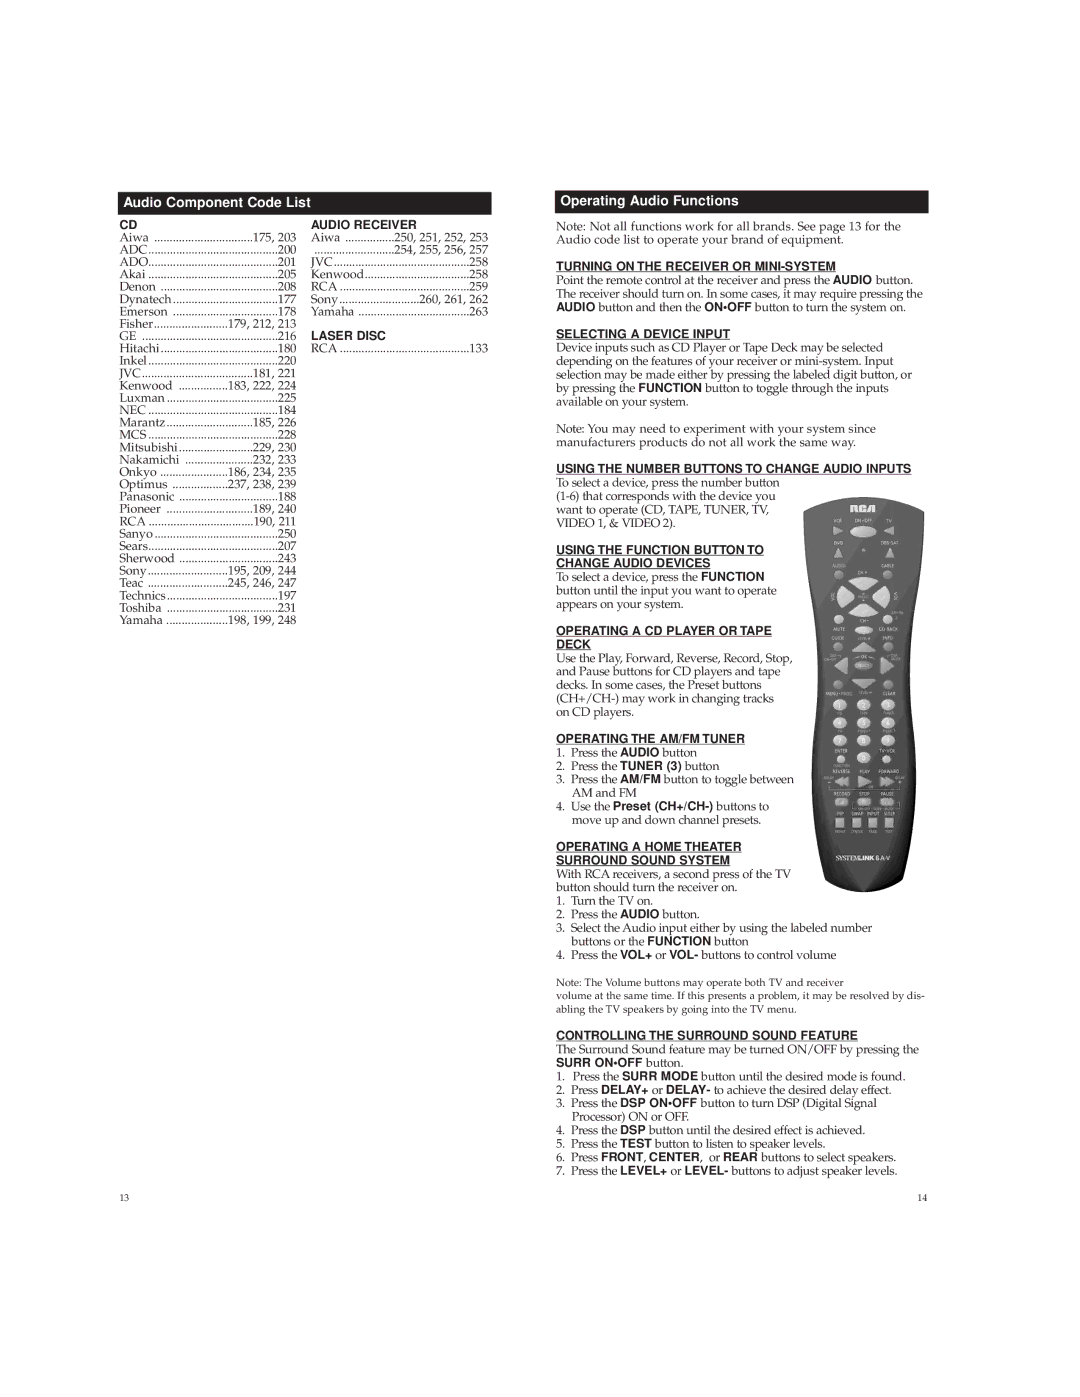
USING THE NUMBER BUTTONS TO CHANGE AUDIO INPUTS To select a device, press the number button
USING THE FUNCTION BUTTON TO
CHANGE AUDIO DEVICES
To select a device, press the FUNCTION button until the input you want to operate appears on your system.
OPERATING A CD PLAYER OR TAPE
DECK
Use the Play, Forward, Reverse, Record, Stop, and Pause buttons for CD players and tape decks. In some cases, the Preset buttons
OPERATING THE AM/FM TUNER
1.Press the AUDIO button
2.Press the TUNER (3) button
3.Press the AM/FM button to toggle between AM and FM
4.Use the Preset
OPERATING A HOME THEATER
SURROUND SOUND SYSTEM
With RCA receivers, a second press of the TV button should turn the receiver on.
1.Turn the TV on.
2.Press the AUDIO button.
3.Select the Audio input either by using the labeled number buttons or the FUNCTION button
4.Press the VOL+ or VOL- buttons to control volume
Note: The Volume buttons may operate both TV and receiver
volume at the same time. If this presents a problem, it may be resolved by dis- abling the TV speakers by going into the TV menu.
CONTROLLING THE SURROUND SOUND FEATURE
The Surround Sound feature may be turned ON/OFF by pressing the SURR ON•OFF button.
1.Press the SURR MODE button until the desired mode is found.
2.Press DELAY+ or DELAY- to achieve the desired delay effect.
3.Press the DSP ON•OFF button to turn DSP (Digital Signal Processor) ON or OFF.
4.Press the DSP button until the desired effect is achieved.
5.Press the TEST button to listen to speaker levels.
6.Press FRONT, CENTER, or REAR buttons to select speakers.
7.Press the LEVEL+ or LEVEL- buttons to adjust speaker levels.
13 | 14 |
