User Maintenance
The
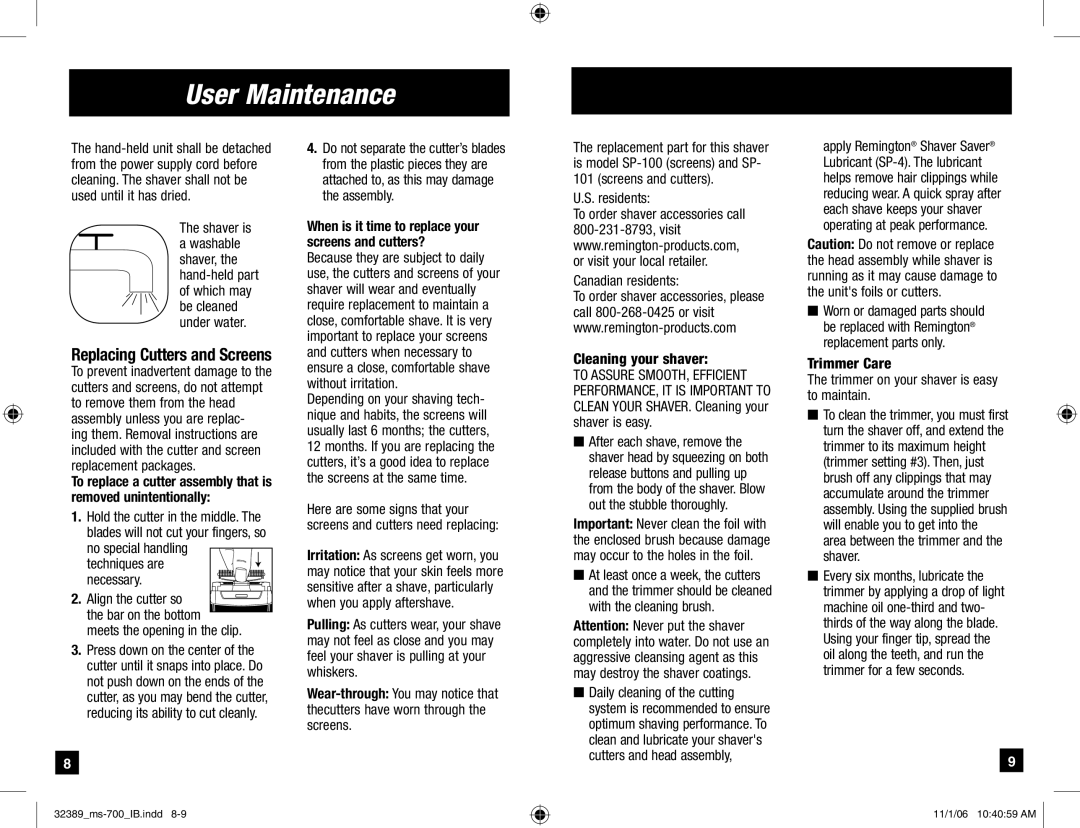
The shaver is a washable shaver, the
Replacing Cutters and Screens
To prevent inadvertent damage to the cutters and screens, do not attempt to remove them from the head assembly unless you are replac- ing them. Removal instructions are included with the cutter and screen replacement packages.
To replace a cutter assembly that is removed unintentionally:
1.Hold the cutter in the middle. The blades will not cut your fingers, so no special handling
techniques are necessary.
2. Align the cutter so the bar on the bottom
meets the opening in the clip.
3.Press down on the center of the cutter until it snaps into place. Do not push down on the ends of the cutter, as you may bend the cutter, reducing its ability to cut cleanly.
8
4.Do not separate the cutter’s blades from the plastic pieces they are attached to, as this may damage the assembly.
When is it time to replace your screens and cutters?
Because they are subject to daily use, the cutters and screens of your shaver will wear and eventually require replacement to maintain a close, comfortable shave. It is very important to replace your screens and cutters when necessary to ensure a close, comfortable shave without irritation.
Depending on your shaving tech- nique and habits, the screens will usually last 6 months; the cutters, 12 months. If you are replacing the cutters, it’s a good idea to replace the screens at the same time.
Here are some signs that your screens and cutters need replacing:
Irritation: As screens get worn, you may notice that your skin feels more sensitive after a shave, particularly when you apply aftershave.
Pulling: As cutters wear, your shave may not feel as close and you may feel your shaver is pulling at your whiskers.
The replacement part for this shaver is model
U.S. residents:
To order shaver accessories call
Canadian residents:
To order shaver accessories, please call
Cleaning your shaver:
TO ASSURE SMOOTH, EFFICIENT PERFORMANCE, IT IS IMPORTANT TO CLEAN YOUR SHAVER. Cleaning your shaver is easy.
■After each shave, remove the shaver head by squeezing on both release buttons and pulling up from the body of the shaver. Blow out the stubble thoroughly.
Important: Never clean the foil with the enclosed brush because damage may occur to the holes in the foil.
■At least once a week, the cutters and the trimmer should be cleaned with the cleaning brush.
Attention: Never put the shaver completely into water. Do not use an aggressive cleansing agent as this may destroy the shaver coatings.
■Daily cleaning of the cutting system is recommended to ensure optimum shaving performance. To clean and lubricate your shaver's cutters and head assembly,
apply Remington® Shaver Saver® Lubricant
Caution: Do not remove or replace the head assembly while shaver is running as it may cause damage to the unit's foils or cutters.
■Worn or damaged parts should be replaced with Remington® replacement parts only.
Trimmer Care
The trimmer on your shaver is easy to maintain.
■To clean the trimmer, you must first turn the shaver off, and extend the trimmer to its maximum height (trimmer setting #3). Then, just brush off any clippings that may accumulate around the trimmer assembly. Using the supplied brush will enable you to get into the area between the trimmer and the shaver.
■Every six months, lubricate the trimmer by applying a drop of light machine oil
9
11/1/06 10:40:59 AM
