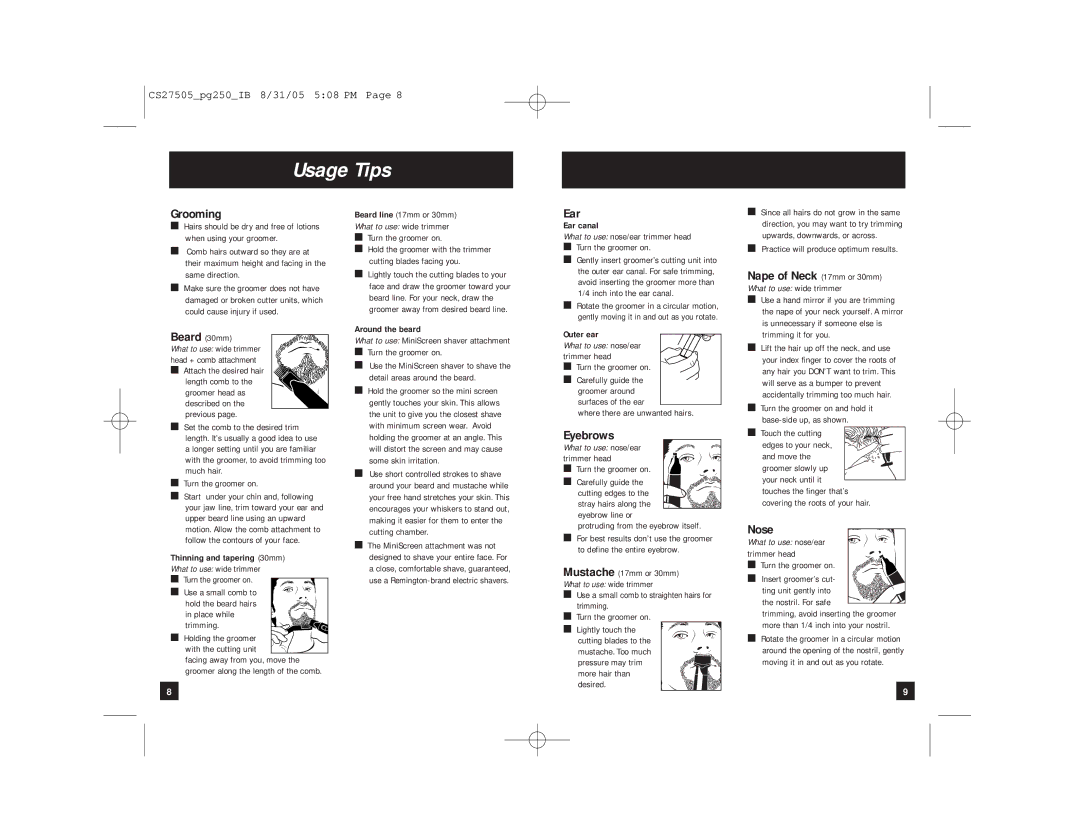
CS27505_pg250_IB 8/31/05 5:08 PM Page 8
Usage Tips
Grooming
■Hairs should be dry and free of lotions when using your groomer.
■Comb hairs outward so they are at their maximum height and facing in the same direction.
■Make sure the groomer does not have damaged or broken cutter units, which could cause injury if used.
Beard (30mm)
What to use: wide trimmer head + comb attachment ■ Attach the desired hair length comb to the groomer head as described on the
previous page.
■Set the comb to the desired trim length. It’s usually a good idea to use a longer setting until you are familiar with the groomer, to avoid trimming too much hair.
■Turn the groomer on.
■Start under your chin and, following your jaw line, trim toward your ear and upper beard line using an upward motion. Allow the comb attachment to follow the contours of your face.
Thinning and tapering (30mm)
What to use: wide trimmer
■ Turn the groomer on. ■ Use a small comb to hold the beard hairs
in place while trimming.
■ Holding the groomer with the cutting unit
facing away from you, move the groomer along the length of the comb.
8
Beard line (17mm or 30mm)
What to use: wide trimmer
■Turn the groomer on.
■Hold the groomer with the trimmer cutting blades facing you.
■Lightly touch the cutting blades to your face and draw the groomer toward your beard line. For your neck, draw the groomer away from desired beard line.
Around the beard
What to use: MiniScreen shaver attachment
■Turn the groomer on.
■Use the MiniScreen shaver to shave the detail areas around the beard.
■Hold the groomer so the mini screen gently touches your skin. This allows the unit to give you the closest shave with minimum screen wear. Avoid holding the groomer at an angle. This will distort the screen and may cause some skin irritation.
■Use short controlled strokes to shave around your beard and mustache while your free hand stretches your skin. This encourages your whiskers to stand out, making it easier for them to enter the cutting chamber.
■The MiniScreen attachment was not designed to shave your entire face. For a close, comfortable shave, guaranteed, use a
Ear
Ear canal
What to use: nose/ear trimmer head
■Turn the groomer on.
■Gently insert groomer’s cutting unit into the outer ear canal. For safe trimming, avoid inserting the groomer more than 1/4 inch into the ear canal.
■Rotate the groomer in a circular motion, gently moving it in and out as you rotate.
Outer ear
What to use: nose/ear trimmer head
■Turn the groomer on.
■Carefully guide the groomer around surfaces of the ear
where there are unwanted hairs.
Eyebrows
What to use: nose/ear trimmer head ■ Turn the groomer on. ■ Carefully guide the
cutting edges to the stray hairs along the eyebrow line or
protruding from the eyebrow itself.
■For best results don’t use the groomer to define the entire eyebrow.
Mustache (17mm or 30mm)
What to use: wide trimmer
■Use a small comb to straighten hairs for trimming.
■Turn the groomer on.
■ Lightly touch the cutting blades to the mustache. Too much pressure may trim more hair than desired.
■Since all hairs do not grow in the same direction, you may want to try trimming upwards, downwards, or across.
■Practice will produce optimum results.
Nape of Neck (17mm or 30mm) What to use: wide trimmer
■Use a hand mirror if you are trimming the nape of your neck yourself. A mirror is unnecessary if someone else is trimming it for you.
■Lift the hair up off the neck, and use your index finger to cover the roots of any hair you DON’T want to trim. This will serve as a bumper to prevent accidentally trimming too much hair.
■Turn the groomer on and hold it
■Touch the cutting
edges to your neck, and move the groomer slowly up
your neck until it ![]() touches the finger that’s
touches the finger that’s
covering the roots of your hair.
Nose
What to use: nose/ear trimmer head ■ Turn the groomer on. ■ Insert groomer’s cut-
ting unit gently into the nostril. For safe
trimming, avoid inserting the groomer more than 1/4 inch into your nostril.
■Rotate the groomer in a circular motion around the opening of the nostril, gently moving it in and out as you rotate.
9
