RDC-5000 specifications
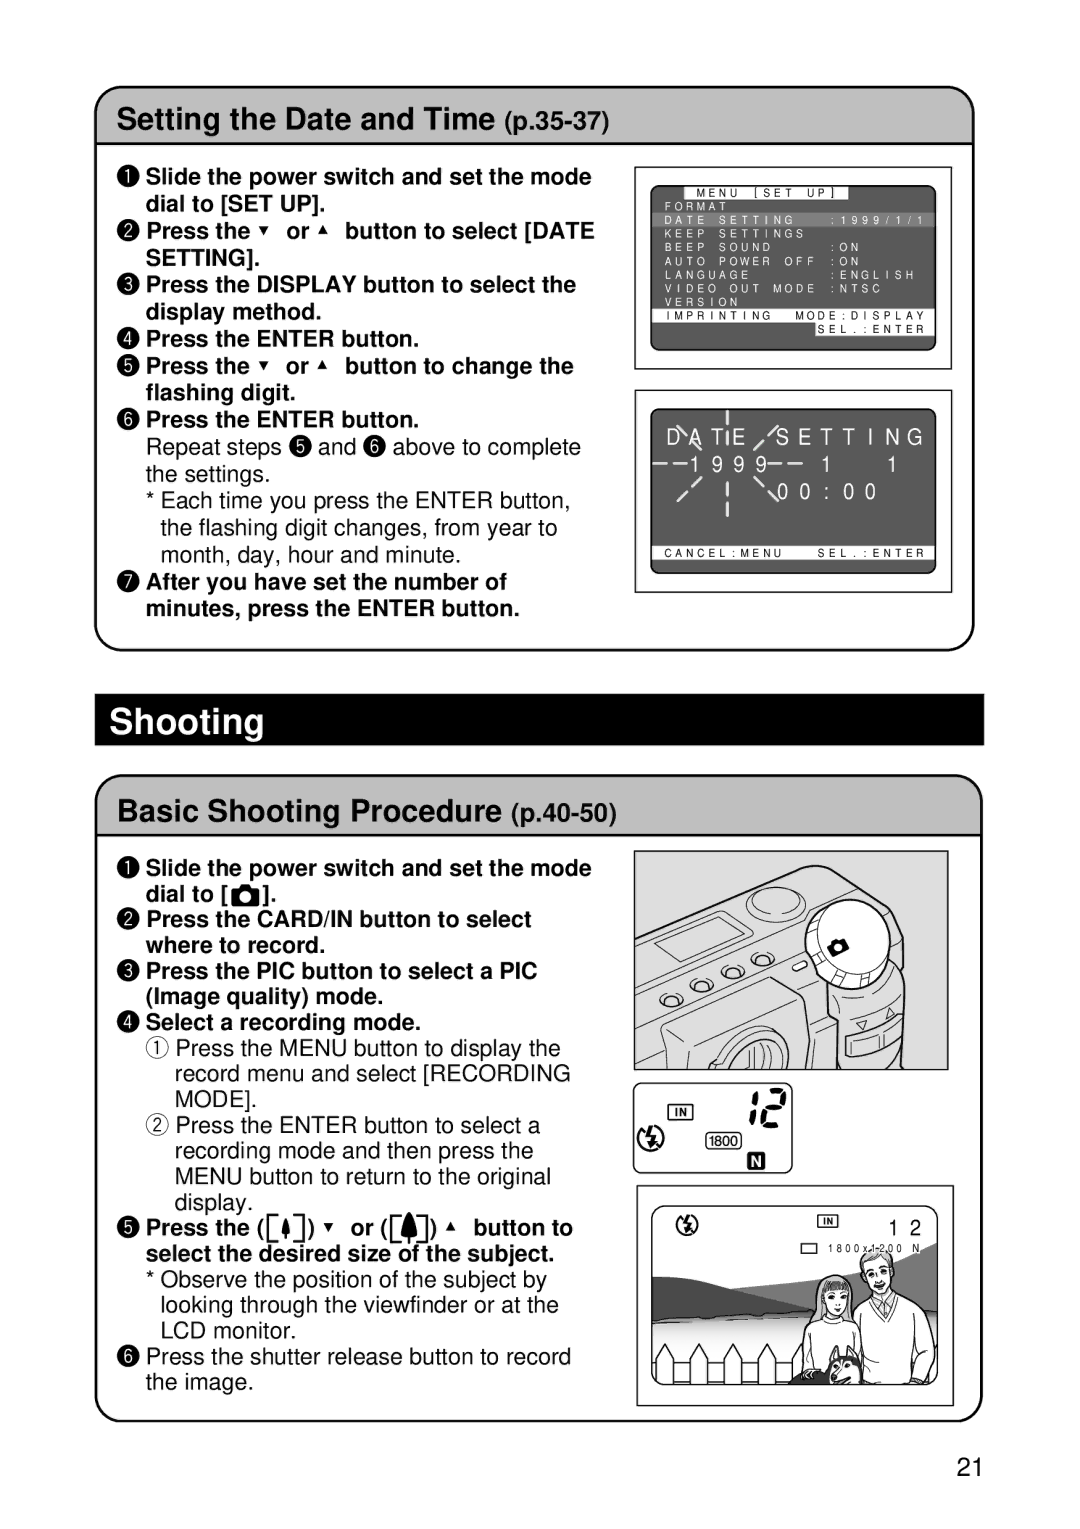
The Ricoh RDC-5000, launched in 1999, is a noteworthy digital camera that marked a significant milestone in the evolution of digital photography. Designed with both professional and amateur photographers in mind, this camera was among the pioneers to combine robust features with user-friendly technology.One of the key highlights of the RDC-5000 is its high-resolution capabilities. With a 2.1-megapixel sensor, it was able to capture images at a resolution of 1600 x 1200 pixels, enabling users to print photos with remarkable clarity. The camera offered a 3x optical zoom lens, allowing for versatile composition options, which made it suitable for various shooting scenarios, from portraits to landscapes.
Ricoh integrated several advanced technologies in the RDC-5000, including a unique LCD screen. The camera featured a 2.5-inch TFT display, which provided a clear view of the subject and made navigating through menu options seamless. This screen enabled photographers to review images instantly, enhancing the workflow and making it easier to adjust settings on the fly.
Another significant characteristic of the RDC-5000 is its storage capability. The camera utilized CompactFlash cards, a standard in the industry at the time, allowing users to expand their storage options easily. This feature was particularly valuable for those looking to shoot large volumes of photographs during events or trips.
The camera was also equipped with various shooting modes, including portrait, landscape, and macro, empowering users to select the best settings suited for their specific conditions. The RDC-5000's manual controls further appealed to photography enthusiasts who desired greater creative control over their shots.
In terms of build quality, the Ricoh RDC-5000 featured a solid design that made it durable and practical for on-the-go photography. Its lightweight construction ensured that it was easy to handle without compromising on performance.
In conclusion, the Ricoh RDC-5000 stands out for its combination of high-resolution imaging, user-friendly design, and robust features. It played a vital role in bridging the gap between early digital cameras and modern devices, paving the way for the advancements in digital photography we see today. With its blend of traditional camera usability and digital innovation, the RDC-5000 remains a memorable device in the history of digital photography.

