Figure 13 – Model HC-300 Plunger
5.For
6.Make sure there is adequate clearance to mount and position the
WARNING
When cutting into an existing system, the pipe must be drained and depressurized. Do not use in the presence of flammable gas, vapor or dust.
7.Mount the base in the proximity of the place to be
cut. To do so, place the base on top of the work- piece. The front edge of the base is 19/16″ inches from the chuck centerline. (Figure 14)
![]() 19/16″
19/16″
40mm
8.Turn crank handle fully counterclockwise to make sure the hook is completely lowered and aligned with the mark in casting.
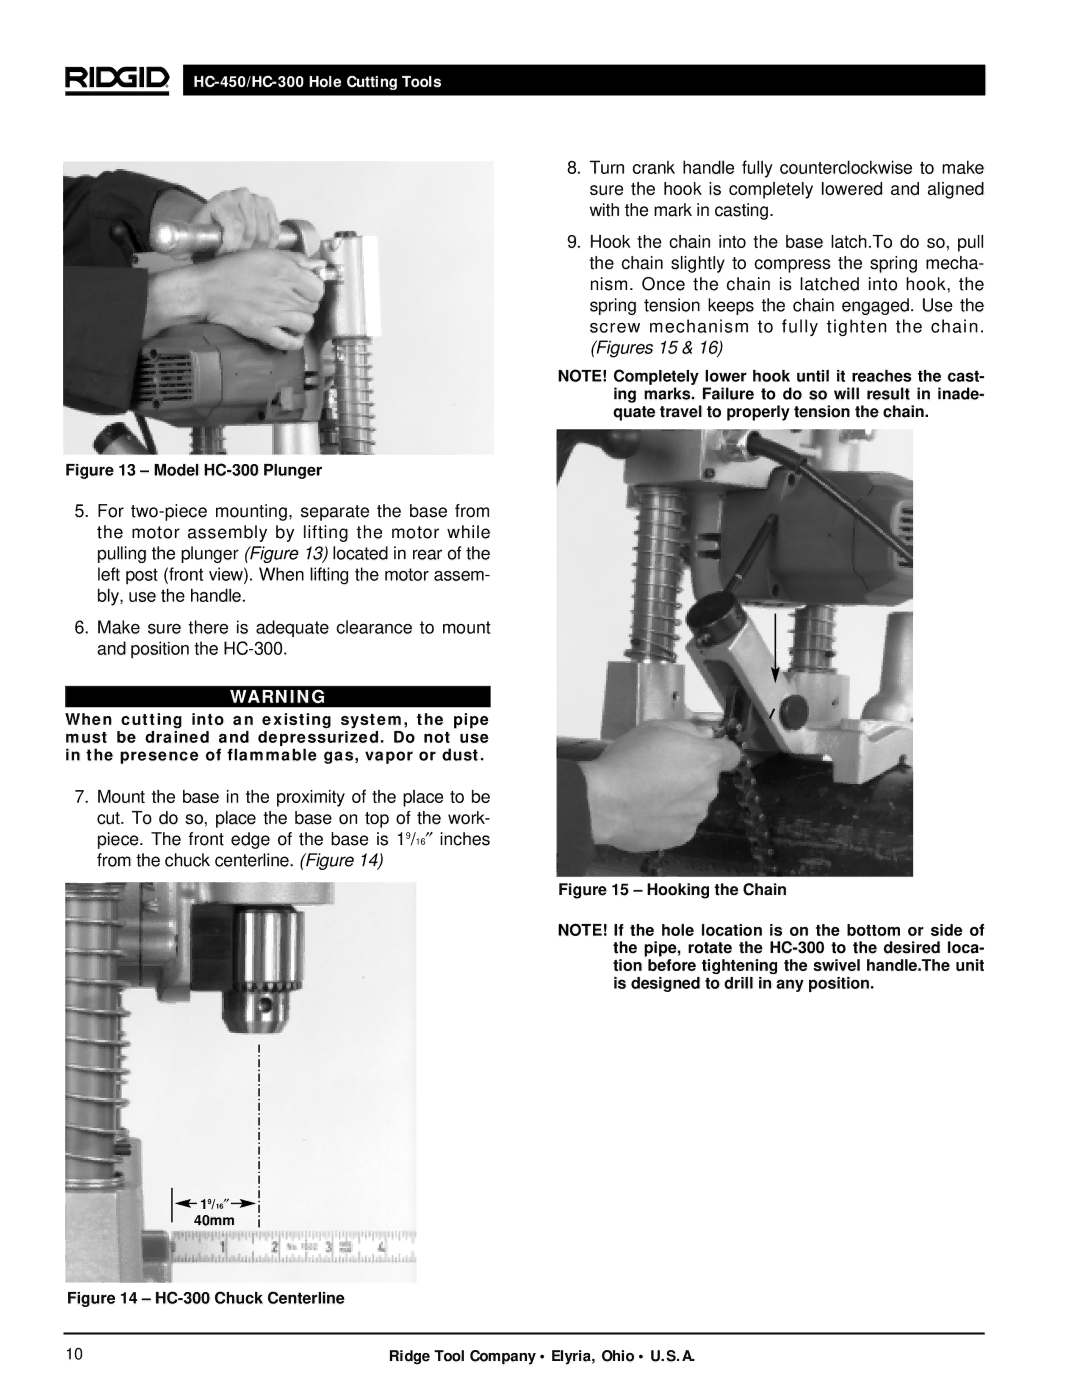
9.Hook the chain into the base latch.To do so, pull the chain slightly to compress the spring mecha- nism. Once the chain is latched into hook, the spring tension keeps the chain engaged. Use the screw mechanism to fully tighten the chain. (Figures 15 & 16)
NOTE! Completely lower hook until it reaches the cast- ing marks. Failure to do so will result in inade- quate travel to properly tension the chain.
Figure 15 – Hooking the Chain
NOTE! If the hole location is on the bottom or side of the pipe, rotate the
Figure 14 – HC-300 Chuck Centerline
10 | Ridge Tool Company • Elyria, Ohio • U.S.A. |