OPERATION
MAKING A CROWN MOLDING SUPPORT JIG
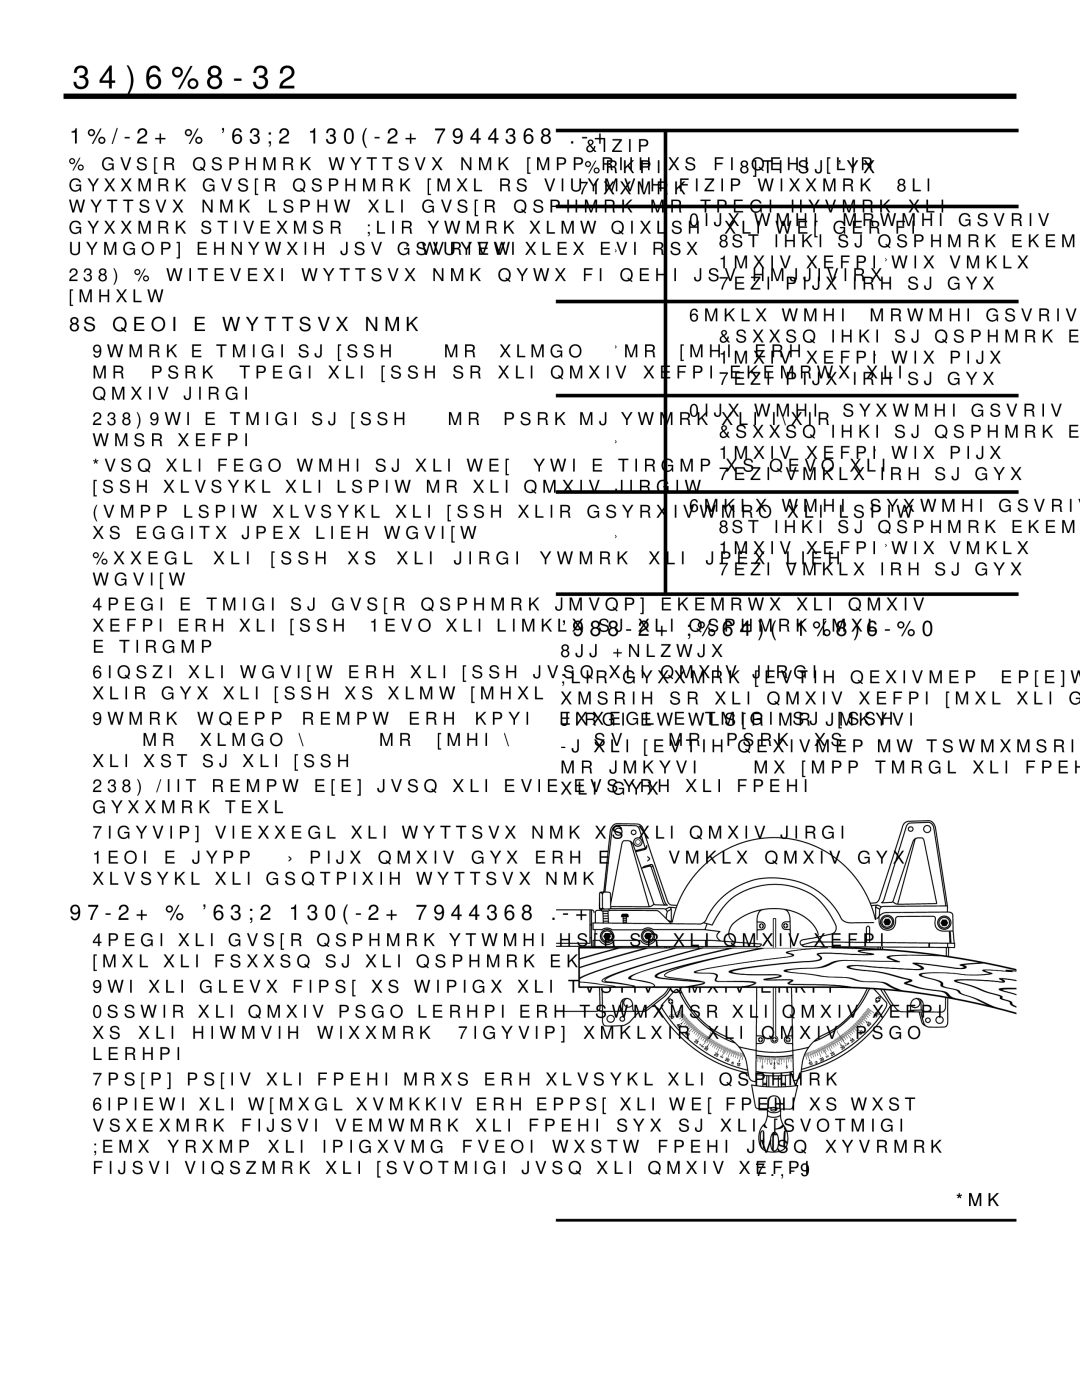
A crown molding support jig will need to be made when cutting crown molding with no required bevel setting. The support jig holds the crown molding in place during the cutting operation. When using this method, the saw can be quickly adjusted for corners that are not 90° square.
NOTE: A separate support jig must be made for different widths.
To make a support jig:
nUsing a piece of wood 1/2 in. thick, 5 in. wide, and
NOTE: Use a piece of wood 28 in. long if using the exten- sion table.
nFrom the back side of the saw, use a pencil to mark the wood through the holes in the miter fences.
nDrill holes through the wood then countersink the holes to accept flat head screws.
nAttach the wood to the fence using the flat head screws.
nPlace a piece of crown molding firmly against the miter table and the wood. Mark the height of the molding with a pencil.
nRemove the screws and the wood from the miter fence then cut the wood to this width.
nUsing small nails and glue, attach a piece of wood (1/2 in. thick x
NOTE: Keep nails away from the area around the blade cutting path.
nSecurely reattach the support jig to the miter fence.
nMake a full 45° left miter cut and a 45° right miter cut through the completed support jig.
USING A CROWN MOLDING SUPPORT JIG
nPlace the crown molding upside down on the miter table with the bottom of the molding against the wood fence.
nUse the chart below to select the proper miter angle.
nLoosen the miter lock handle and position the miter table to the desired setting. Securely tighten the miter lock handle.
nSlowly lower the blade into and through the molding.
nRelease the switch trigger and allow the saw blade to stop rotating before raising the blade out of the workpiece. Wait until the electric brake stops blade from turning before removing the workpiece from the miter table.
Bevel |
|
|
Angle |
| Type of Cut |
Setting |
|
|
|
| |
| Left side, inside corner | |
0° | 1. | Top edge of molding against fence |
2. Miter table set right 45° | ||
| 3. | Save left end of cut |
|
| |
| Right side, inside corner | |
0° | 1. | Bottom edge of molding against fence |
2. Miter table set left 45° | ||
| 3. | Save left end of cut |
|
| |
| Left side, outside corner | |
0° | 1. | Bottom edge of molding against fence |
2. Miter table set left 45° | ||
| 3. | Save right end of cut |
|
| |
| Right side, outside corner | |
0° | 1. | Top edge of molding against fence |
2. Miter table set right 45° | ||
| 3. | Save right end of cut |
|
|
|
CUTTING WARPED MATERIAL
See Figures 37 - 38.
When cutting warped material, always make sure it is posi- tioned on the miter table with the convex side against the fence as shown in figure 37.
If the warped material is positioned the wrong way as shown in figure 38, it will pinch the blade near the completion of the cut.
RIGHT
Fig. 37
30