OPERATION
BEVEL CUTTING
See Figures 17 and 18.
To make the best possible cut, follow these helpful hints.
■Align the line of cut with the inner blade guide notch on the base when making 45° bevel cuts.
■Make a trial cut in scrap material along a guideline to determine how much you should offset the guideline on the cutting material.
■Adjust the angle of the cut to any desired setting between zero and 51.5°. Refer to “TO ADJUST BEVEL SETTING” next.
Note: Pull the adjustment lever all the way up to set the angle at 51.5°.
WARNING:
The tool should never be connected to a power supply when you are assembling parts, making ad- justments, cleaning, performing maintenance, or when the tool is not in use. Disconnecting the tool will prevent accidental starting that could cause serious injury.
TO ADJUST BEVEL SETTING
See Figure 17.
Follow these directions to adjust the bevel setting.
■Unplug the saw.
■Pull the bevel adjustment lever upward until the motor housing moves freely.
■Raise motor housing end of saw until you reach the desired angle setting on bevel scale.
■Press downward on the bevel adjustment lever until the motor housing is securely locked in place.
![]() WARNING:
WARNING:
Attempting a bevel cut without having the bevel adjustment lever securely locked in place can result in serious injury.
TO BEVEL CUT
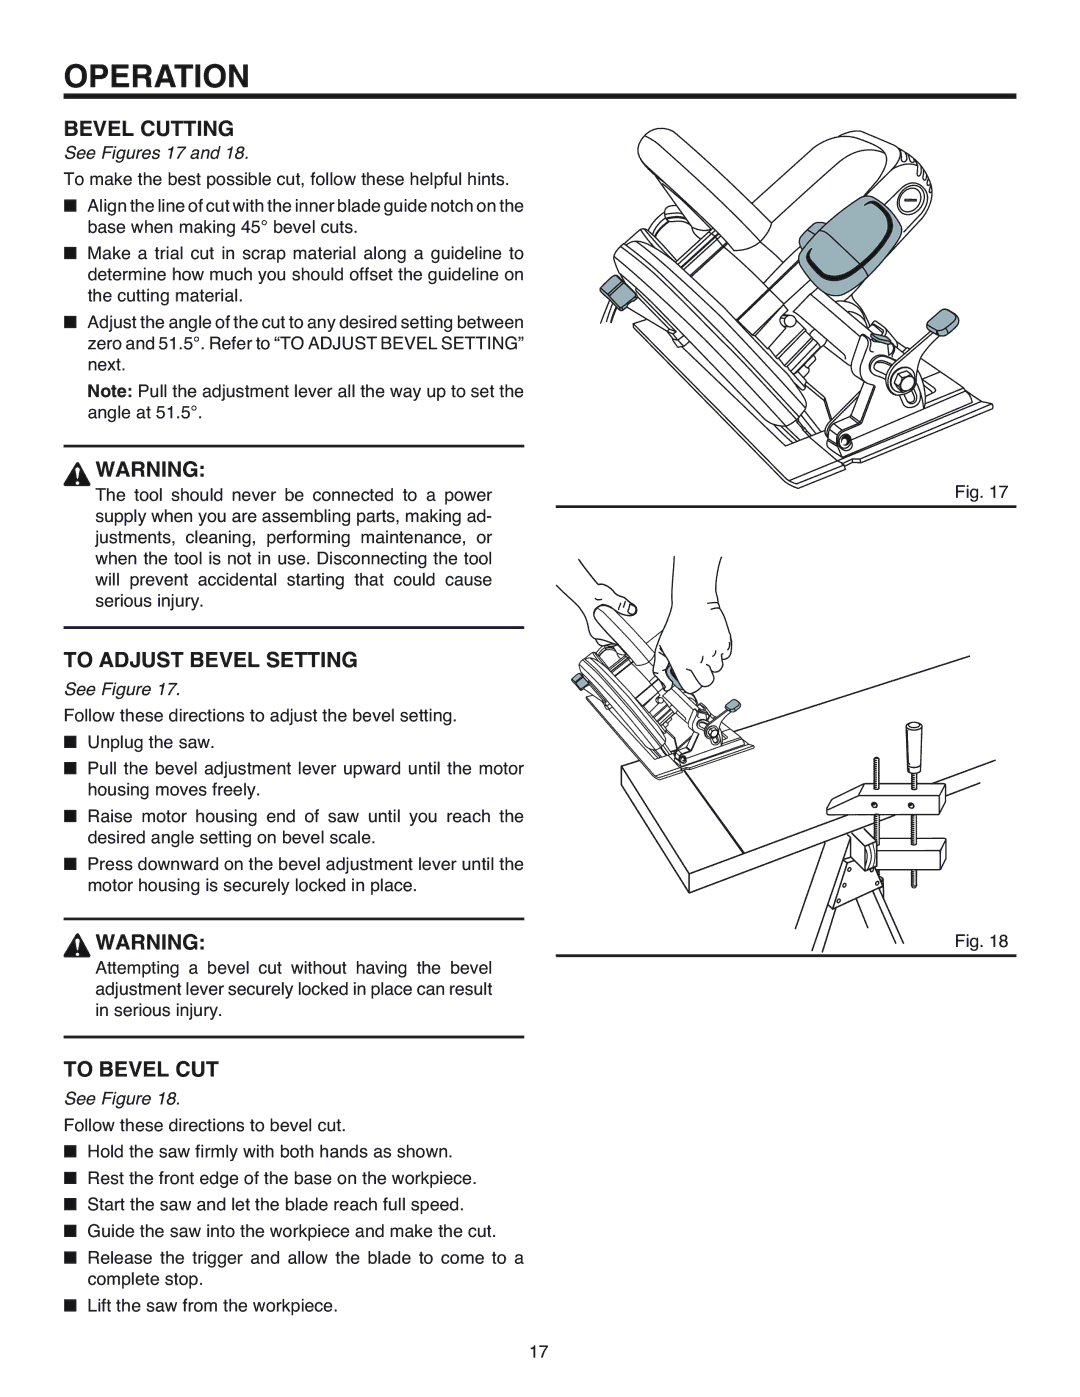
See Figure 18.
Follow these directions to bevel cut.
■Hold the saw firmly with both hands as shown.
■Rest the front edge of the base on the workpiece.
■Start the saw and let the blade reach full speed.
■Guide the saw into the workpiece and make the cut.
■Release the trigger and allow the blade to come to a complete stop.
■Lift the saw from the workpiece.
Fig. 17
Fig. 18
17