Handling Faults and Remedies
[Return to Manual index]
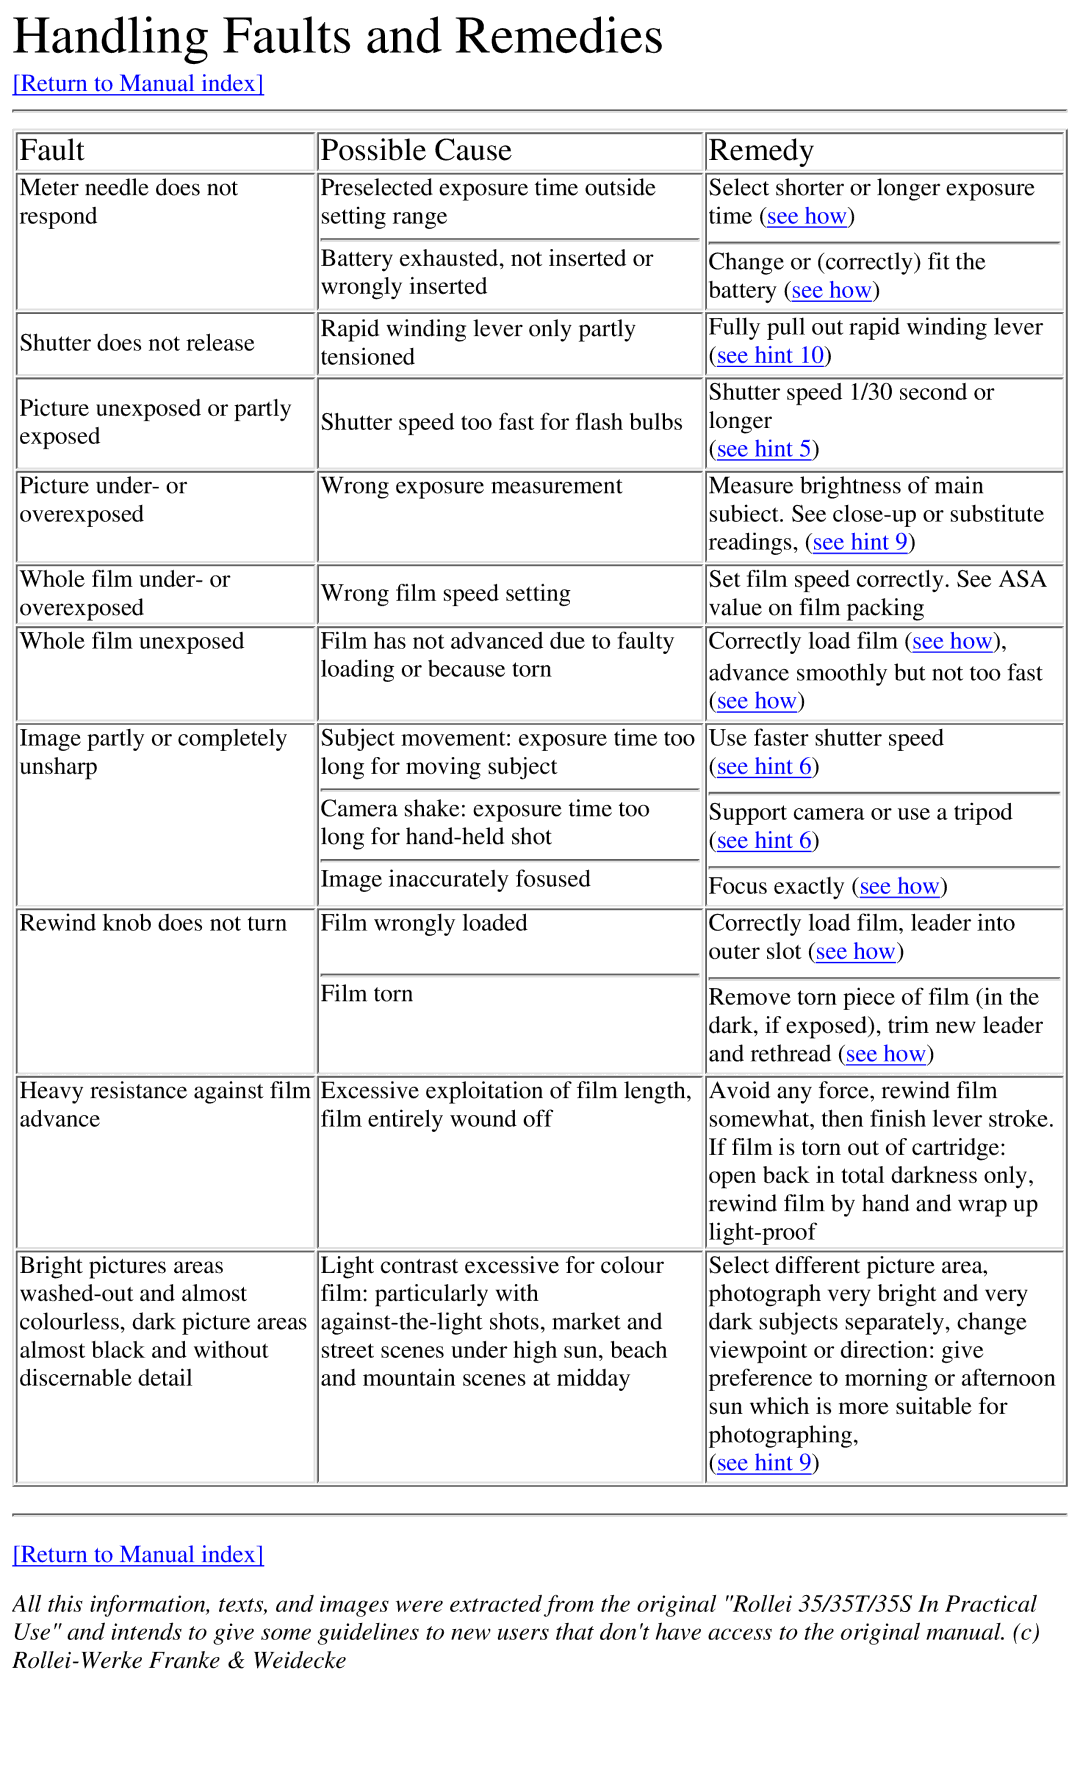
Fault
Meter needle does not respond
Shutter does not release
Picture unexposed or partly exposed
![]() Possible Cause
Possible Cause
Preselected exposure time outside setting range
Battery exhausted, not inserted or wrongly inserted
Rapid winding lever only partly tensioned
Shutter speed too fast for flash bulbs
Remedy
Select shorter or longer exposure time (see how)
Change or (correctly) fit the battery (see how)
Fully pull out rapid winding lever (see hint 10)
Shutter speed 1/30 second or longer
(see hint 5)
Picture under- or overexposed
Whole film under- or overexposed
Whole film unexposed
Wrong exposure measurement | Measure brightness of main | |
| subiect. See | |
| readings, (see hint 9) | |
Wrong film speed setting | Set film speed correctly. See ASA | |
value on film packing | ||
| ||
Film has not advanced due to faulty | Correctly load film (see how), | |
loading or because torn | advance smoothly but not too fast | |
| (see how) |
Image partly or completely unsharp
Rewind knob does not turn
Subject movement: exposure time too long for moving subject
Camera shake: exposure time too long for
Image inaccurately fosused
Film wrongly loaded
Use faster shutter speed (see hint 6)
Support camera or use a tripod (see hint 6)
Focus exactly (see how)
Correctly load film, leader into outer slot (see how)
Film torn | Remove torn piece of film (in the |
| dark, if exposed), trim new leader |
| and rethread (see how) |
Heavy resistance against film advance
Bright pictures areas
Excessive exploitation of film length, film entirely wound off
Light contrast excessive for colour film: particularly with
Avoid any force, rewind film somewhat, then finish lever stroke. If film is torn out of cartridge: open back in total darkness only, rewind film by hand and wrap up
Select different picture area, photograph very bright and very dark subjects separately, change viewpoint or direction: give preference to morning or afternoon sun which is more suitable for photographing,
(see hint 9)
[Return to Manual index]
All this information, texts, and images were extracted from the original "Rollei 35/35T/35S In Practical Use" and intends to give some guidelines to new users that don't have access to the original manual. (c)
