Rover Mowers Limited | Model 45TM | ADJUSTMENTS |
4.4 CUTTING HEIGHT
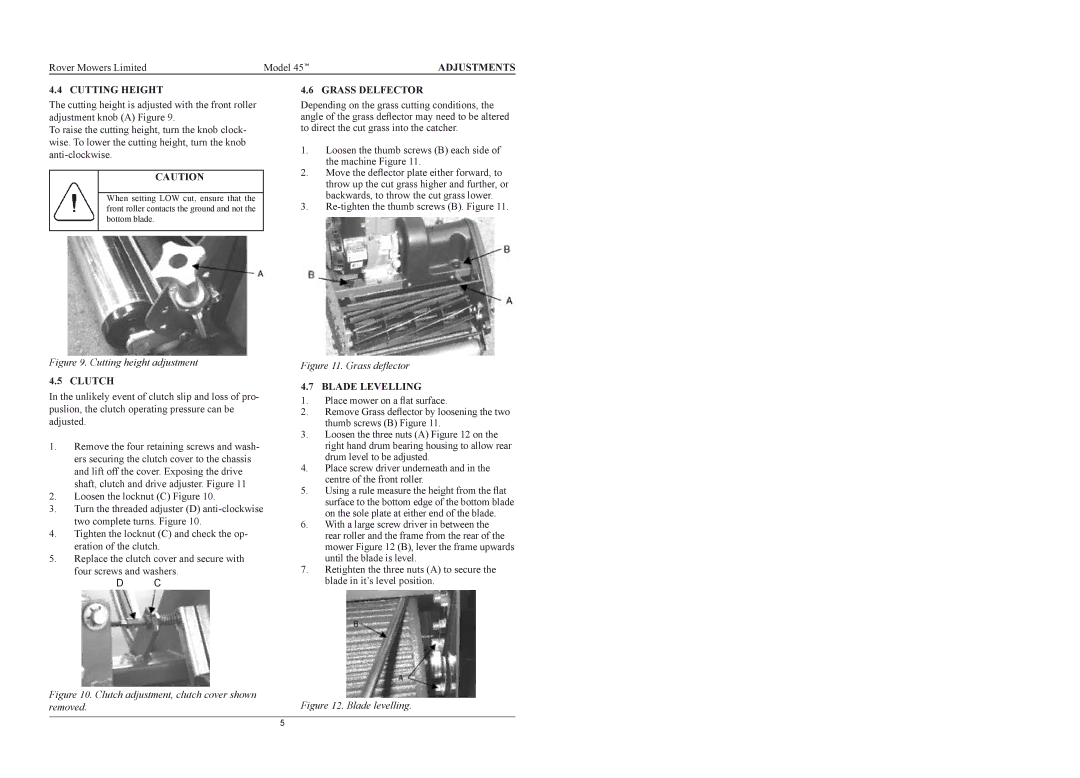
The cutting height is adjusted with the front roller adjustment knob (A) Figure 9.
To raise the cutting height, turn the knob clock- wise. To lower the cutting height, turn the knob
CAUTION
When setting LOW cut, ensure that the front roller contacts the ground and not the bottom blade.
Figure 9. Cutting height adjustment
4.5 CLUTCH
In the unlikely event of clutch slip and loss of pro- puslion, the clutch operating pressure can be adjusted.
1.Remove the four retaining screws and wash- ers securing the clutch cover to the chassis and lift off the cover. Exposing the drive shaft, clutch and drive adjuster. Figure 11
2.Loosen the locknut (C) Figure 10.
3.Turn the threaded adjuster (D)
4.Tighten the locknut (C) and check the op- eration of the clutch.
5.Replace the clutch cover and secure with four screws and washers.
D C
4.6 GRASS DELFECTOR
Depending on the grass cutting conditions, the angle of the grass deflector may need to be altered to direct the cut grass into the catcher.
1.Loosen the thumb screws (B) each side of the machine Figure 11.
2.Move the deflector plate either forward, to throw up the cut grass higher and further, or backwards, to throw the cut grass lower.
3.
Figure 11. Grass deflector
4.7 BLADE LEVELLING
1.Place mower on a flat surface.
2.Remove Grass deflector by loosening the two thumb screws (B) Figure 11.
3.Loosen the three nuts (A) Figure 12 on the right hand drum bearing housing to allow rear drum level to be adjusted.
4.Place screw driver underneath and in the centre of the front roller.
5.Using a rule measure the height from the flat surface to the bottom edge of the bottom blade on the sole plate at either end of the blade.
6.With a large screw driver in between the rear roller and the frame from the rear of the mower Figure 12 (B), lever the frame upwards until the blade is level.
7.Retighten the three nuts (A) to secure the blade in it’s level position.
Figure 10. Clutch adjustment, clutch cover shown | Figure 12. Blade levelling. |
removed. |
5
