• For any operational faults, see paragraph "in the event of a problem" or contact our | GB | |
customer service or your retailer. | ||
|
WIRING INSTRUCTIONS - FOR U.K. ONLY. SAFETY NOTES -
FOR REWIREABLE OR MOULDED PLUG.
The mains lead of this appliance may be already fitted with a BS1363 13 A plug.
Should the fuse need to be replaced, a 13 A ASTA approved BS 1362 fuse must be used.
If your socket outlet is not suitable for the plug, then the plug must be removed (cut off if it is a moulded on plug) and an appropriate one fitted. Warning : dispose of a plug that has been cut from the power supply cord, as such a plug is hazar- dous if inserted in a live 13 A socket outlet elsewhere in the house.
Always replace the fuse cover after fitting a fuse. The plug must NOT be used if the cover
is omitted or lost until a replacement is obtained - make certain that only the correct fuse cover is used and fitted.
For plugs with a detachable fuse cover the replacement must be the same as the colour insert in the base of the plug, or as directly by the embossed wording on the base of the plug.
If the detachable fuse cover is lost, a replacement may be purchased from a Service Centre (see enclosed Service Information leaflet). Information for supply may also be obtained from the plug manufacturer.
U.K. ONLY - FITTING A PLUG.
Important: the wires in the mains cord are coloured in accordance with the following code Blue, Neutral, Brown, live. Please read the instructions given below before connecting the cord to a plug. If the doubt, please consult a qualified elec- trician.
As the colours of the wires in the mains lead of this appliance may not correspond with the coloured markings identifying the terminals in your plug, proceed as follows:
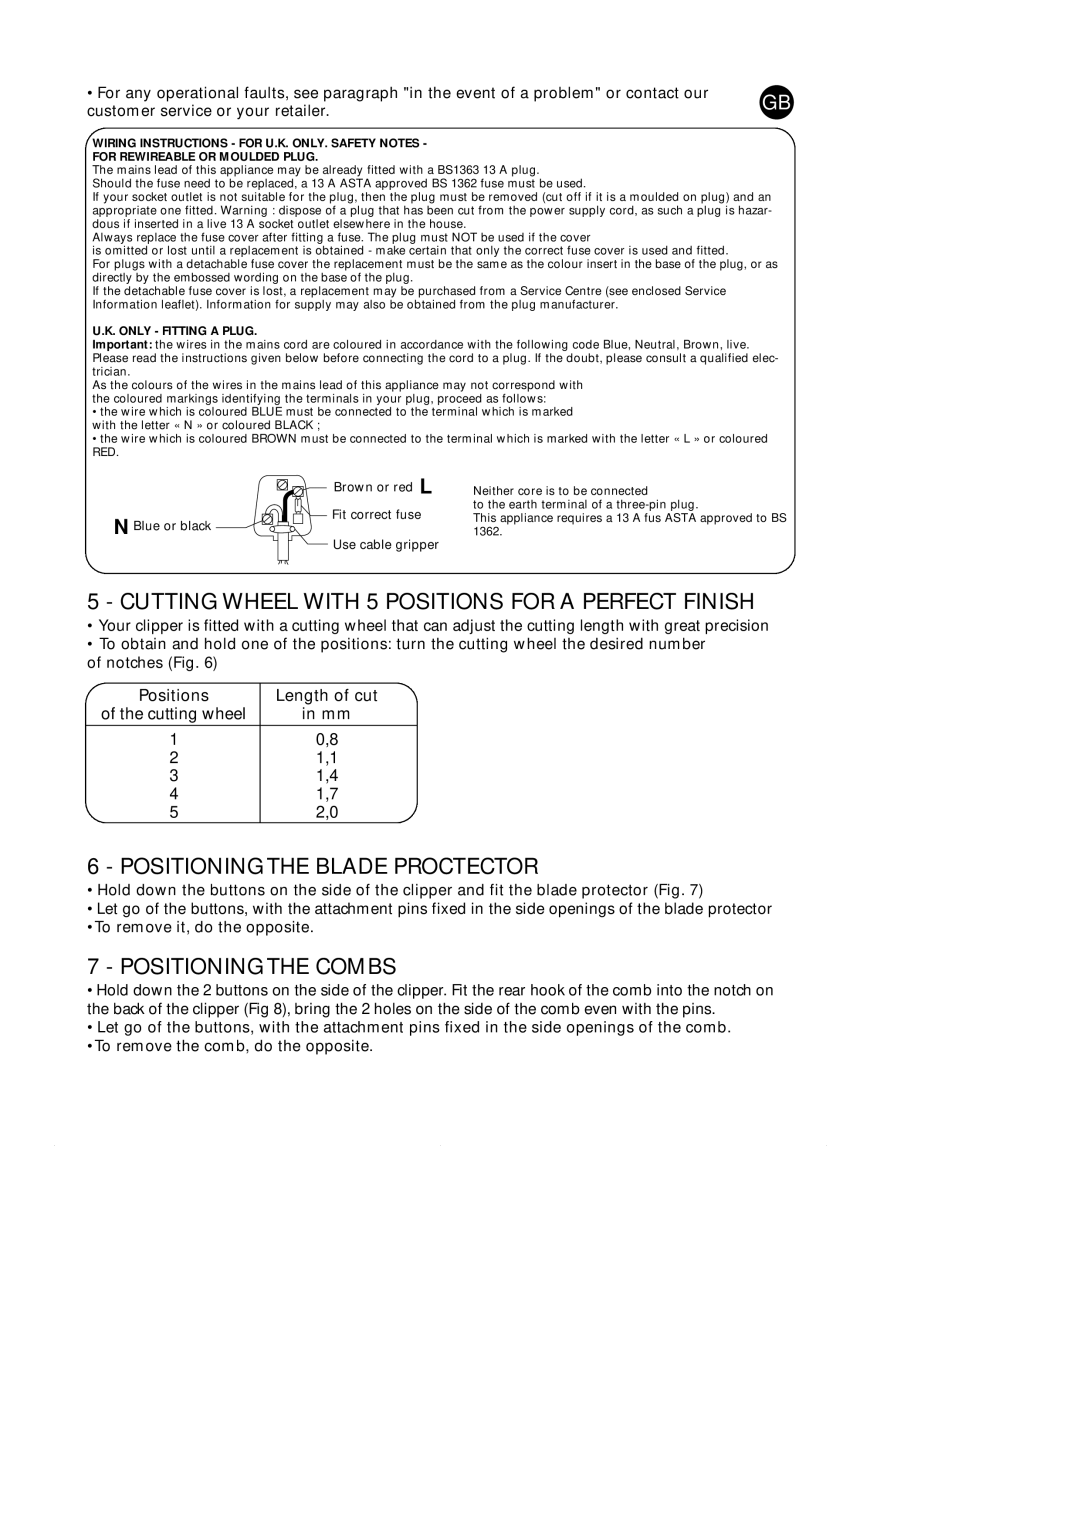
•the wire which is coloured BLUE must be connected to the terminal which is marked with the letter « N » or coloured BLACK ;
•the wire which is coloured BROWN must be connected to the terminal which is marked with the letter « L » or coloured RED.
Brown or red L
Fit correct fuse
N Blue or black
Use cable gripper
Neither core is to be connected
to the earth terminal of a
This appliance requires a 13 A fus ASTA approved to BS 1362.
5 - CUTTING WHEEL WITH 5 POSITIONS FOR A PERFECT FINISH
•Your clipper is fitted with a cutting wheel that can adjust the cutting length with great precision
•To obtain and hold one of the positions: turn the cutting wheel the desired number
of notches (Fig. 6)
Positions | Length of cut |
of the cutting wheel | in mm |
1 | 0,8 |
2 | 1,1 |
3 | 1,4 |
4 | 1,7 |
5 | 2,0 |
6 - POSITIONING THE BLADE PROCTECTOR
•Hold down the buttons on the side of the clipper and fit the blade protector (Fig. 7)
•Let go of the buttons, with the attachment pins fixed in the side openings of the blade protector
•To remove it, do the opposite.
7 - POSITIONING THE COMBS
•Hold down the 2 buttons on the side of the clipper. Fit the rear hook of the comb into the notch on the back of the clipper (Fig 8), bring the 2 holes on the side of the comb even with the pins.
•Let go of the buttons, with the attachment pins fixed in the side openings of the comb.
•To remove the comb, do the opposite.