CA4.4pi, 4-Zone specifications
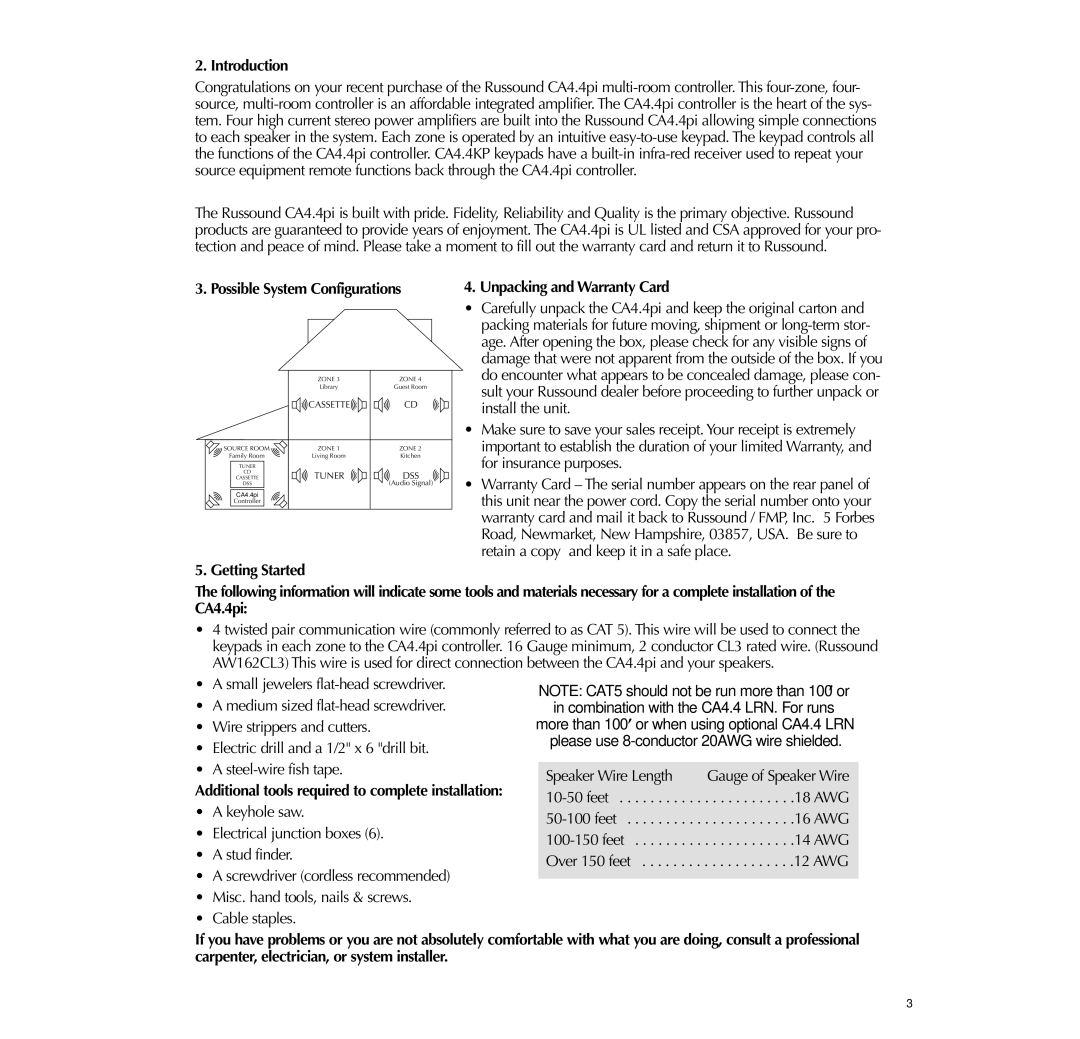
The Russound 4-Zone CA4.4pi is an advanced multi-room audio distribution amplifier designed for seamless sound distribution throughout residential spaces. With its robust features and flexible functionality, the CA4.4pi caters to audiophiles and casual listeners alike, ensuring high-quality audio performance in up to four distinct zones.One of the standout features of the CA4.4pi is its 4-channel amplification, capable of delivering a powerful 40 watts per channel. This ensures that each zone receives ample power for crisp and clear audio, whether it be in a living room, patio, or bedroom. The system's flexibility allows homeowners to customize the audio experience according to their preferences, enabling individual control over the volume and source selection in each zone.
Technologically, the Russound CA4.4pi integrates easily with a variety of sources and is capable of connecting to streaming services, local media servers, and FM radio. This versatility ensures that users have access to a wide range of audio content, whether it is their favorite playlists from a streaming service or their personal music library.
The design of CA4.4pi incorporates advanced digital processing, which enhances the sound quality and allows for precise adjustments based on the acoustics of each room. The unit also supports various input formats, including traditional analog and digital connectivity options, making it a suitable choice for diverse audio setups.
An essential characteristic of the CA4.4pi is its sleek and compact design, which easily fits into home entertainment systems without taking up excess space. It is also equipped with a user-friendly interface that simplifies operation, making it accessible even for those who may not be tech-savvy.
Additionally, the CA4.4pi can be easily integrated with home automation systems, allowing users to control the audio experience through smart devices or dedicated remotes. This connectivity enhances convenience, transforming how music is enjoyed in the home.
In summary, the Russound 4-Zone CA4.4pi is an unrivaled solution for distributing high-quality audio across multiple zones in a residential setting. With its powerful amplification, broad source compatibility, user-friendly interface, and integration capabilities, it stands out as a top choice for anyone looking to enhance their home audio experience.

