Ryobi P211 manuel dutilisation General Maintenance, Battery Pack Preparation for Recycling

Models: P211

1 40
Download 40 pages 58.33 Kb
Page 12
Image 12

MAINTENANCE

WARNING:

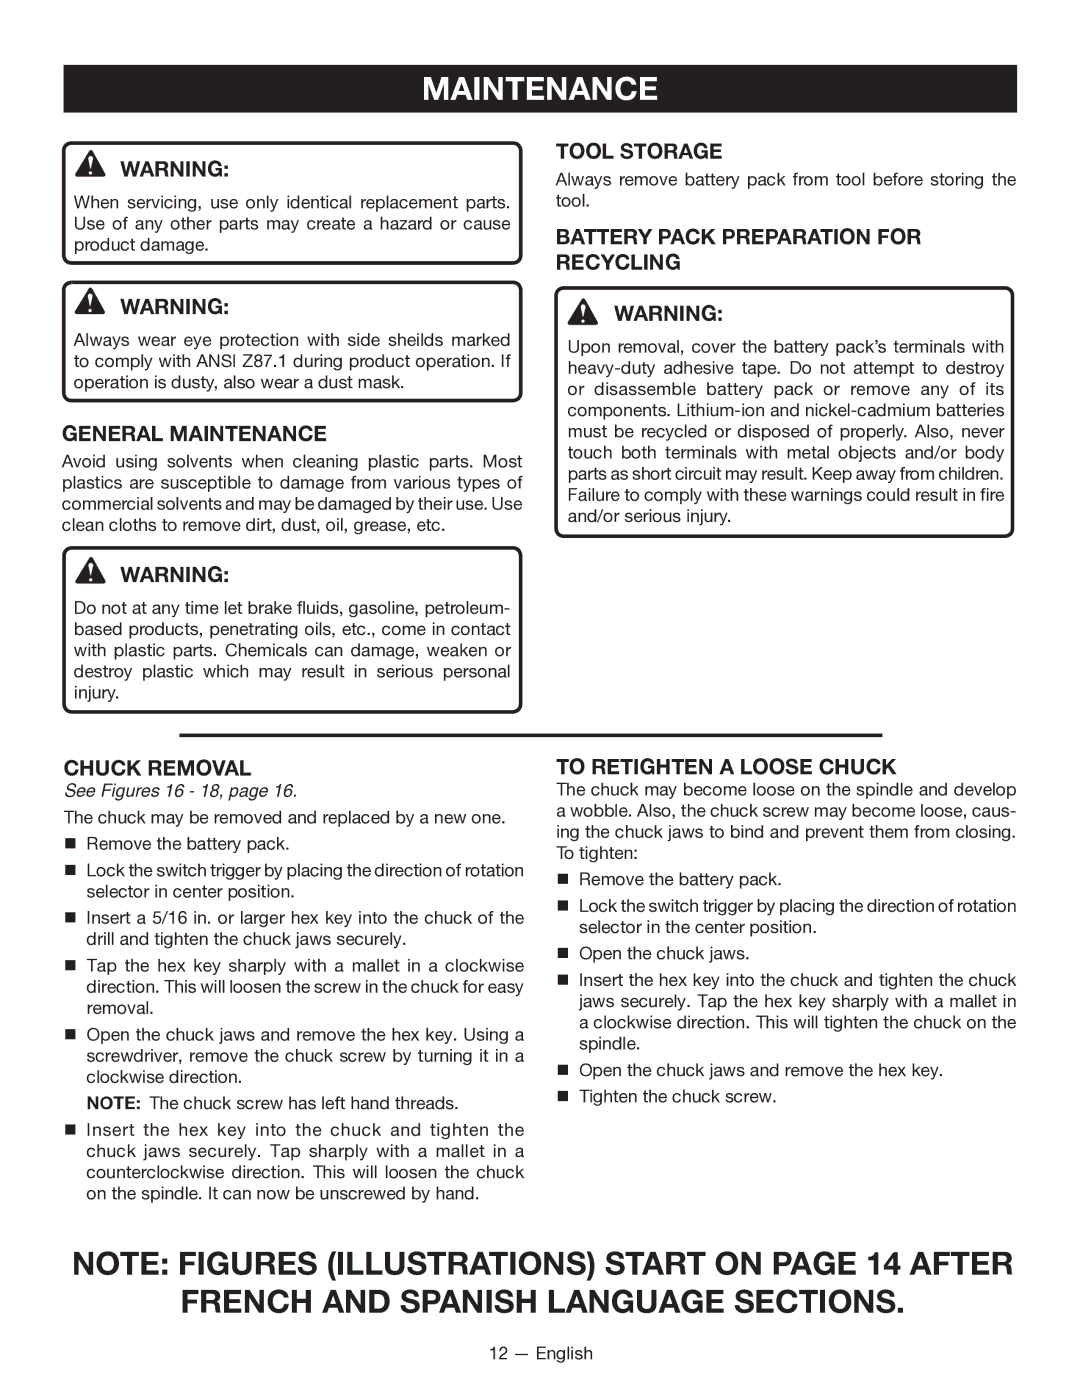
When servicing, use only identical replacement parts. Use of any other parts may create a hazard or cause product damage.

WARNING:

Always wear eye protection with side sheilds marked to comply with ANSI Z87.1 during product operation. If operation is dusty, also wear a dust mask.

GENERAL MAINTENANCE

Avoid using solvents when cleaning plastic parts. Most plastics are susceptible to damage from various types of commercial solvents and may be damaged by their use. Use clean cloths to remove dirt, dust, oil, grease, etc.

WARNING:

Do not at any time let brake fluids, gasoline, petroleum- based products, penetrating oils, etc., come in contact with plastic parts. Chemicals can damage, weaken or destroy plastic which may result in serious personal injury.

Tool STORAGE

Always remove battery pack from tool before storing the tool.

BATTERY PACK PREPARATION FOR RECYCLING

WARNING:

Upon removal, cover the battery pack’s terminals with heavy-duty adhesive tape. Do not attempt to destroy or disassemble battery pack or remove any of its components. Lithium-ion and nickel-cadmium batteries must be recycled or disposed of properly. Also, never touch both terminals with metal objects and/or body parts as short circuit may result. Keep away from children. Failure to comply with these warnings could result in fire and/or serious injury.

chuck removal

See Figures 16 - 18, page 16.

The chuck may be removed and replaced by a new one.

Remove the battery pack.

Lock the switch trigger by placing the direction of rotation selector in center position.

Insert a 5/16 in. or larger hex key into the chuck of the drill and tighten the chuck jaws securely.

Tap the hex key sharply with a mallet in a clockwise direction. This will loosen the screw in the chuck for easy removal.

Open the chuck jaws and remove the hex key. Using a screwdriver, remove the chuck screw by turning it in a clockwise direction.

Note:  The chuck screw has left hand threads.

Insert the hex key into the chuck and tighten the chuck jaws securely. Tap sharply with a mallet in a counterclockwise direction. This will loosen the chuck on the spindle. It can now be unscrewed by hand.

TO RETIGHTEN A LOOSE CHUCK

The chuck may become loose on the spindle and develop a wobble. Also, the chuck screw may become loose, caus- ing the chuck jaws to bind and prevent them from closing. To tighten:

Remove the battery pack.

Lock the switch trigger by placing the direction of rotation selector in the center position.

Open the chuck jaws.

Insert the hex key into the chuck and tighten the chuck jaws securely. Tap the hex key sharply with a mallet in a clockwise direction. This will tighten the chuck on the spindle.

Open the chuck jaws and remove the hex key.

Tighten the chuck screw.

NOTE: Figures (illustrations) start on page 14 after

French and Spanish language sections.

12 — English

Page 12
Image 12
Ryobi P211 manuel dutilisation General Maintenance, Battery Pack Preparation for Recycling, To Retighten a Loose Chuck

P211 specifications

The Ryobi P211 is a versatile and powerful tool that stands out in the market of cordless drills. As part of Ryobi’s ONE+ system, this tool operates on an 18V battery platform, making it compatible with other Ryobi tools. This feature alone provides convenience and flexibility for users who want to minimize battery inventories.

One of the standout features of the P211 is its 1/2 inch single sleeve keyless chuck, which provides easy and quick bit changes. This functionality is especially useful for busy professionals and DIY enthusiasts who often switch between various tasks. Additionally, the drill boasts an impressive two-speed transmission, allowing users to select between 0-450 RPM for low speed and 0-1,600 RPM for high speed. This dual-speed capability is essential for tackling different materials and applications, from delicate tasks requiring precision to heavier projects demanding speed and torque.

Equipped with a powerful motor, the Ryobi P211 delivers a maximum torque of 350 in-lbs, enabling users to drive screws and drill into various materials such as wood, metal, and plastic with ease. The 24-position clutch adds further control to the tool, allowing users to adjust the torque setting based on the specifics of the job, thus preventing overdriving and damage to the materials being worked on.

User comfort is also a priority in the design of the Ryobi P211. The drill features a rubberized grip that not only provides a secure hold but also minimizes vibrations, making extended use more comfortable. Furthermore, the built-in LED work light illuminates dark workspaces, providing visibility in tight or dimly lit areas, which is crucial for precision work.

In terms of construction, the Ryobi P211 is built with durability in mind. Its rugged design ensures it withstands the rigors of daily use, appealing to both professionals and DIYers alike. The combination of features, power, and comfort makes the Ryobi P211 a reliable choice for a wide range of tasks, whether drilling pilot holes, driving screws, or working on home improvement projects. Overall, this tool embodies Ryobi's commitment to innovation and practicality, making it a valuable addition to any toolbox.