OPERATION
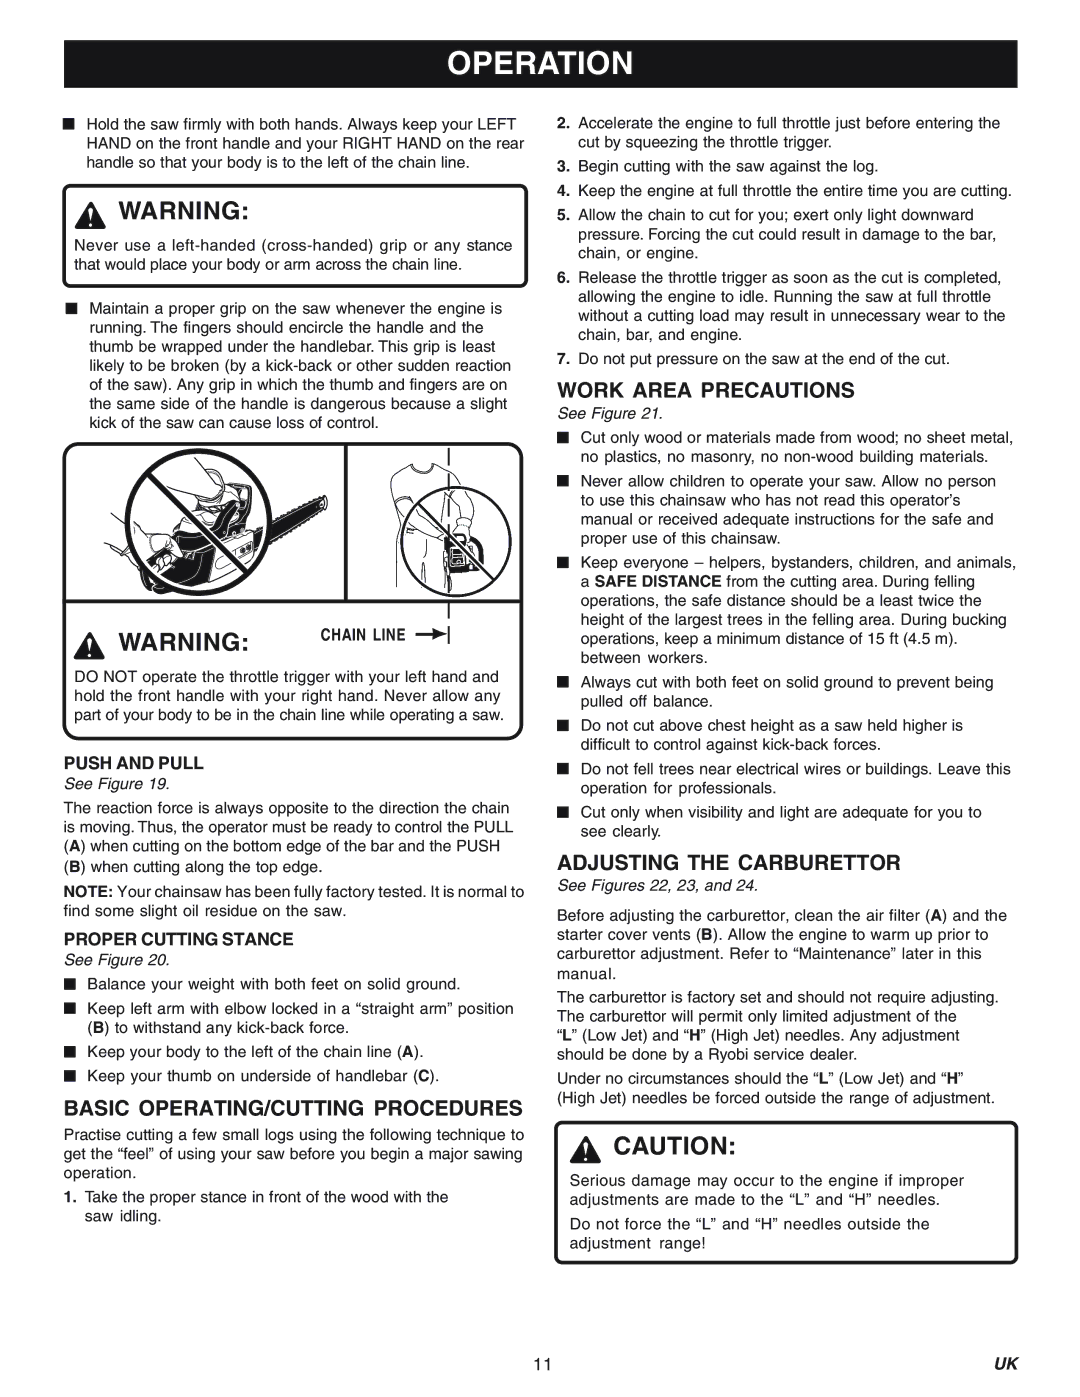
■Hold the saw firmly with both hands. Always keep your LEFT HAND on the front handle and your RIGHT HAND on the rear handle so that your body is to the left of the chain line.
![]() WARNING:
WARNING:
Never use a
■Maintain a proper grip on the saw whenever the engine is running. The fingers should encircle the handle and the thumb be wrapped under the handlebar. This grip is least likely to be broken (by a
WARNING: | CHAIN LINE |
|
DO NOT operate the throttle trigger with your left hand and hold the front handle with your right hand. Never allow any part of your body to be in the chain line while operating a saw.
PUSH AND PULL
See Figure 19.
The reaction force is always opposite to the direction the chain is moving. Thus, the operator must be ready to control the PULL (A) when cutting on the bottom edge of the bar and the PUSH
(B) when cutting along the top edge.
NOTE: Your chainsaw has been fully factory tested. It is normal to find some slight oil residue on the saw.
PROPER CUTTING STANCE
See Figure 20.
■Balance your weight with both feet on solid ground.
■Keep left arm with elbow locked in a “straight arm” position (B) to withstand any
■Keep your body to the left of the chain line (A).
■Keep your thumb on underside of handlebar (C).
BASIC OPERATING/CUTTING PROCEDURES
Practise cutting a few small logs using the following technique to get the “feel” of using your saw before you begin a major sawing operation.
1.Take the proper stance in front of the wood with the saw idling.
2.Accelerate the engine to full throttle just before entering the cut by squeezing the throttle trigger.
3.Begin cutting with the saw against the log.
4.Keep the engine at full throttle the entire time you are cutting.
5.Allow the chain to cut for you; exert only light downward pressure. Forcing the cut could result in damage to the bar, chain, or engine.
6.Release the throttle trigger as soon as the cut is completed, allowing the engine to idle. Running the saw at full throttle without a cutting load may result in unnecessary wear to the chain, bar, and engine.
7.Do not put pressure on the saw at the end of the cut.
WORK AREA PRECAUTIONS
See Figure 21.
■Cut only wood or materials made from wood; no sheet metal, no plastics, no masonry, no
■Never allow children to operate your saw. Allow no person to use this chainsaw who has not read this operator’s manual or received adequate instructions for the safe and proper use of this chainsaw.
■Keep everyone – helpers, bystanders, children, and animals, a SAFE DISTANCE from the cutting area. During felling operations, the safe distance should be a least twice the height of the largest trees in the felling area. During bucking operations, keep a minimum distance of 15 ft (4.5 m). between workers.
■Always cut with both feet on solid ground to prevent being pulled off balance.
■Do not cut above chest height as a saw held higher is difficult to control against
■Do not fell trees near electrical wires or buildings. Leave this operation for professionals.
■Cut only when visibility and light are adequate for you to see clearly.
ADJUSTING THE CARBURETTOR
See Figures 22, 23, and 24.
Before adjusting the carburettor, clean the air filter (A) and the starter cover vents (B). Allow the engine to warm up prior to carburettor adjustment. Refer to “Maintenance” later in this manual.
The carburettor is factory set and should not require adjusting. The carburettor will permit only limited adjustment of the
“L” (Low Jet) and “H” (High Jet) needles. Any adjustment should be done by a Ryobi service dealer.
Under no circumstances should the “L” (Low Jet) and “H” (High Jet) needles be forced outside the range of adjustment.
![]() CAUTION:
CAUTION:
Serious damage may occur to the engine if improper adjustments are made to the “L” and “H” needles.
Do not force the “L” and “H” needles outside the adjustment range!
11 | UK |
