|
| FEATURES | |
|
|
| |
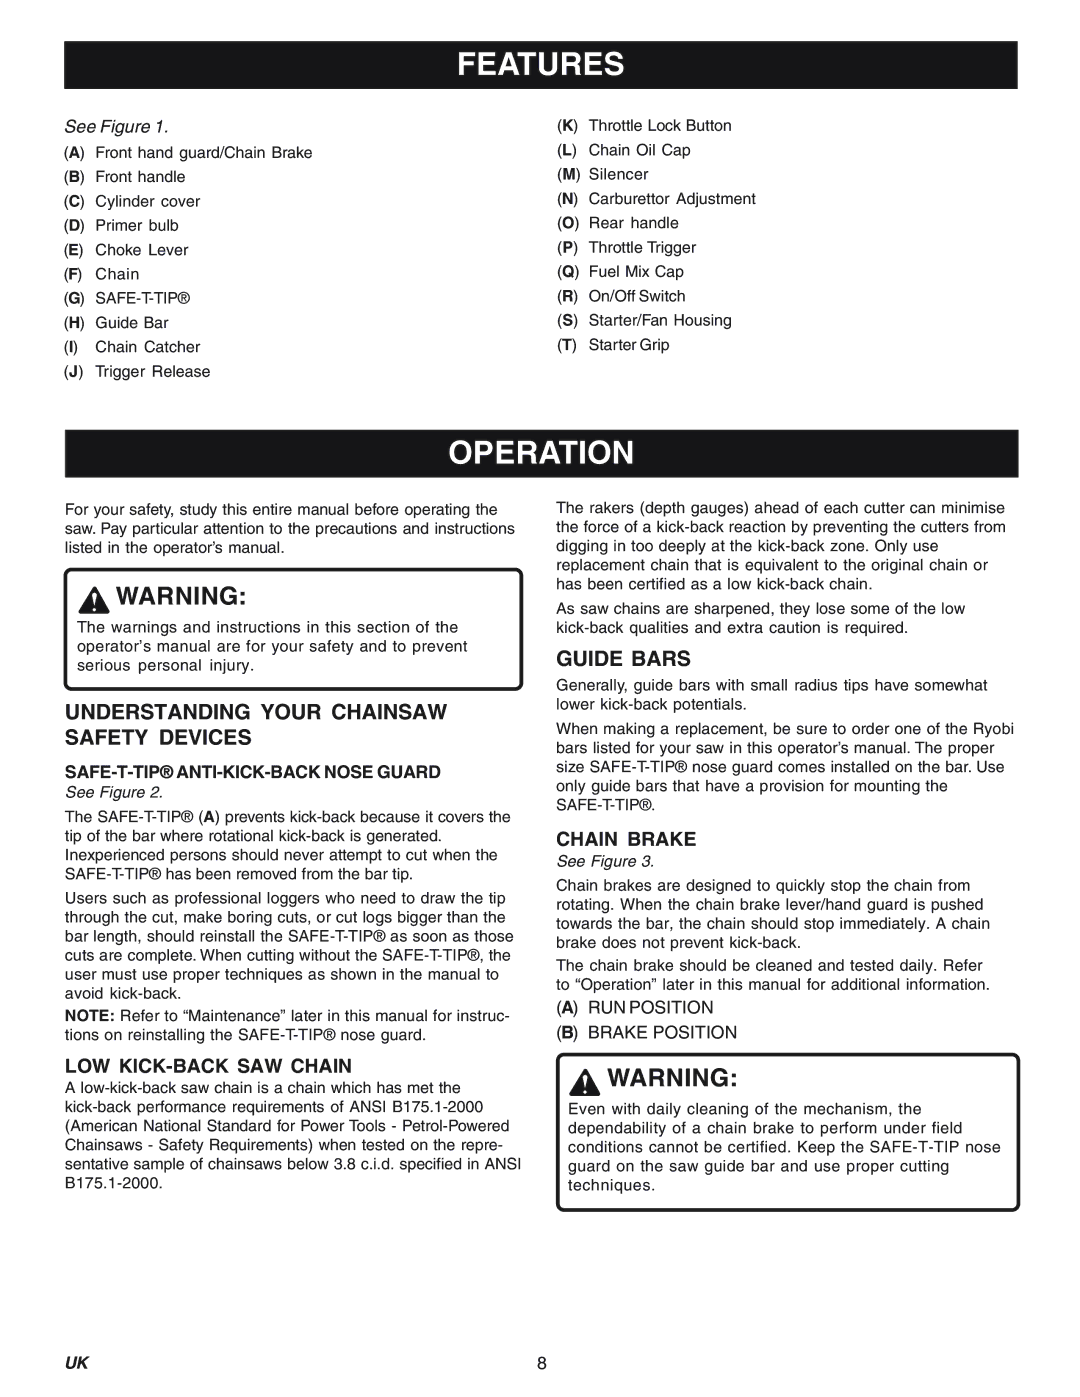
See Figure 1. | (K) | Throttle Lock Button | |
(A) | Front hand guard/Chain Brake | (L) | Chain Oil Cap |
(B) | Front handle | (M) | Silencer |
(C) | Cylinder cover | (N) | Carburettor Adjustment |
(D) | Primer bulb | (O) | Rear handle |
(E) | Choke Lever | (P) | Throttle Trigger |
(F) | Chain | (Q) | Fuel Mix Cap |
(G) | (R) | On/Off Switch | |
(H) | Guide Bar | (S) | Starter/Fan Housing |
(I) | Chain Catcher | (T) | Starter Grip |
(J) | Trigger Release |
|
|
OPERATION
For your safety, study this entire manual before operating the saw. Pay particular attention to the precautions and instructions listed in the operator’s manual.
![]() WARNING:
WARNING:
The warnings and instructions in this section of the operator’s manual are for your safety and to prevent serious personal injury.
UNDERSTANDING YOUR CHAINSAW SAFETY DEVICES
SAFE-T-TIP® ANTI-KICK-BACK NOSE GUARD
See Figure 2.
The
Users such as professional loggers who need to draw the tip through the cut, make boring cuts, or cut logs bigger than the bar length, should reinstall the
NOTE: Refer to “Maintenance” later in this manual for instruc- tions on reinstalling the
The rakers (depth gauges) ahead of each cutter can minimise the force of a
As saw chains are sharpened, they lose some of the low
GUIDE BARS
Generally, guide bars with small radius tips have somewhat lower
When making a replacement, be sure to order one of the Ryobi bars listed for your saw in this operator’s manual. The proper size
CHAIN BRAKE
See Figure 3.
Chain brakes are designed to quickly stop the chain from rotating. When the chain brake lever/hand guard is pushed towards the bar, the chain should stop immediately. A chain brake does not prevent
The chain brake should be cleaned and tested daily. Refer to “Operation” later in this manual for additional information.
(A) RUN POSITION
(B) BRAKE POSITION
LOW KICK-BACK SAW CHAIN
A
![]() WARNING:
WARNING:
Even with daily cleaning of the mechanism, the dependability of a chain brake to perform under field conditions cannot be certified. Keep the
UK | 8 |
