OPERATION
ROUTING GROOVES PARALLEL TO AN EDGE
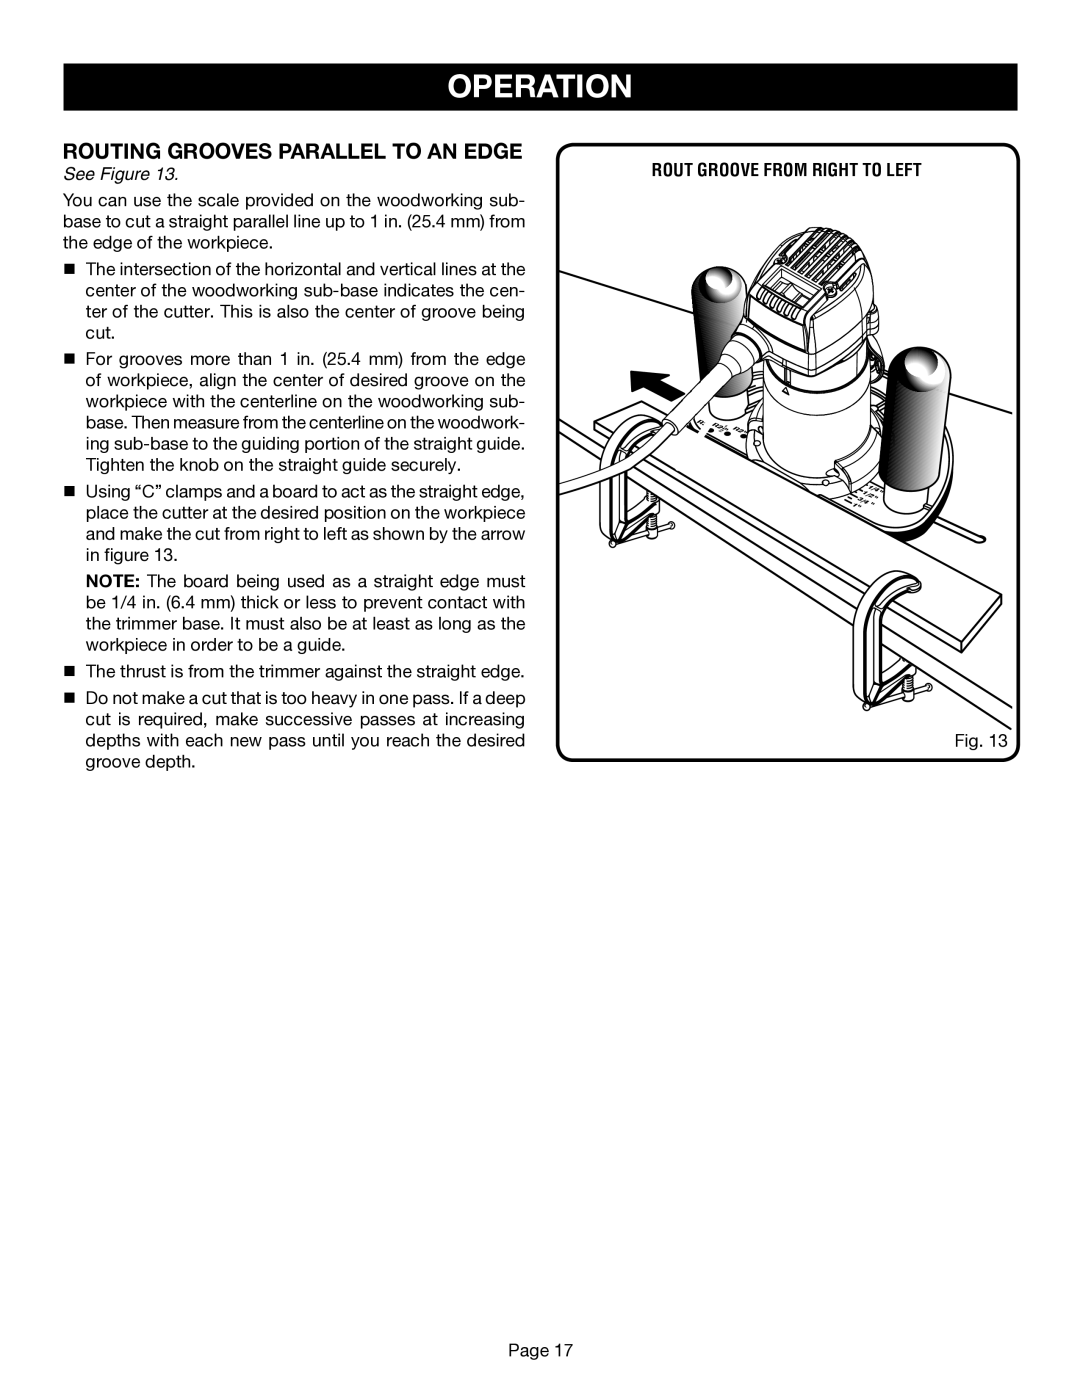
See Figure 13.
You can use the scale provided on the woodworking sub- base to cut a straight parallel line up to 1 in. (25.4 mm) from the edge of the workpiece.
nThe intersection of the horizontal and vertical lines at the center of the woodworking
nFor grooves more than 1 in. (25.4 mm) from the edge of workpiece, align the center of desired groove on the workpiece with the centerline on the woodworking sub- base. Then measure from the centerline on the woodwork- ing
nUsing “C” clamps and a board to act as the straight edge, place the cutter at the desired position on the workpiece and make the cut from right to left as shown by the arrow in figure 13.
NOTE: The board being used as a straight edge must be 1/4 in. (6.4 mm) thick or less to prevent contact with the trimmer base. It must also be at least as long as the workpiece in order to be a guide.
nThe thrust is from the trimmer against the straight edge.
nDo not make a cut that is too heavy in one pass. If a deep cut is required, make successive passes at increasing depths with each new pass until you reach the desired groove depth.
ROUT GROOVE FROM RIGHT TO LEFT
R |
|
|
|
|
3 R | 1 |
|
| |
| 2 | R | 2 | |
| 2 |
| ||
| 1/ | |
| 1/ | 4 |
| 2 |
|
| 3/ |
|
1 | 4 |
|
Fig. 13
Page 17