24 | CONTROLS AND MACHINE PARTS - SET UP |
SETTING UP THE MACHINE AND USE | 25 |
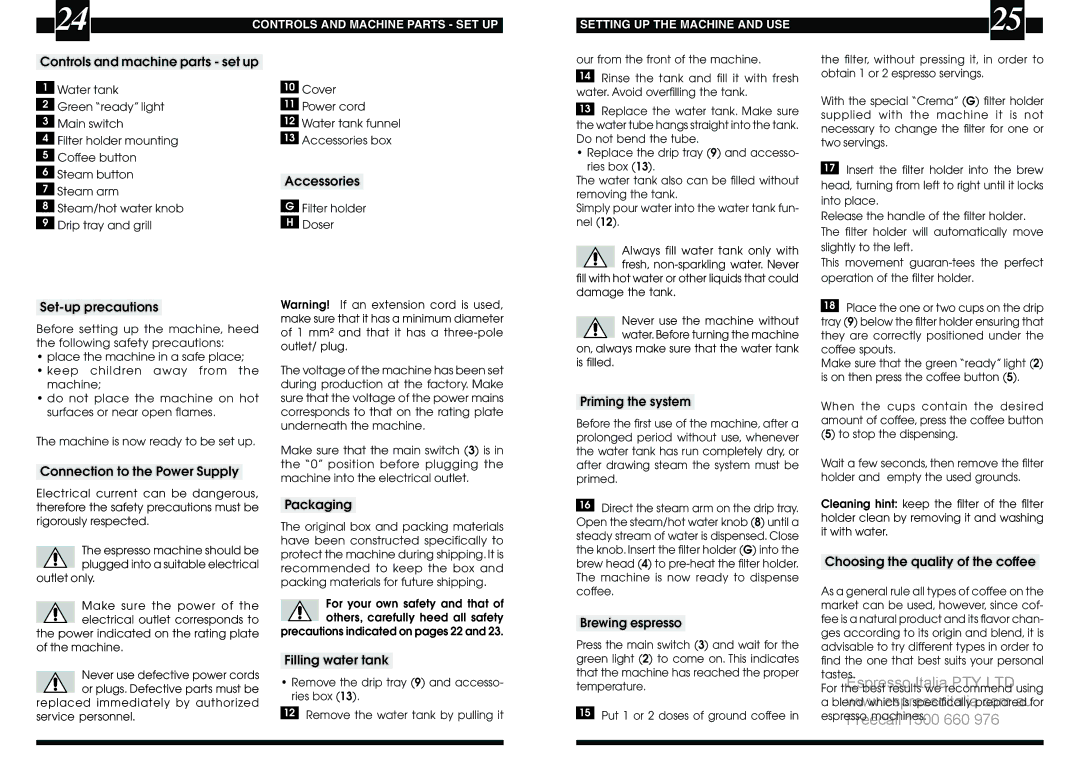
Controls and machine parts - set up
1Water tank
2Green “ready” light
3Main switch
4Filter holder mounting
5Coffee button
6Steam button
7Steam arm
8Steam/hot water knob
9Drip tray and grill
Set-up precautions
Before setting up the machine, heed the following safety precautions:
•place the machine in a safe place;
•keep children away from the machine;
•do not place the machine on hot surfaces or near open flames.
The machine is now ready to be set up.
Connection to the Power Supply
Electrical current can be dangerous, therefore the safety precautions must be rigorously respected.
The espresso machine should be ![]() plugged into a suitable electrical outlet only.
plugged into a suitable electrical outlet only.
Make sure the power of the ![]() electrical outlet corresponds to the power indicated on the rating plate of the machine.
electrical outlet corresponds to the power indicated on the rating plate of the machine.
10Cover
11Power cord
12Water tank funnel
13Accessories box
Accessories
GFilter holder H Doser
Warning! If an extension cord is used, make sure that it has a minimum diameter of 1 mm² and that it has a
The voltage of the machine has been set during production at the factory. Make sure that the voltage of the power mains corresponds to that on the rating plate underneath the machine.
Make sure that the main switch (3) is in the “0” position before plugging the machine into the electrical outlet.
Packaging
The original box and packing materials have been constructed specifically to protect the machine during shipping. It is recommended to keep the box and packing materials for future shipping.
For your own safety and that of ![]() others, carefully heed all safety precautions indicated on pages 22 and 23.
others, carefully heed all safety precautions indicated on pages 22 and 23.
our from the front of the machine.
14Rinse the tank and fill it with fresh water. Avoid overfilling the tank.
13Replace the water tank. Make sure the water tube hangs straight into the tank. Do not bend the tube.
•Replace the drip tray (9) and accesso- ries box (13).
The water tank also can be filled without removing the tank.
Simply pour water into the water tank fun- nel (12).
Always fill water tank only with ![]() fresh,
fresh,
Never use the machine without ![]() water.Before turning the machine on, always make sure that the water tank is filled.
water.Before turning the machine on, always make sure that the water tank is filled.
Priming the system
Before the first use of the machine, after a prolonged period without use, whenever the water tank has run completely dry, or after drawing steam the system must be primed.
16Direct the steam arm on the drip tray. Open the steam/hot water knob (8) until a steady stream of water is dispensed. Close the knob. Insert the filter holder (G) into the brew head (4) to
Brewing espresso
Press the main switch (3) and wait for the
the filter, without pressing it, in order to obtain 1 or 2 espresso servings.
With the special “Crema” (G) filter holder supplied with the machine it is not necessary to change the filter for one or two servings.
17Insert the filter holder into the brew head, turning from left to right until it locks into place.
Release the handle of the filter holder. The filter holder will automatically move slightly to the left.
This movement
18Place the one or two cups on the drip tray (9) below the filter holder ensuring that they are correctly positioned under the coffee spouts.
Make sure that the green “ready” light (2) is on then press the coffee button (5).
When the cups contain the desired amount of coffee, press the coffee button (5) to stop the dispensing.
Wait a few seconds, then remove the filter holder and empty the used grounds.
Cleaning hint: keep the filter of the filter holder clean by removing it and washing it with water.
Choosing the quality of the coffee
As a general rule all types of coffee on the market can be used, however, since cof- fee is a natural product and its flavor chan- ges according to its origin and blend, it is advisable to try different types in order to
|
| Filling water tank |
| ||
| Never use defective power cords | • Remove the drip tray (9) and accesso- | |||
| |||||
| or plugs. Defective parts must be | ||||
| ries box (13). | ||||
replaced immediately by authorized | |||||
|
|
| |||
12 | Remove the water tank by pulling it | ||||
service personnel. | |||||
| |||||
|
|
|
|
| |
|
|
|
|
| |
green light (2) to come on. This indicates that the machine has reached the proper temperature.
15Put 1 or 2 doses of ground coffee in
find the one that best suits your personal
tastes.
Espresso Italia PTY LTD
For the best results we recommend using a blendwwwhich.espressoitaliais specific y prepared.com.aufor