6
Notes
Photo 24
Photo 25
Photo 26
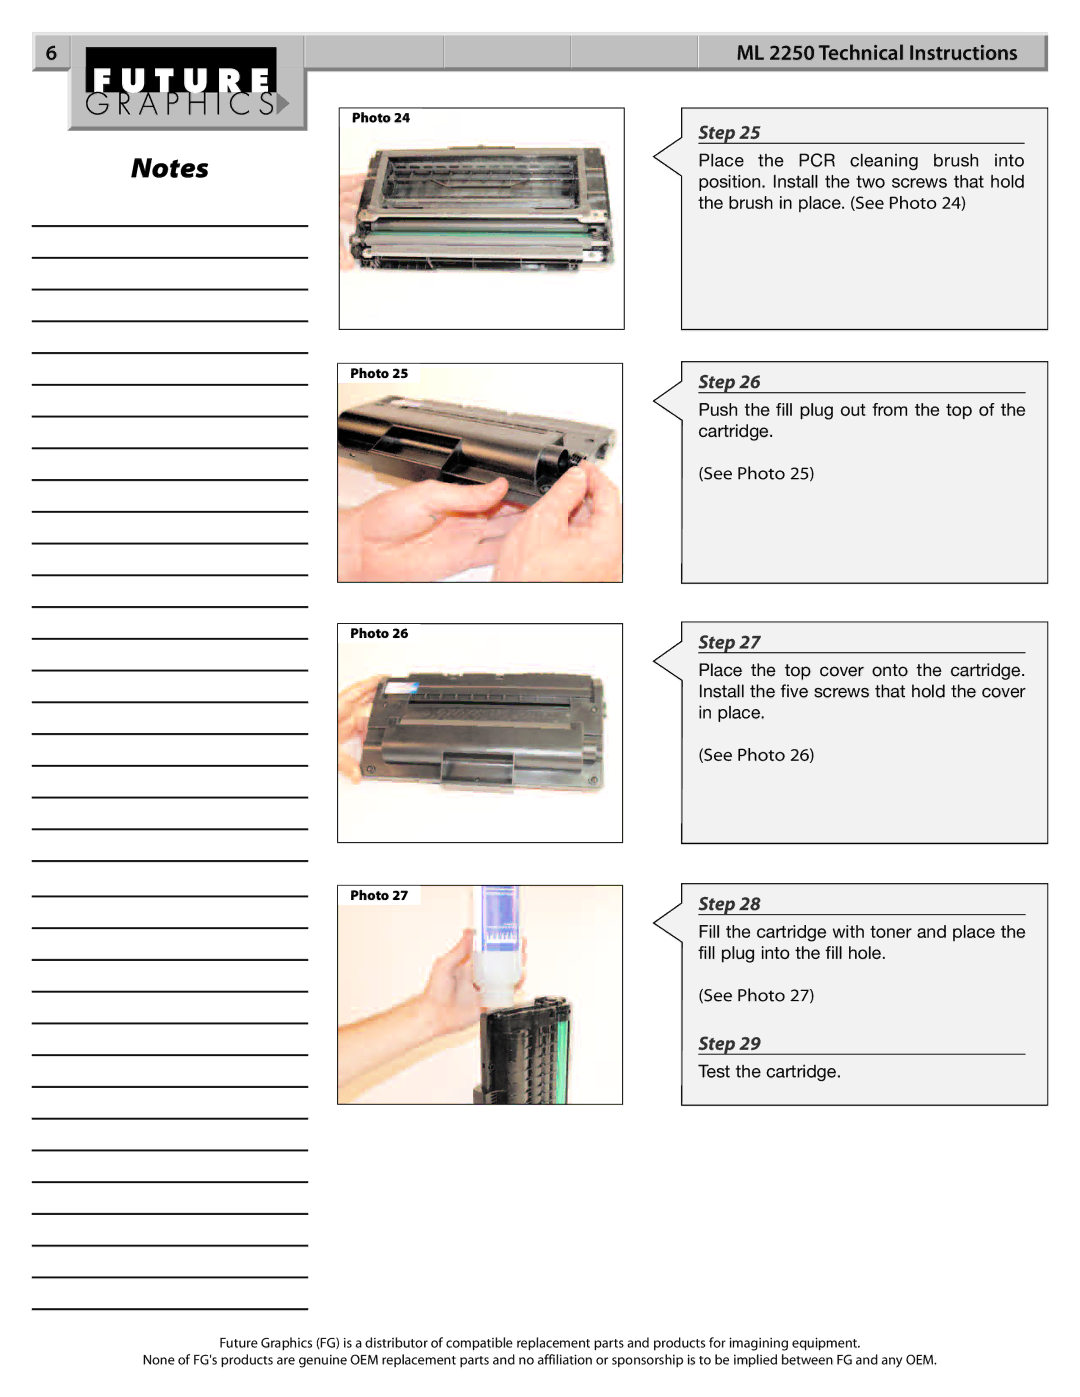
Photo 27
ML 2250 Technical Instructions
Step 25
Place the PCR cleaning brush into position. Install the two screws that hold the brush in place. (See Photo 24)
Step 26
Push the fill plug out from the top of the cartridge.
(See Photo 25)
Step 27
Place the top cover onto the cartridge. Install the five screws that hold the cover in place.
(See Photo 26)
Step 28
Fill the cartridge with toner and place the fill plug into the fill hole.
(See Photo 27)
Step 29
Test the cartridge.
Future Graphics (FG) is a distributor of compatible replacement parts and products for imagining equipment.
None of FG's products are genuine OEM replacement parts and no affiliation or sponsorship is to be implied between FG and any OEM.