■■ Add / Delete: Delete or add a channel to display the channels you want.

NOTE

xx All deleted channels will be shown on the All Channels menu.

xx A gray-colored channel indicates the channel has been deleted.

xx The Add menu only appears for deleted channels.

xx Delete a channel from the Added Channels or Favorite menu in the same manner.

■■ Timer Viewing: You can set a desired channel to be displayed automatically at the reserved time. Set the current time first to use this function.

1.Press the ◄ / ► / ▲ / ▼ buttons to select the desired channel in Channel List.

2.Press the TOOLS button, then select Timer Viewing.

3.Scroll up or down to adjust the settings in the box, or use the numeric buttons on your remote to enter the date and time.

If you selected Once, Everyday, Every Week,

Mon~Fri, Mon~Tue, Wed~Thu, or Sat~Sun in Repeat, you can enter the date you want.

4.Select OK, then press the ENTEREbutton when done.

NOTE

xx Only memorized channels can be reserved.

xx Reserved programs will be displayed in the Programmed menu.

xx When a digital channel is selected, press the ► button to view the digital program.

■■ Select All: Select all the channels in the channel list.

■■ Deselect All: Deselect all the selected channels.

You can only select Deselect All when one or more channels are selected.

■■ Auto Program: Scans for a channel automatically and stores in the TV. (P.14)

Programmed

(in Channel List)

You can view, modify or delete a show you have reserved to watch. Programmed timer viewing is displayed here. Highlight a program and press the TOOLS button to display Options.

■■ Change Info: Change a show you have reserved to watch. Begin with step 3 of “Timer Viewing,” above.

■■ Cancel Schedules: Cancel a show you have reserved to watch.

This deletes the highlighted or selected program(s).

■■ Information: Display a show you have reserved to watch. (You can also change the reservation Information.)

Alternatively, you can view Information by highlighting a program and pressing the ENTER

Ebutton

■■ Select All / Deselect All: Select or deselect all reserved programs.

Fine Tune

(analog channels only)

If the reception is clear, you do not have to fine tune the channel, as this is done automatically during the search and store operation. If the signal is weak or distorted, fine tune the channel manually. Scroll to the left or right until the image is clear.

Settings are applied to the channel you’re currently watching.

Fine tuned channels that have been saved are marked with an asterisk “*” on the right-hand side of the channel number in the channel banner.

To reset the fine-tuning, select Reset.

Picture Menu

¦¦ Changing the Preset Picture Mode

OO MENUm→ Picture → Mode → ENTERE

Mode t

Select your preferred picture type.

■■ Dynamic: Suitable for a bright room.

■■ Standard: Suitable for a normal environment.

■■ Movie: Suitable for watching movies in a dark room.

¦¦ Adjusting Picture Settings

OO MENUm→ Picture → ENTERE

Cell Light / Contrast / Brightness / Sharpness / Color / Tint (G/R)

Your television has several setting options for picture quality control.

English 15

03 Basic Features

Page 15
Image 15
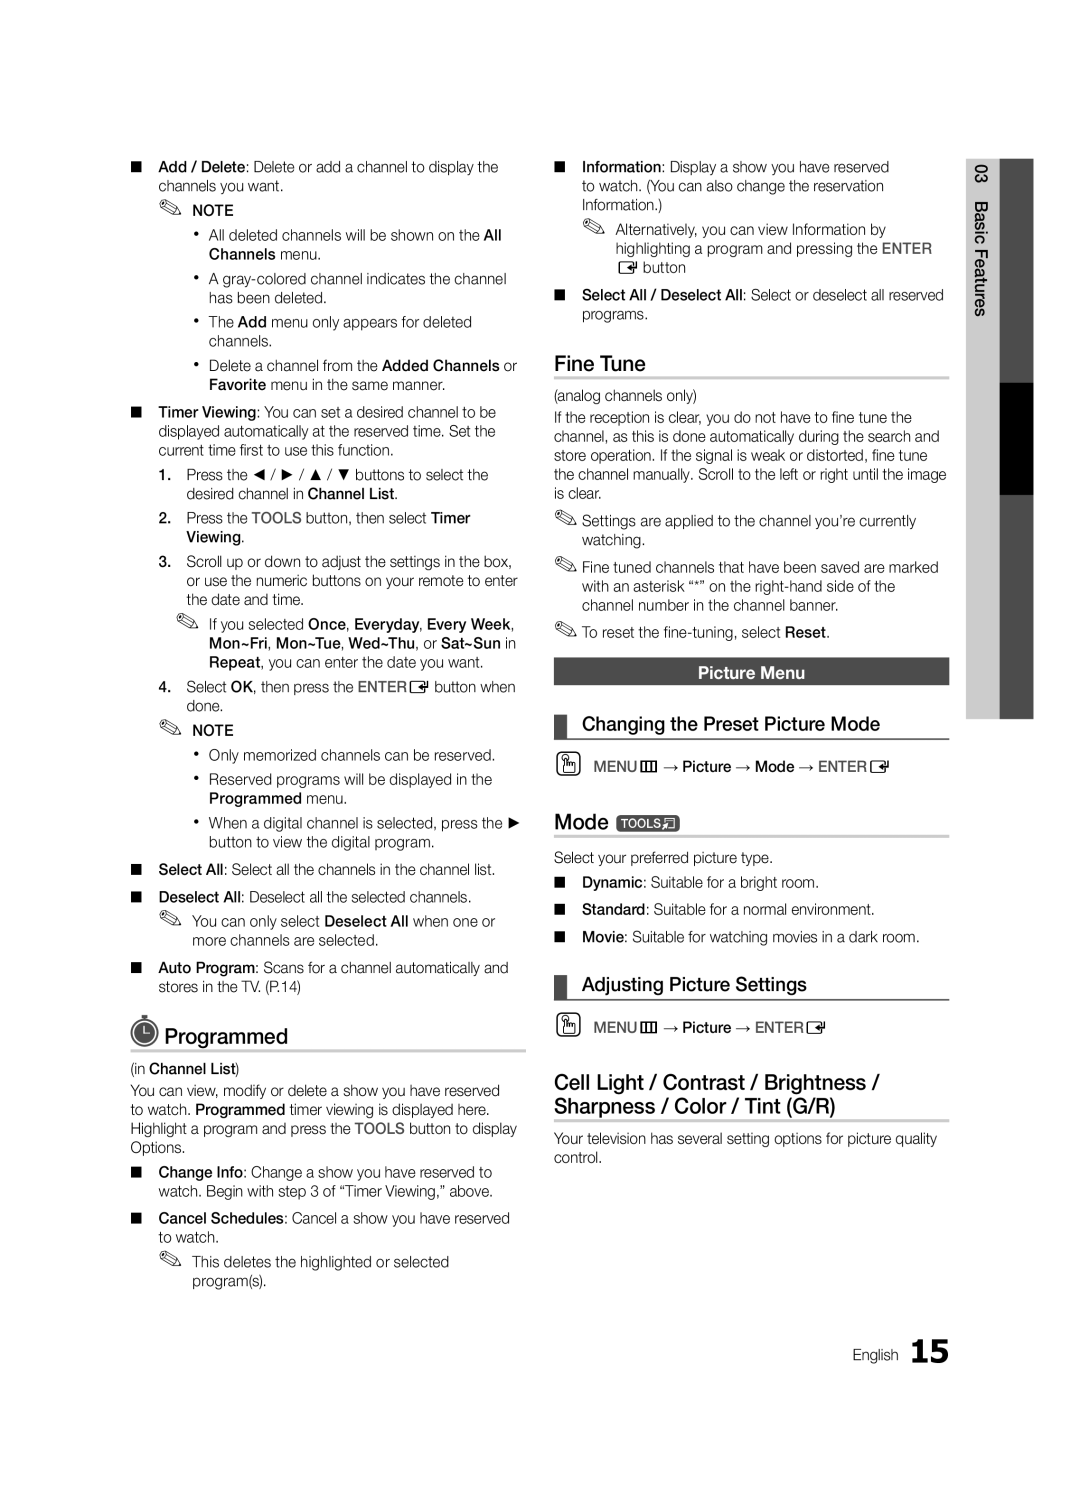
Samsung 530 user manual Programmed, Fine Tune, Mode t, Picture Menu

530 specifications

The Samsung 530 is a versatile and powerful laptop designed to meet the needs of both casual users and professionals alike. Packed with innovative features, this device stands out in the competitive laptop market, catering to a variety of tasks ranging from basic computing to demanding applications.

One of the notable features of the Samsung 530 is its sleek and lightweight design. Weighing less than 4 pounds, it is easily portable, making it ideal for students and professionals on the go. The laptop boasts a slim profile that complements its sophisticated aesthetics, available in an array of colors that appeal to different tastes.

The display is another highlight of the Samsung 530. With a Full HD resolution, the 15.6-inch screen delivers vibrant colors and sharp images, making it perfect for both multimedia consumption and productivity tasks. The anti-glare coating reduces reflections, ensuring a comfortable viewing experience in various lighting conditions.

Under the hood, the Samsung 530 is equipped with powerful hardware. Depending on the model configuration, it features the latest Intel or AMD processors, providing the speed and efficiency required for multitasking. Users can choose from various RAM options, offering up to 16GB for seamless performance with demanding applications.

Storage is a critical aspect of any laptop, and the Samsung 530 addresses this by providing both SSD and HDD options. An SSD ensures quick boot times and rapid file access, while the HDD option offers ample space for larger files and documents. Such flexibility caters to different storage needs, enhancing user experience.

Connectivity options on the Samsung 530 are extensive. It includes multiple USB ports, HDMI output, and a card reader, allowing users to easily connect external devices and transfer files. The laptop also supports Wi-Fi 6, ensuring high-speed internet connectivity and stable connections for online activities.

Security features are integrated into this laptop, providing peace of mind. With a fingerprint reader and facial recognition technology, users can quickly and securely access their device, minimizing the risk of unauthorized access.

In conclusion, the Samsung 530 is a well-rounded laptop that combines style, performance, and functionality. Its impressive display, powerful hardware configurations, ample storage options, and robust connectivity features make it a compelling choice for users seeking a reliable computing solution. Whether for work or leisure, the Samsung 530 is designed to adapt to the dynamic needs of its users.