710NT specifications
The Samsung 710NT is a versatile and innovative display solution that caters to diverse professional environments, including retail, transportation, and corporate settings. With its impressive array of features and cutting-edge technology, it stands out as a reliable choice for businesses looking to enhance their visual communication.One of the key characteristics of the Samsung 710NT is its impressive display performance. Featuring a high-resolution panel, it delivers stunning visuals with vibrant colors and sharp details. The resolution allows for clear presentations, promotional content, or information display, ensuring that messages are effectively conveyed to the audience. The display boasts a wide viewing angle, which is essential for crowded environments where multiple viewers may be watching from different positions.
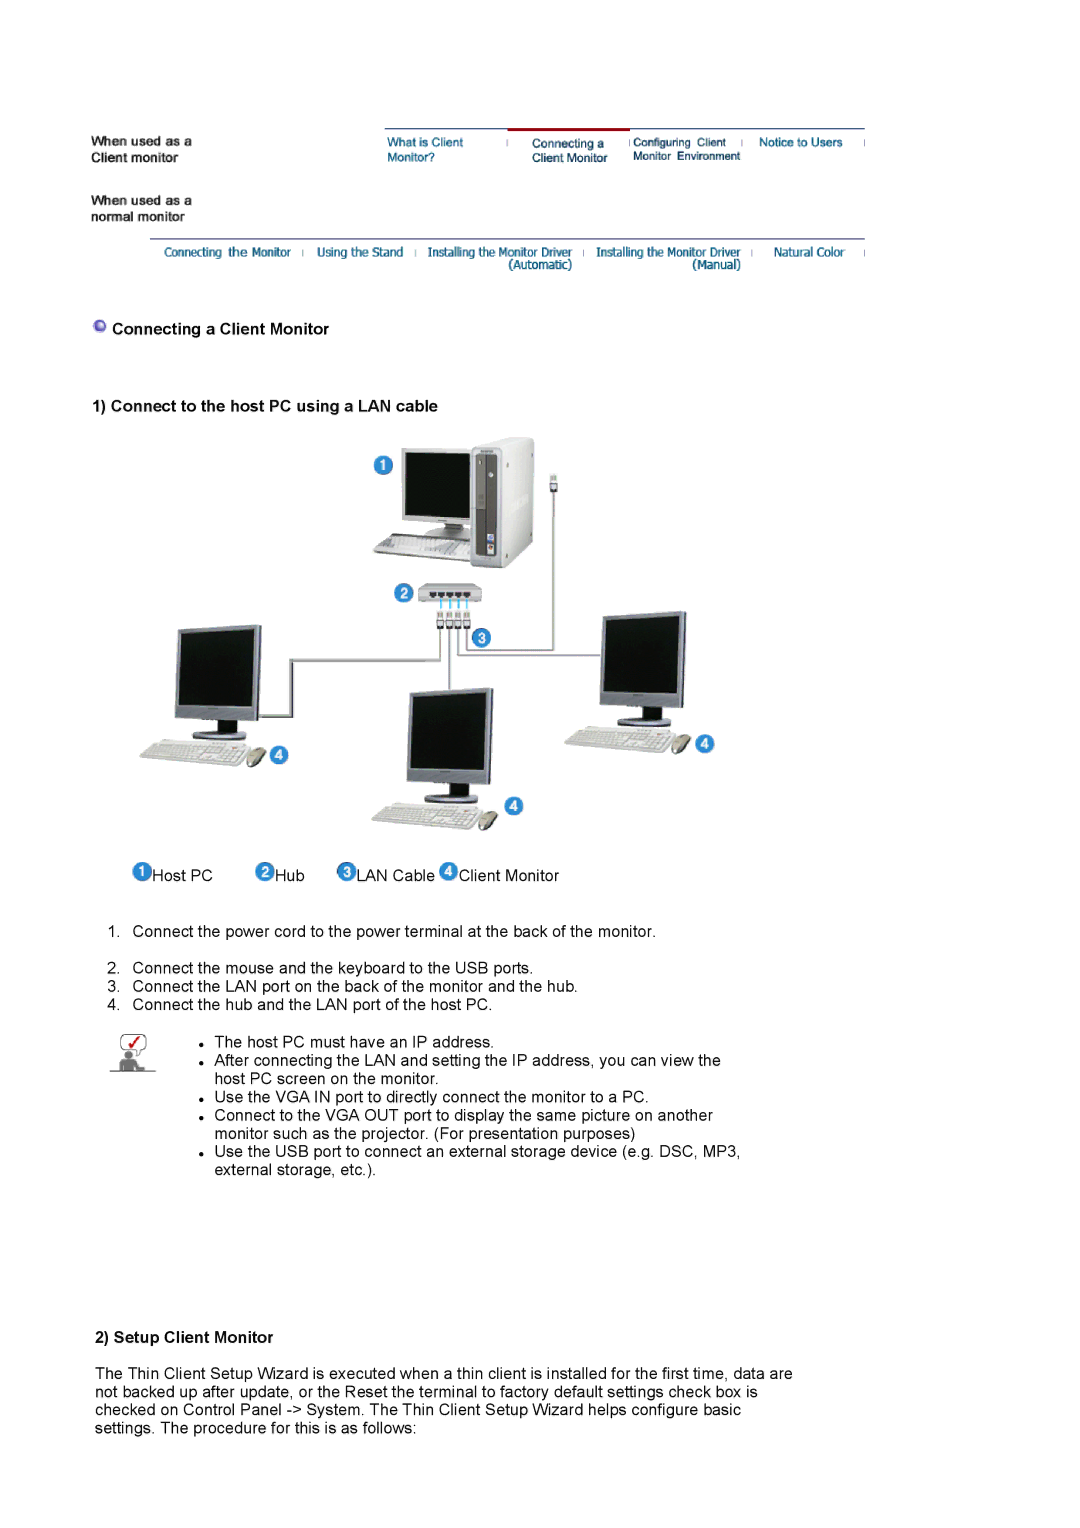
The Samsung 710NT incorporates advanced connectivity options, making it compatible with various devices and platforms. It supports multiple input interfaces, including HDMI, DisplayPort, and USB, allowing seamless integration with computers, media players, and other peripherals. This flexibility ensures that businesses have the tools they need for effective presentations and digital signage.
In terms of design, the Samsung 710NT features a sleek and modern aesthetic that fits well in any professional setting. Its slim profile and narrow bezels maximize the screen real estate, providing an immersive viewing experience. This design not only enhances the device's visual appeal but also makes it suitable for wall mounting in retail spaces or lobbies.
The Samsung 710NT is equipped with Smart Signage technology, enabling users to remotely manage and control the content displayed on the screen. This feature is invaluable for businesses that require dynamic content updates, as it allows for real-time changes without the need for physical interaction with the display.
Additionally, the durability and reliability of the Samsung 710NT are noteworthy. Designed for continuous operation, it ensures minimal downtime, which is crucial for businesses that rely on consistent communication with their audience.
Overall, the Samsung 710NT combines cutting-edge display technology, versatile connectivity, and smart management features, making it an excellent choice for businesses aiming to enhance their visual communication strategies. With its robust build and exceptional performance, it stands as a testament to Samsung's commitment to delivering quality and innovation in the display market.

