Ex)
The best way to protect your monitor from Image retention is to set your PC or System to operate a Screen Saver program when you are not using it.
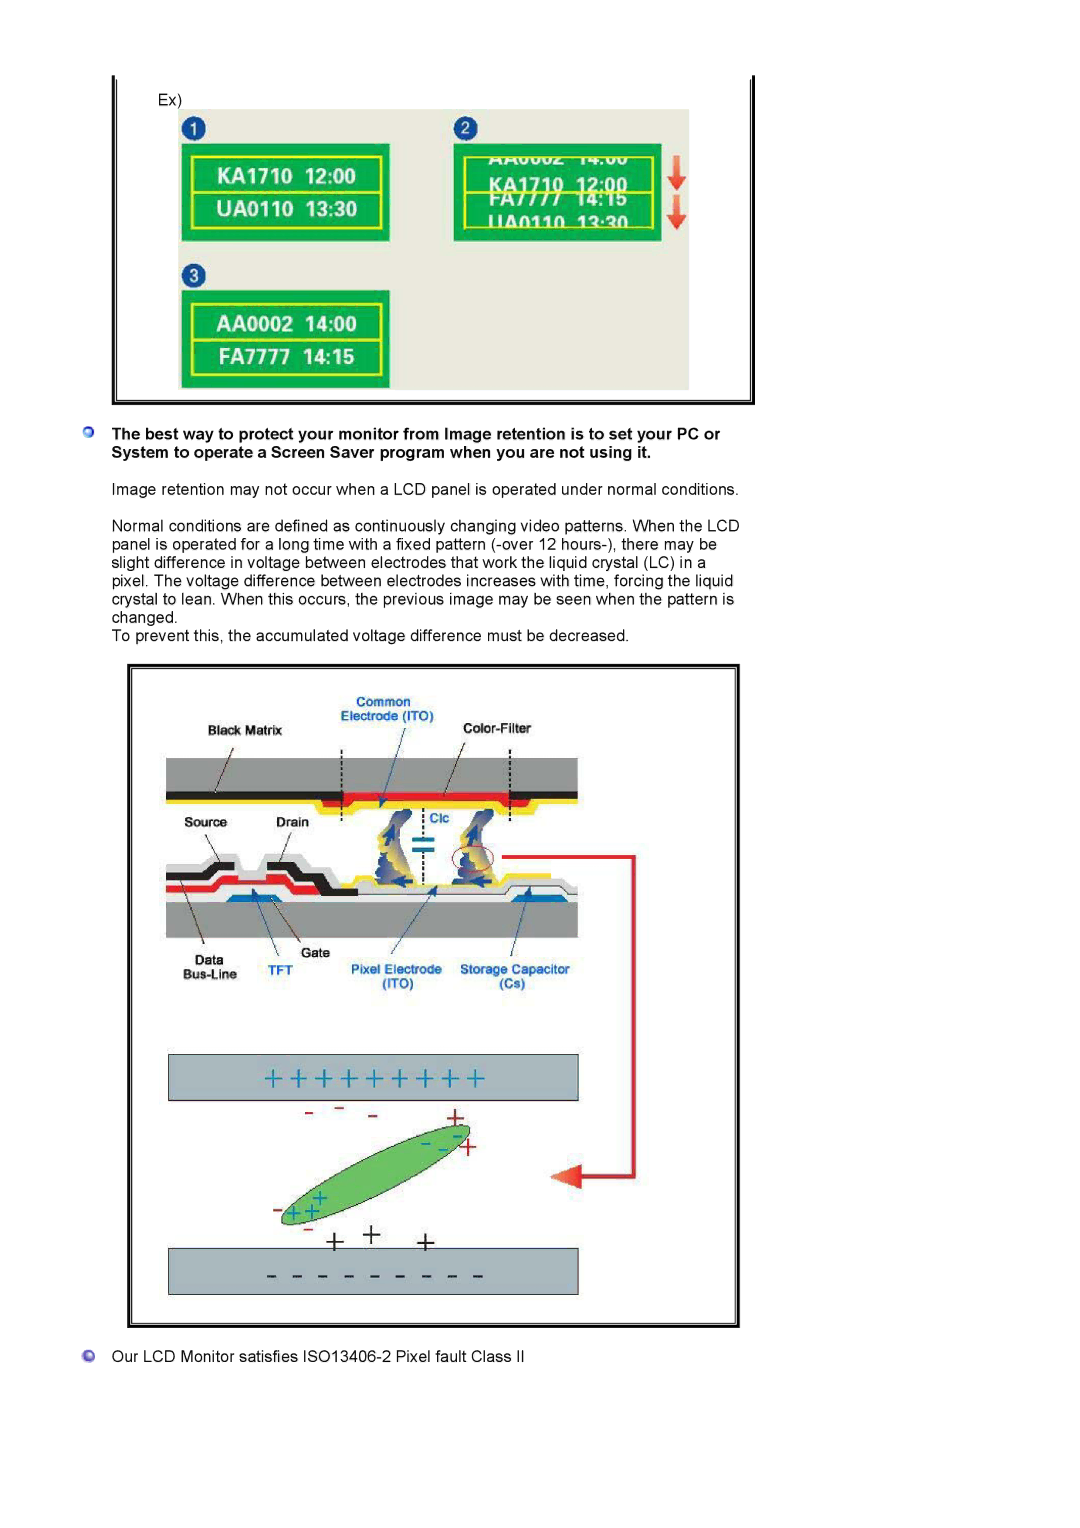
Image retention may not occur when a LCD panel is operated under normal conditions.
Normal conditions are defined as continuously changing video patterns. When the LCD panel is operated for a long time with a fixed pattern
To prevent this, the accumulated voltage difference must be decreased.
Our LCD Monitor satisfies