| Although the values are carefully chosen by our engineers, the |
| |
| depending on your taste. |
| If this is the case, adjust the Brightness and Contrast by using |
| the OSD menu. |
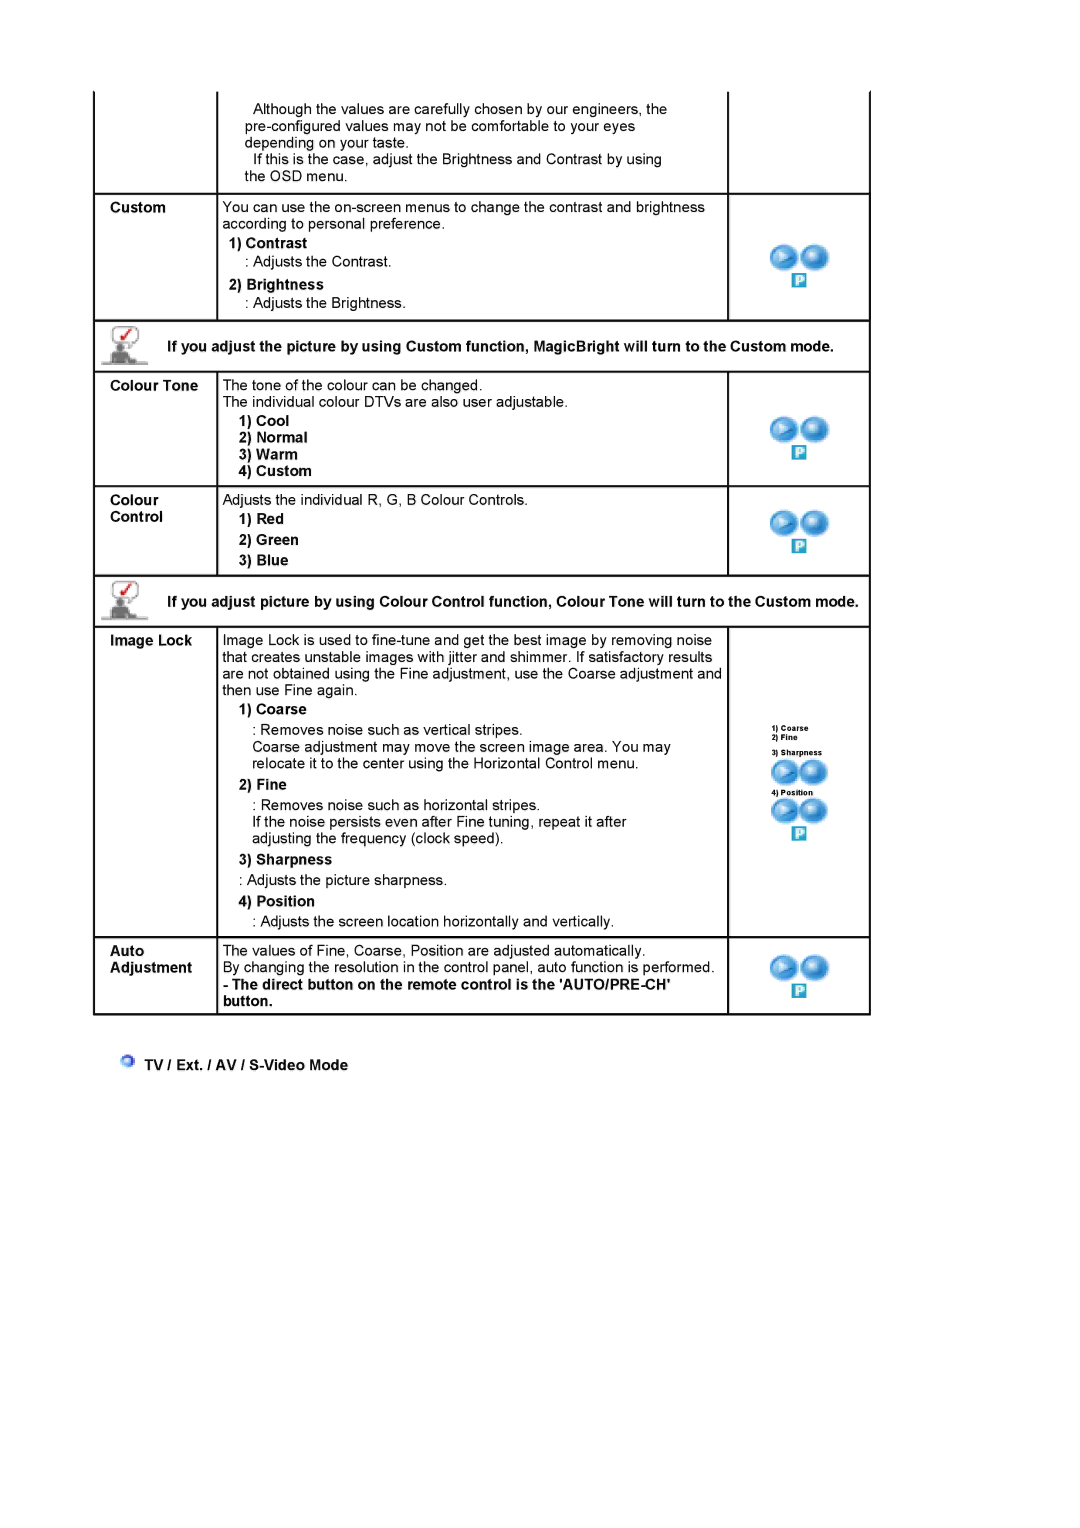
Custom | You can use the |
| according to personal preference. |
| 1) Contrast |
| : Adjusts the Contrast. |
| 2) Brightness |
| : Adjusts the Brightness. |
If you adjust the picture by using Custom function, MagicBright will turn to the Custom mode.
Colour Tone
Colour
Control
The tone of the colour can be changed.
The individual colour DTVs are also user adjustable.
1)Cool
2)Normal
3)Warm
4)Custom
Adjusts the individual R, G, B Colour Controls.
1)Red
2)Green
3)Blue
If you adjust picture by using Colour Control function, Colour Tone will turn to the Custom mode.
Image Lock Image Lock is used to
1) Coarse
: Removes noise such as vertical stripes.
Coarse adjustment may move the screen image area. You may relocate it to the center using the Horizontal Control menu.
2) Fine
: Removes noise such as horizontal stripes.
If the noise persists even after Fine tuning, repeat it after adjusting the frequency (clock speed).
3) Sharpness
: Adjusts the picture sharpness.
4) Position
| : Adjusts the screen location horizontally and vertically. |
Auto | The values of Fine, Coarse, Position are adjusted automatically. |
Adjustment | By changing the resolution in the control panel, auto function is performed. |
| - The direct button on the remote control is the |
| button. |
1)Coarse
2)Fine
3)Sharpness
4)Position
