BD-P2500/EDC, BD-P2500/XEE, BD-P2500/XEF specifications
The Samsung BD-P2500 series, comprising models BD-P2500/XEF, BD-P2500/EDC, and BD-P2500/XEE, is a noteworthy entry in the crowd of Blu-ray players, bringing together advanced technology, user-friendly features, and exceptional performance. Released to cater to the growing demand for high-definition entertainment, the BD-P2500 series emerged as a reliable option for home cinema enthusiasts.One of the standout features of the Samsung BD-P2500 is its compatibility with various disc formats. The player supports not only standard Blu-ray discs but also DVDs and CDs, making it versatile for users. With the capability to upscale DVDs to near 1080p quality using its advanced Picture Enhancement technology, the BD-P2500 ensures that older collections can also be enjoyed in remarkable clarity.
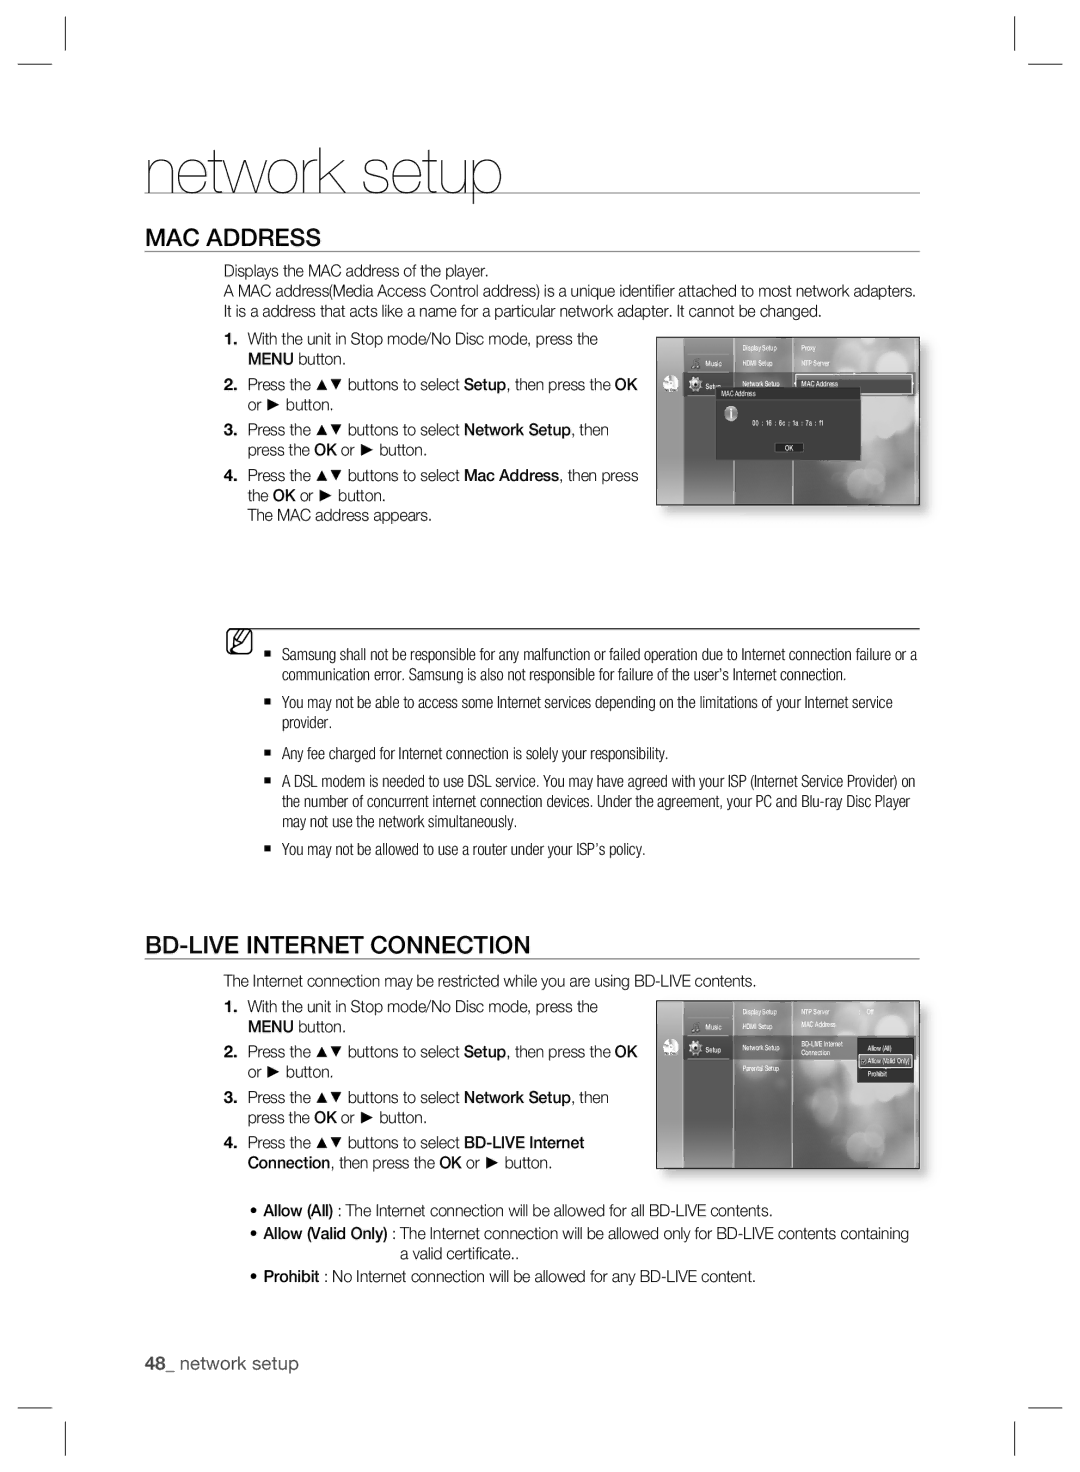
The BD-P2500 series integrates cutting-edge technology such as Profile 2.0, also known as BD-Live. This feature allows users to access additional content over the internet, enhancing the experience with bonus features, trailers, and other interactive content directly related to the films or shows being viewed. By supporting Wi-Fi connectivity through an optional USB adapter, the BD-P2500 enhances streaming capabilities, opening doors to an array of online media.
In terms of audio, the player is equipped with advanced decoding for high-definition sound formats including Dolby TrueHD and DTS-HD Master Audio, ensuring that users can enjoy a cinema-like audio experience right at home. The HDMI output provides a seamless connection to HDTVs, allowing for high-definition video and audio to be transmitted through a single cable.
Samsung has designed the BD-P2500 with an intuitive user interface, ensuring easy navigation through the menus and settings. The sleek and modern design of the player, coupled with its compact size, allows it to fit seamlessly into any home entertainment system.
Moreover, the Samsung BD-P2500 series offers additional features such as USB connectivity for direct playback of media files, as well as a built-in Ethernet port for wired internet connections. The players support a wide range of media formats, making them highly adaptable to different content sources.
In summary, the Samsung BD-P2500/XEF, BD-P2500/EDC, and BD-P2500/XEE models deliver a winning combination of high-definition playback, extensive format support, and internet connectivity, solidifying their position in the realm of home entertainment systems.

