MPer selezionare una voce, utilizzare i tasti numerici e ▲▼◄►.

Se le impostazioni automatiche non funzionano, contattare l'ISP.

7.A operazione ultimata, utilizzare il tasti ▲ ▼ per selezionare Salva, quindi premere il tasto OK.

8.Se non si desidera salvare l'impostazione, utilizzare i tasti ▲▼◄► per selezionare Cancella, quindi premere il tasto OK.

ML'indirizzo IP utilizzato in questo manuale serve solo a scopo illustrativo. Per il vero l'indirizzo IP, vedere le impostazioni di rete.

Per ottenere le impostazioni dell'indirizzo IP, della subnet mask, del gateway e del DNS primario, controllare le impostazioni di rete sul computer o contattare il provider di servizi Internet.

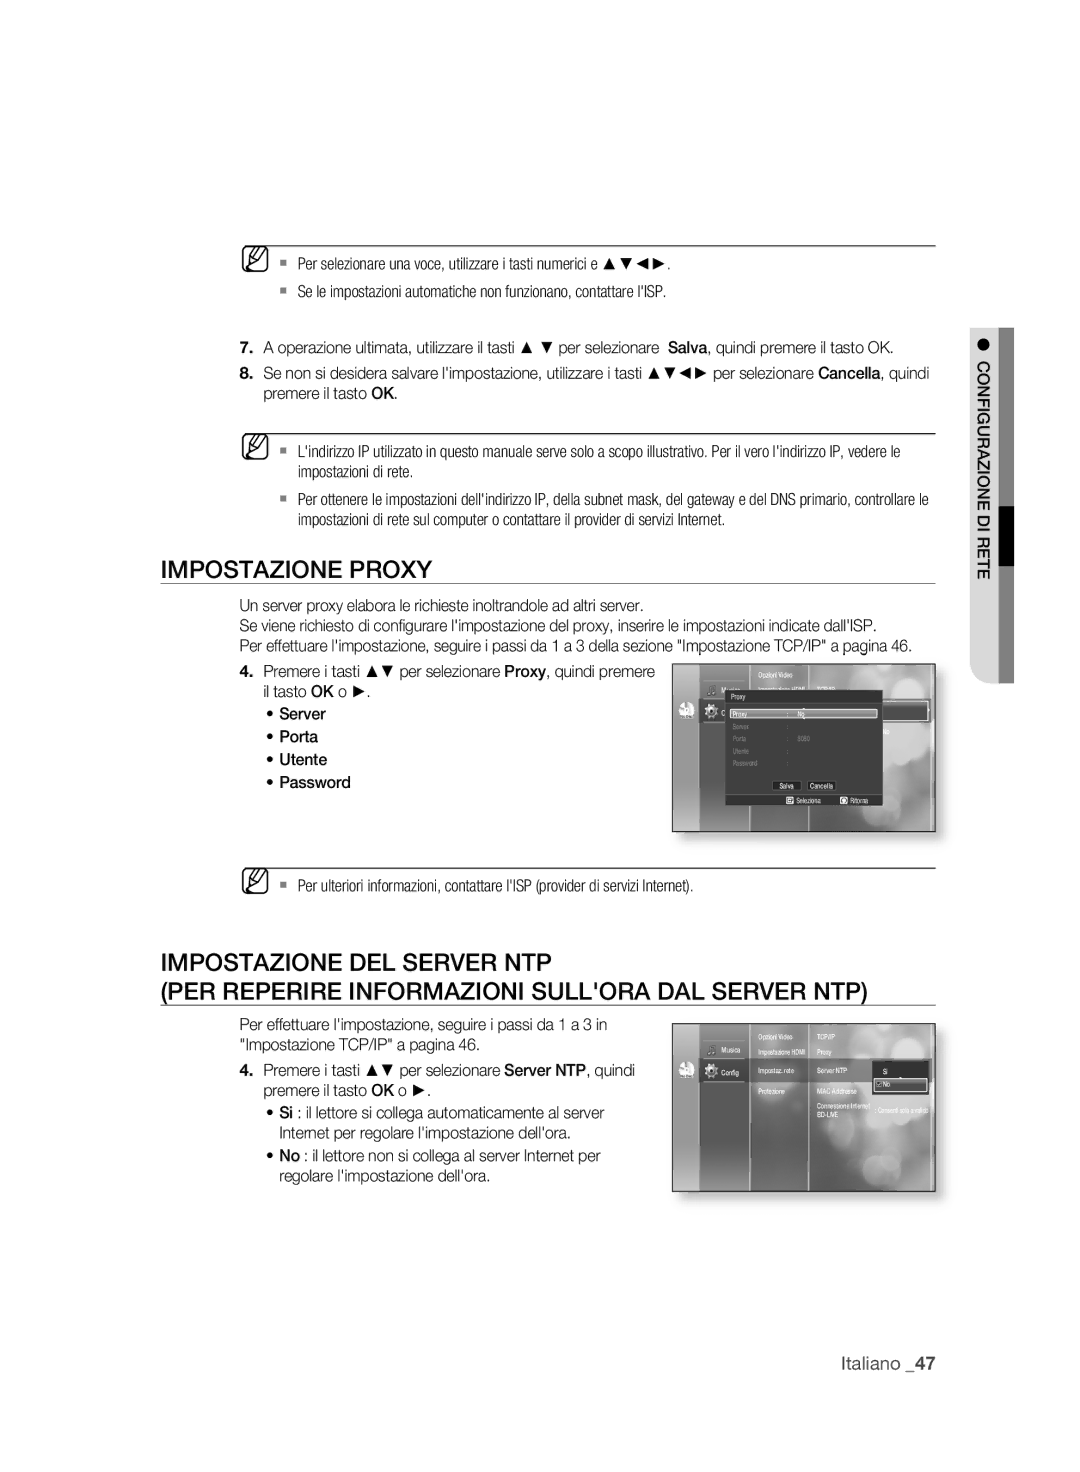
IMPOSTAZIONE PROXY

Un server proxy elabora le richieste inoltrandole ad altri server.

Se viene richiesto di configurare l'impostazione del proxy, inserire le impostazioni indicate dall'ISP.

Per effettuare l'impostazione, seguire i passi da 1 a 3 della sezione "Impostazione TCP/IP" a pagina 46.

4. Premere i tasti ▲▼ per selezionare Proxy, quindi premere


Opzioni Video


il tasto OK o ►.


Proxy


Impostazione HDMI TCP/IP


Musica


Server

No Disc


Proxyg


:

No

Proxy


Impostaz. rete


Porta


Server


Protezione :


Server NTP

:

No


Porta


:

8080

MAC Address


Utente


Utente


:


Password

:


Password


Salva


Cancella


s Seleziona ² Ritorna


MPer ulteriori informazioni, contattare l'ISP (provider di servizi Internet).

IMPOSTAZIONE DEL SERVER NTP

(PER REPERIRE INFORMAZIONI SULL'ORA DAL SERVER NTP)

Per effettuare l'impostazione, seguire i passi da 1 a 3 in

"Impostazione TCP/IP" a pagina 46.


Opzioni Video

TCP/IP


Musica

Impostazione HDMI

Proxy


4. Premere i tasti ▲▼ per selezionare Server NTP, quindi

No Disc

Config

Impostaz. rete

Server NTP

: NoSi

premere il tasto OK o ►.


Protezione

MAC Addresse

No


Si : il lettore si collega automaticamente al server


Connessione Internet

: Consenti solo a valido


BD-LIVE


Internet per regolare l'impostazione dell'ora.


No : il lettore non si collega al server Internet per regolare l'impostazione dell'ora.

● CONFIGURAZIONE DI RETE

Italiano _47

Page 47
Image 47
Samsung BD-P2500/XEF manual Impostazione Proxy, Configurazione DI Rete

BD-P2500/XEF specifications

The Samsung BD-P2500 series, comprising models BD-P2500/XEF, BD-P2500/EDC, and BD-P2500/XEE, is a noteworthy entry in the crowd of Blu-ray players, bringing together advanced technology, user-friendly features, and exceptional performance. Released to cater to the growing demand for high-definition entertainment, the BD-P2500 series emerged as a reliable option for home cinema enthusiasts.

One of the standout features of the Samsung BD-P2500 is its compatibility with various disc formats. The player supports not only standard Blu-ray discs but also DVDs and CDs, making it versatile for users. With the capability to upscale DVDs to near 1080p quality using its advanced Picture Enhancement technology, the BD-P2500 ensures that older collections can also be enjoyed in remarkable clarity.

The BD-P2500 series integrates cutting-edge technology such as Profile 2.0, also known as BD-Live. This feature allows users to access additional content over the internet, enhancing the experience with bonus features, trailers, and other interactive content directly related to the films or shows being viewed. By supporting Wi-Fi connectivity through an optional USB adapter, the BD-P2500 enhances streaming capabilities, opening doors to an array of online media.

In terms of audio, the player is equipped with advanced decoding for high-definition sound formats including Dolby TrueHD and DTS-HD Master Audio, ensuring that users can enjoy a cinema-like audio experience right at home. The HDMI output provides a seamless connection to HDTVs, allowing for high-definition video and audio to be transmitted through a single cable.

Samsung has designed the BD-P2500 with an intuitive user interface, ensuring easy navigation through the menus and settings. The sleek and modern design of the player, coupled with its compact size, allows it to fit seamlessly into any home entertainment system.

Moreover, the Samsung BD-P2500 series offers additional features such as USB connectivity for direct playback of media files, as well as a built-in Ethernet port for wired internet connections. The players support a wide range of media formats, making them highly adaptable to different content sources.

In summary, the Samsung BD-P2500/XEF, BD-P2500/EDC, and BD-P2500/XEE models deliver a winning combination of high-definition playback, extensive format support, and internet connectivity, solidifying their position in the realm of home entertainment systems.