¦¦ Changing the Picture Options
Advanced Settings
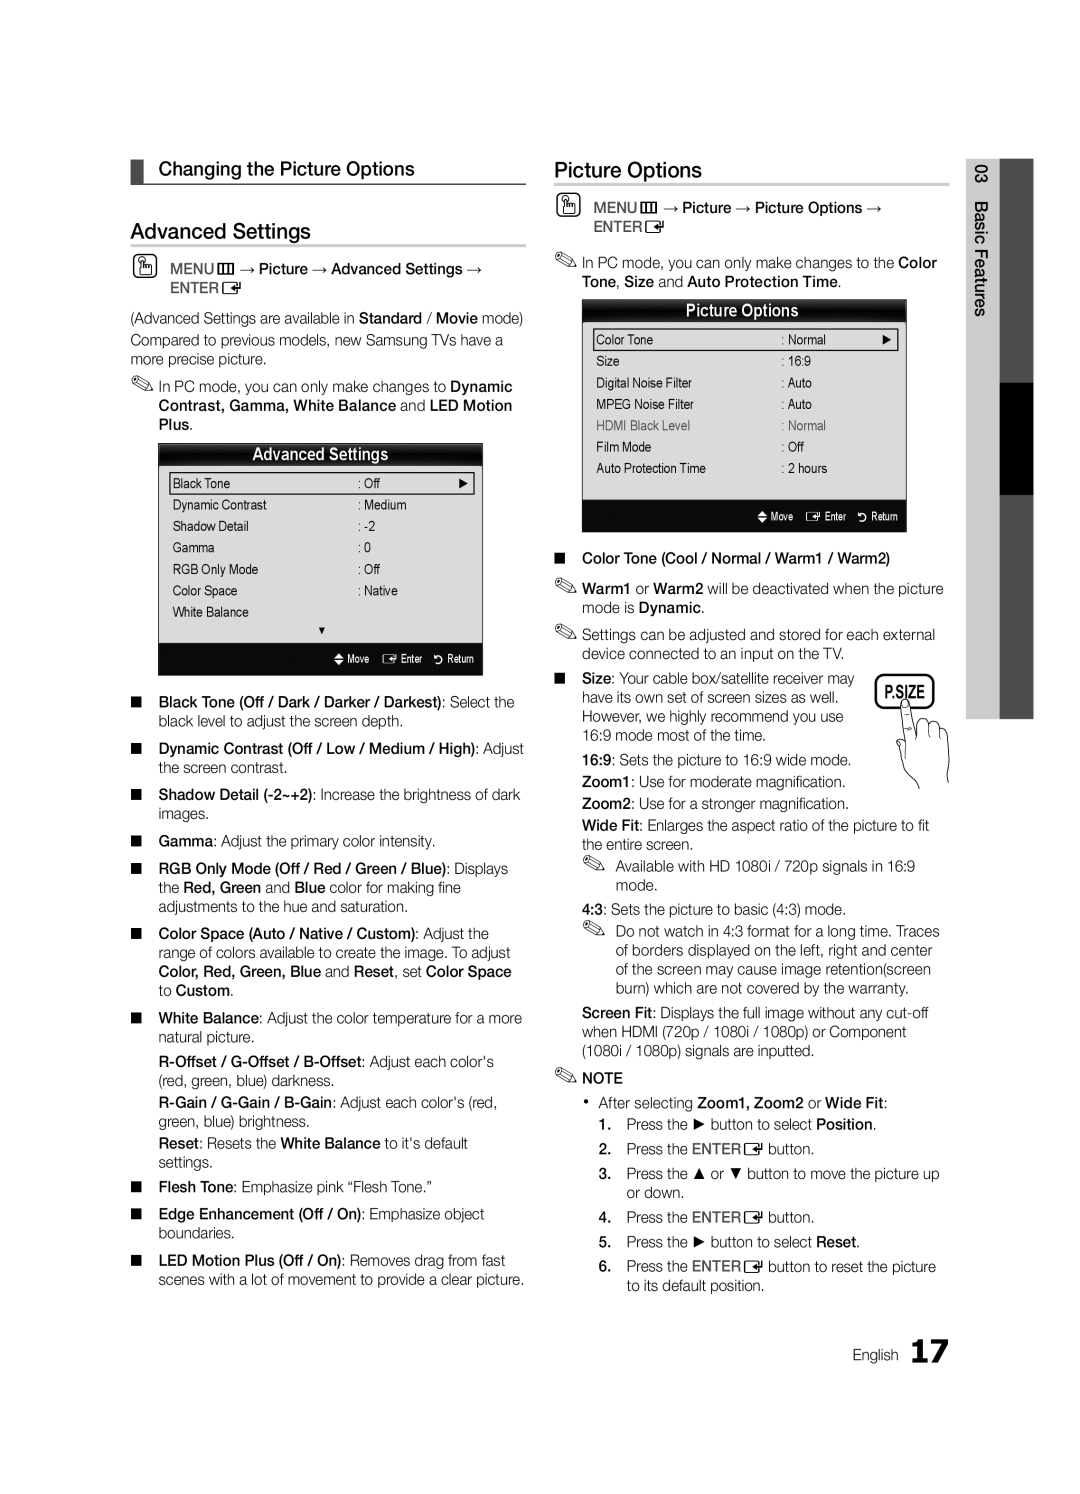
OO MENUm→ Picture → Advanced Settings →
ENTERE
(Advanced Settings are available in Standard / Movie mode)
Compared to previous models, new Samsung TVs have a more precise picture.
✎✎In PC mode, you can only make changes to Dynamic Contrast, Gamma, White Balance and LED Motion Plus.
Advanced Settings
Black Tone | : Off | ► |
Dynamic Contrast | : Medium |
|
Shadow Detail | : |
|
Gamma | : 0 |
|
RGB Only Mode | : Off |
|
Color Space | : Native |
|
White Balance |
|
|
| ▼ |
|
| UMove E Enter | R Return |
■■ Black Tone (Off / Dark / Darker / Darkest): Select the black level to adjust the screen depth.
■■ Dynamic Contrast (Off / Low / Medium / High): Adjust the screen contrast.
■■ Shadow Detail
■■ Gamma: Adjust the primary color intensity.
■■ RGB Only Mode (Off / Red / Green / Blue): Displays the Red, Green and Blue color for making fine adjustments to the hue and saturation.
■■ Color Space (Auto / Native / Custom): Adjust the range of colors available to create the image. To adjust Color, Red, Green, Blue and Reset, set Color Space to Custom.
■■ White Balance: Adjust the color temperature for a more natural picture.
Reset: Resets the White Balance to it's default settings.
■■ Flesh Tone: Emphasize pink “Flesh Tone.”
■■ Edge Enhancement (Off / On): Emphasize object boundaries.
■■ LED Motion Plus (Off / On): Removes drag from fast scenes with a lot of movement to provide a clear picture.
Picture Options
OO MENUm→ Picture → Picture Options →
ENTERE
✎✎In PC mode, you can only make changes to the Color Tone, Size and Auto Protection Time.
Picture Options
Color Tone | : Normal | ► |
Size | : 16:9 |
|
Digital Noise Filter | : Auto |
|
MPEG Noise Filter | : Auto |
|
HDMI Black Level | : Normal |
|
Film Mode | : Off |
|
Auto Protection Time | : 2 hours |
|
| UMove E Enter | R Return |
■■ Color Tone (Cool / Normal / Warm1 / Warm2)
✎✎Warm1 or Warm2 will be deactivated when the picture mode is Dynamic.
✎✎Settings can be adjusted and stored for each external device connected to an input on the TV.
■■ Size: Your cable box/satellite receiver may
have its own set of screen sizes as well. P.SIZE However, we highly recommend you use
16:9 mode most of the time. 16:9: Sets the picture to 16:9 wide mode.
Zoom1: Use for moderate magnification.
Zoom2: Use for a stronger magnification.
Wide Fit: Enlarges the aspect ratio of the picture to fit the entire screen.
✎✎ Available with HD 1080i / 720p signals in 16:9 mode.
4:3: Sets the picture to basic (4:3) mode.
✎✎ Do not watch in 4:3 format for a long time. Traces of borders displayed on the left, right and center of the screen may cause image retention(screen burn) which are not covered by the warranty.
Screen Fit: Displays the full image without any
✎✎NOTE
xx After selecting Zoom1, Zoom2 or Wide Fit:
1.Press the ► button to select Position.
2.Press the ENTEREbutton.
3.Press the ▲ or ▼ button to move the picture up or down.
4.Press the ENTEREbutton.
5.Press the ► button to select Reset.
6.Press the ENTEREbutton to reset the picture to its default position.
English 17
03 Basic Features