-TEMP (Red LED)
-STAND BY (Blue LED)
※Refer to the LED Indications.
![]() /
/ ![]() : Use this button to move to or select an item within a menu.
: Use this button to move to or select an item within a menu.
![]() : Use this button to adjust the volume.
: Use this button to adjust the volume.
2. Lens cover
You can adjust the screen position by moving the adjustable feet up and down.
4.Lens
5.Focus Ring
Used for Focus Adjustment.
7.MENU Button
Used to display Menu Screen.
8.SOURCE Button
Use this button to select the external device signal.
9.POWER( ) Button
Used to turn the projector on or off.
The buttons on the top of the projector are touch buttons.
Touch them lightly with your fingers to use them.
When using a tripod, make sure to use one with a screw length of 5.5 mm or less.
If the screw length is longer than 5.5 mm, you will not be able to fix the projector to the tripod firmly, which may result in damage to the projector or tripod.
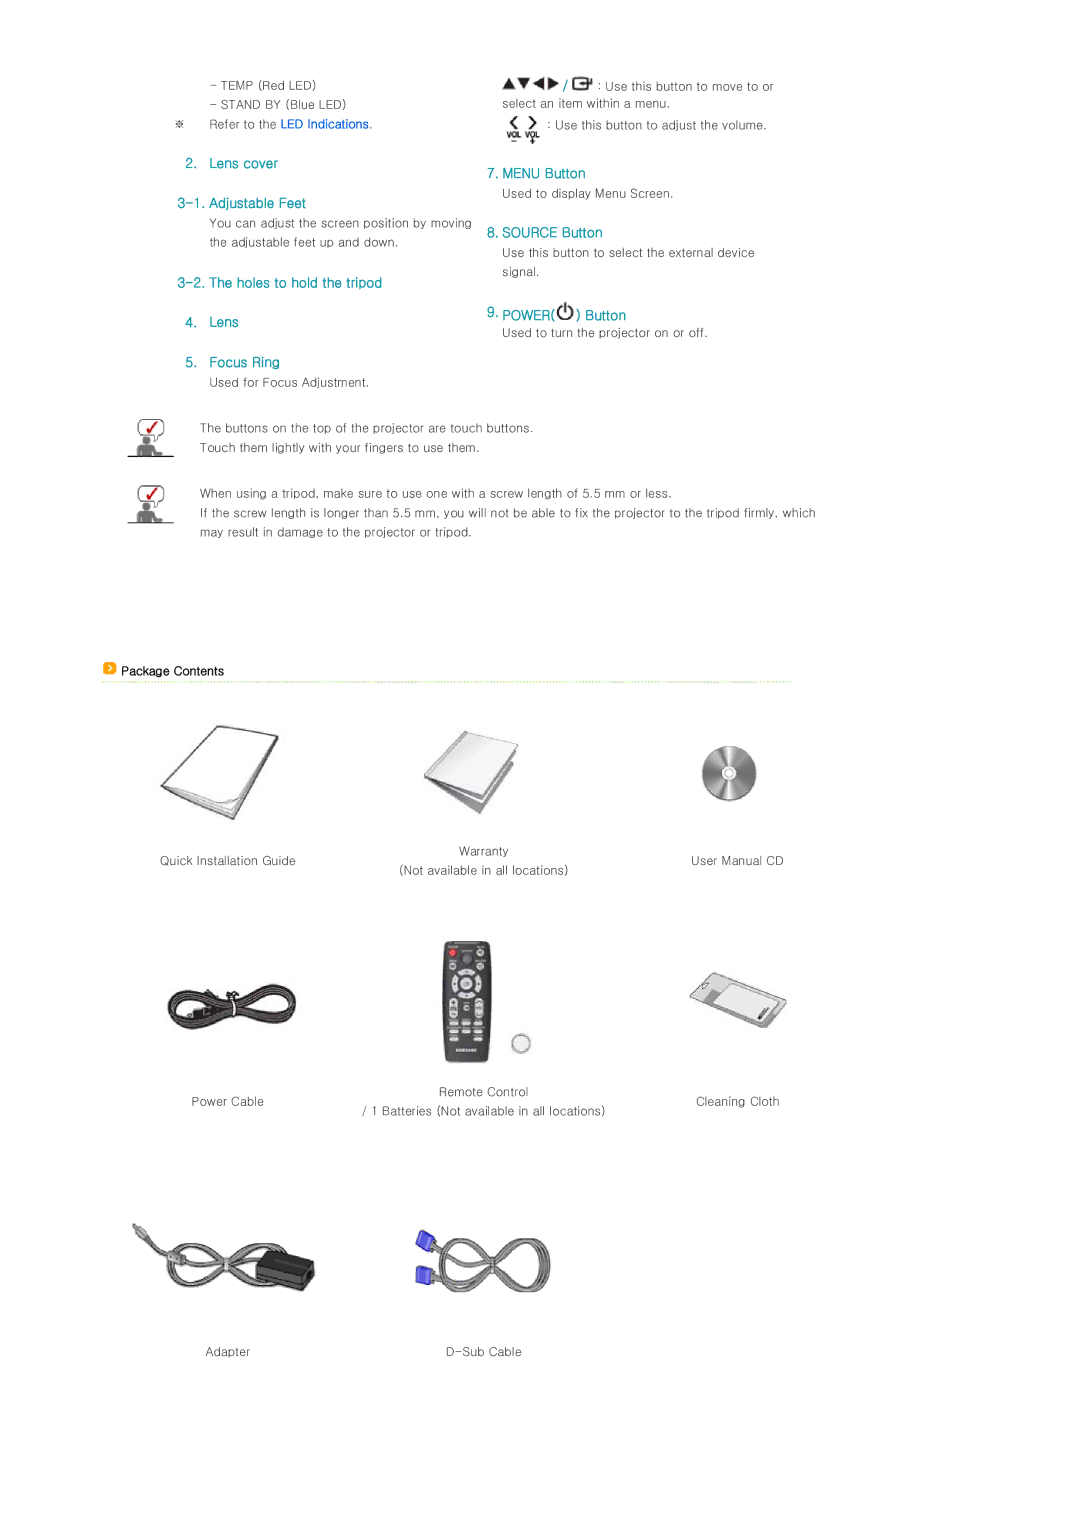
 Package Contents
Quick Installation Guide | Warranty |
User Manual CD | |
| (Not available in all locations) |
Power Cable | Remote Control |
Cleaning Cloth | |
| / 1 Batteries (Not available in all locations) |
Adapter |