+/- button
![]() You can use the +/- button to adjust the values for the white balance, ISO and exposure compensation.
You can use the +/- button to adjust the values for the white balance, ISO and exposure compensation.
Main menu | Sub menu | Available camera mode |
|
|
|
WHITE BALANCE | AUTO, DAYLIGHT, CLOUDY, FLUORESCENT H, |
|
FLUORESCENT L, TUNGSTEN, CUSTOM. |
| |
|
| |
|
|
|
Exposure compensation |
| |
|
|
|
ISO | AUTO, 100, 200 |
|
|
|
|
![]() White balance : The white balance control allows you to adjust the colours to appear more natural looking.
White balance : The white balance control allows you to adjust the colours to appear more natural looking.
Selecting a White Balance |
|
|
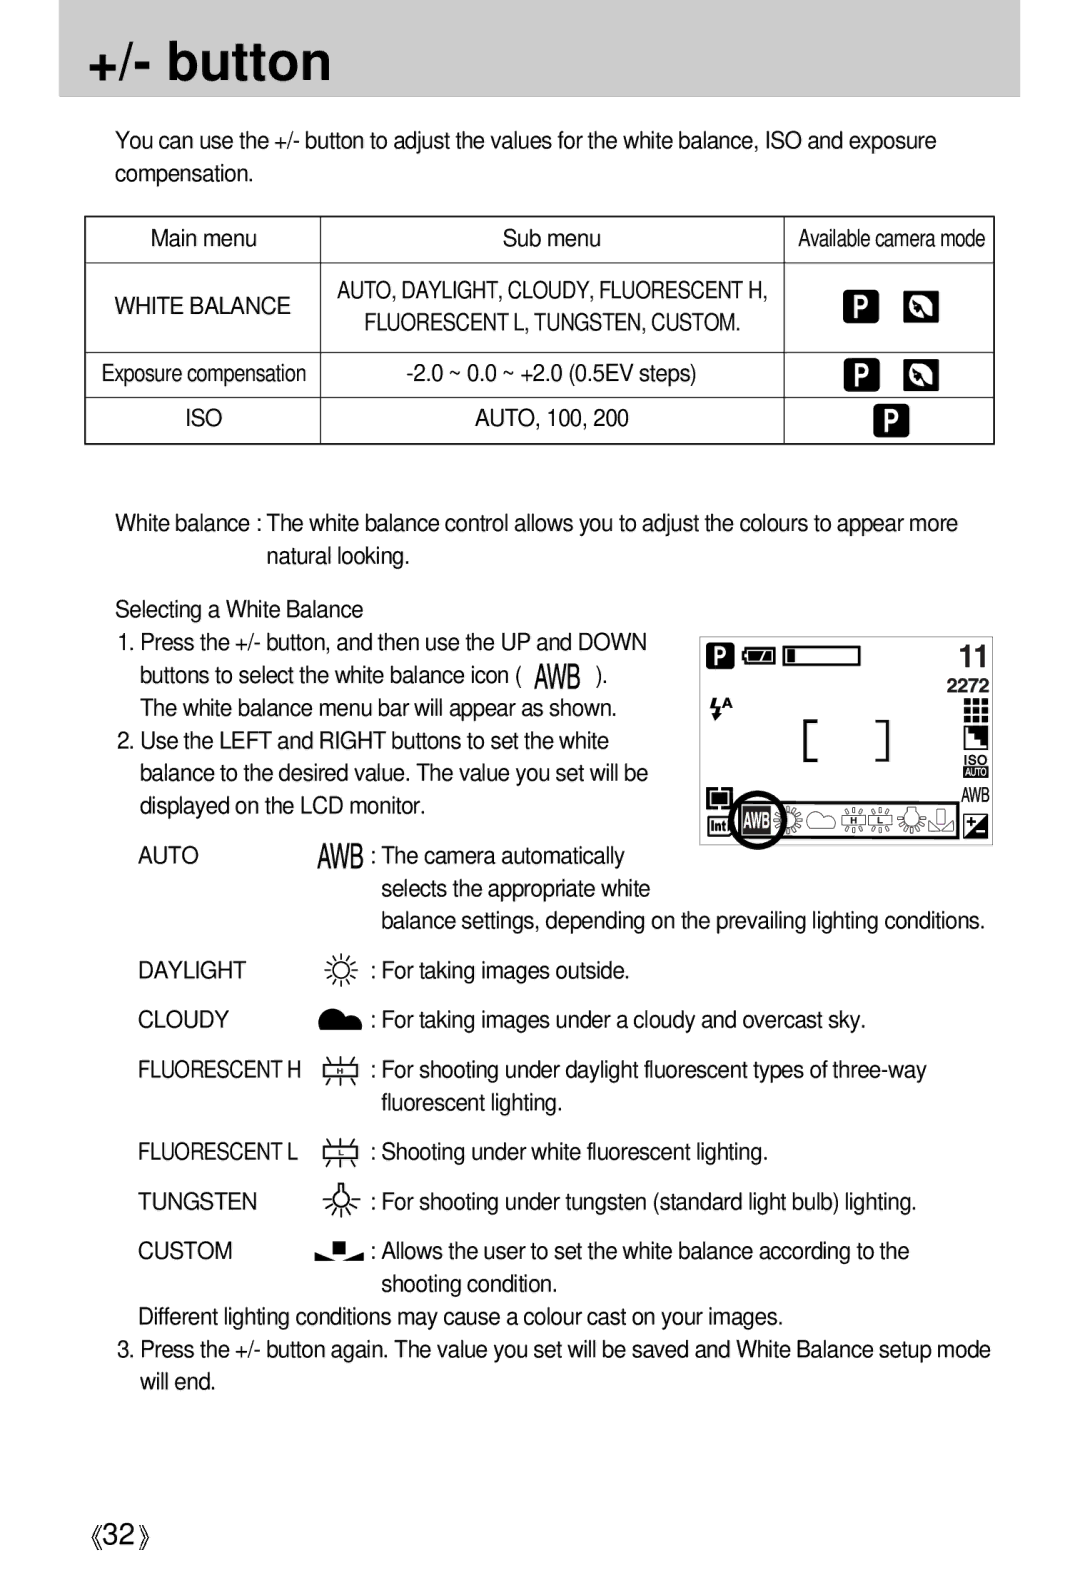
1. Press the +/- button, and then use the UP and DOWN | ||
buttons to select the white balance icon ( | ). | |
The white balance menu bar will appear as shown. | ||
2. Use the LEFT and RIGHT buttons to set the white | ||
balance to the desired value. The value you set will be | ||
displayed on the LCD monitor. |
| |
AUTO | : The camera automatically | |
| selects the appropriate white | |
| balance settings, depending on the prevailing lighting conditions. | |
DAYLIGHT | : For taking images outside. | |
CLOUDY | : For taking images under a cloudy and overcast sky. | |
FLUORESCENT H | : For shooting under daylight fluorescent types of | |
| fluorescent lighting. |
|
FLUORESCENT L | : Shooting under white fluorescent lighting. | |
TUNGSTEN | : For shooting under tungsten (standard light bulb) lighting. | |
CUSTOM | : Allows the user to set the white balance according to the | |
| shooting condition. |
|
Different lighting conditions may cause a colour cast on your images.
3.Press the +/- button again. The value you set will be saved and White Balance setup mode will end.
![]() 32
32![]()
