
DVD-P249 specifications
The Samsung DVD-P249 is a versatile and compact DVD player that caters to both casual viewers and cinephiles alike. Launched with the aim of enhancing home entertainment, this device holds a place in many households thanks to its impressive features and user-friendly design.At the core of the Samsung DVD-P249 is its compatibility with a wide array of disc formats. It supports DVD-Video, DVD-R, DVD-RW, CD, and CD-R/RW, making it capable of playing a variety of video and audio formats. This flexibility allows users to enjoy their favorite movies, music, and custom content without the need for multiple players.
One of the standout features of the DVD-P249 is its ability to upscale standard DVDs to near high-definition quality. With built-in 1080p upscaling technology, this player enhances the viewing experience by providing sharper and clearer images. This feature is particularly appealing for those who have invested in high-definition televisions, allowing even older disc collections to look more vibrant and detailed.
The Samsung DVD-P249 also boasts a sleek and compact design, making it an ideal addition to any entertainment setup without consuming too much space. Its intuitive remote control enhances convenience, allowing users to navigate menus and select options easily from the comfort of their sofa.
In terms of connectivity, the DVD-P249 is equipped with a variety of ports. The component video output and composite video output ensure compatibility with most televisions and home theater systems. Additionally, it features an optical digital audio output, which provides high-quality sound by delivering digital signals to compatible audio receivers.
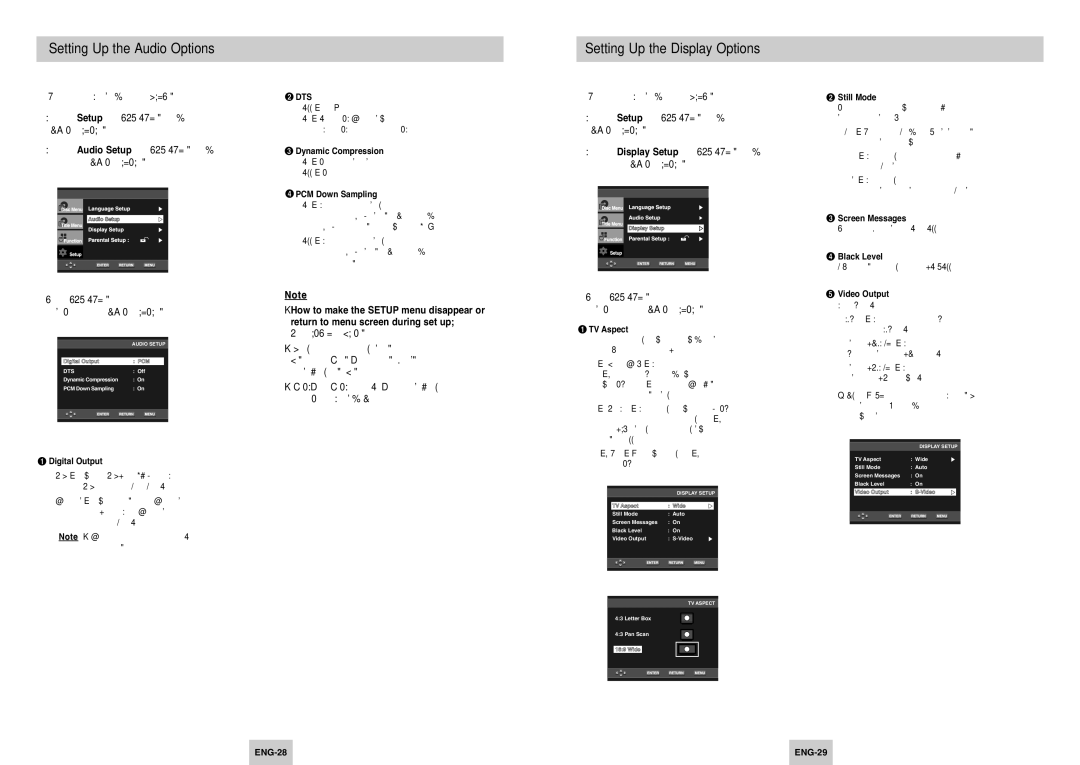
Another noteworthy characteristic of the DVD-P249 is its user-friendly interface, which simplifies navigation through various settings and playback options. The on-screen menu is designed for ease of use, making it accessible to users of all ages.
Overall, the Samsung DVD-P249 stands out as a reliable and feature-rich DVD player. Its compatibility with multiple formats, 1080p upscaling capability, compact design, and solid connectivity options make it a valuable addition to any home entertainment system. Whether watching classic films or enjoying music CDs, the DVD-P249 delivers a satisfying and enjoyable experience for all users.