DVD-V8080 specifications
The Samsung DVD-V8080 is a versatile DVD player that also functions as a VCR, making it an ideal choice for users looking to enjoy both their DVD and VHS collections in one sleek device. First launched in the early 2000s, this dual-format machine combines the best of both worlds, allowing users to convert and manage their media content seamlessly.One of the hallmark features of the DVD-V8080 is its ability to play various DVD formats including DVD-R, DVD-RW, and DVD+R, providing flexibility to users who want to utilize various media types for content playback. The device also supports multiple audio formats, including Dolby Digital, bringing an immersive audio experience to home viewing. Users can enjoy rich, high-quality sound that enhances their movie watching experience.
The DVD-V8080 is also equipped with Progressive Scan technology, which significantly improves the clarity of the video output. This means that viewers can enjoy sharper images with fewer artifacts compared to standard interlaced video, especially noticeable on larger screen TVs. Additionally, the device supports MP3 playback, allowing users to enjoy their favorite music CDs or digital audio tracks without needing a separate music player.
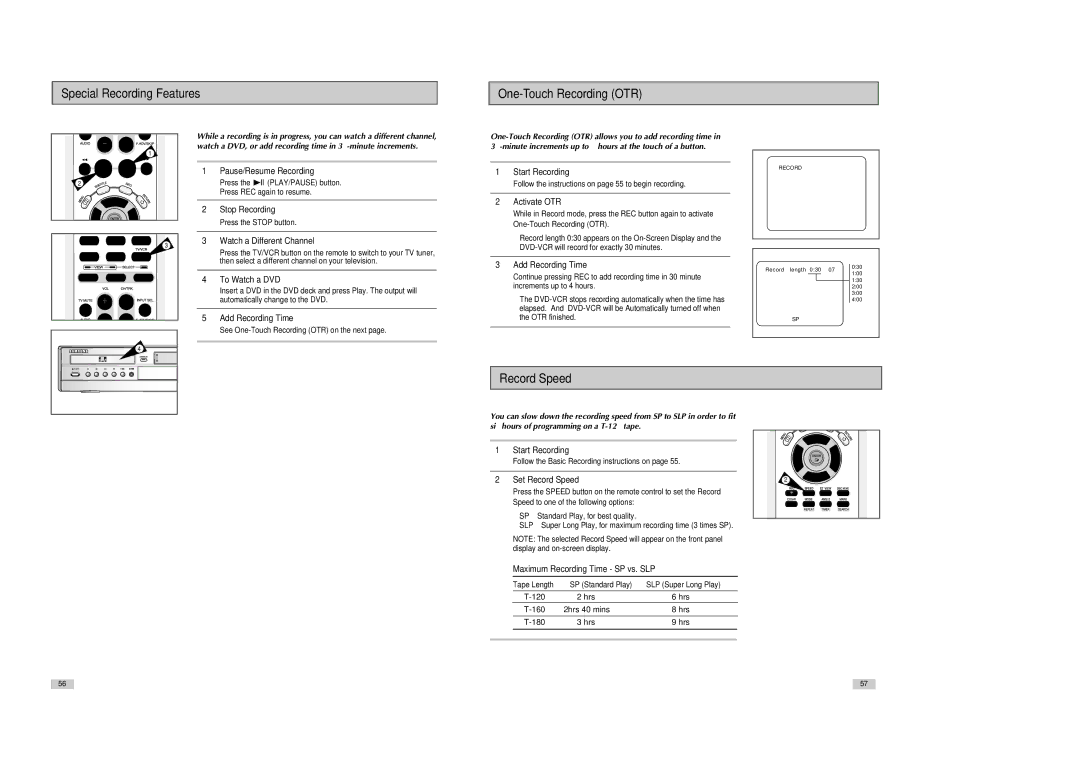
Another notable feature of the Samsung DVD-V8080 is its built-in VCR, which allows for the playback and recording of VHS tapes. This capability has become increasingly rare as digital formats have taken precedence, making the DVD-V8080 a nostalgic choice for collectors or those who wish to preserve old family movies.
To enhance ease of operation, the DVD-V8080 is equipped with a user-friendly interface and a remote control, allowing users to navigate through menus, settings, and content effortlessly. The device also offers convenient functionalities such as automatic tuning, timer recording, and a variety of playback modes.
In terms of design, the Samsung DVD-V8080 sports a compact chassis that makes it easy to fit into any entertainment setup without taking up excess space. Its sleek appearance integrates well with both contemporary and classic home theater systems, offering a balance of aesthetics and functionality.
Overall, the Samsung DVD-V8080 stands out as a reliable multimedia device that caters to a diverse range of viewing preferences. With its combination of DVD and VHS capabilities, along with advanced features and solid performance, it remains a valued piece of technology for media enthusiasts even years after its initial release.

