Per inviare un messaggio e-mail, premete [] E-mailo Google Mail.

Per passare da una chiamata all'altra, selezionate Scambia.

Per effettuare una chiamata in conferenza, eseguite o rispondete a una seconda chiamata e selezionate Conferenza quando siete connessi con il secondo partecipante. Per usare questa funzione, dovete abbonarvi al servizio di chiamata in conferenza.

Per collegare il partecipante corrente con il partecipante in attesa, premete [] Trasferisci. Verrete scollegati dalla chiamata.

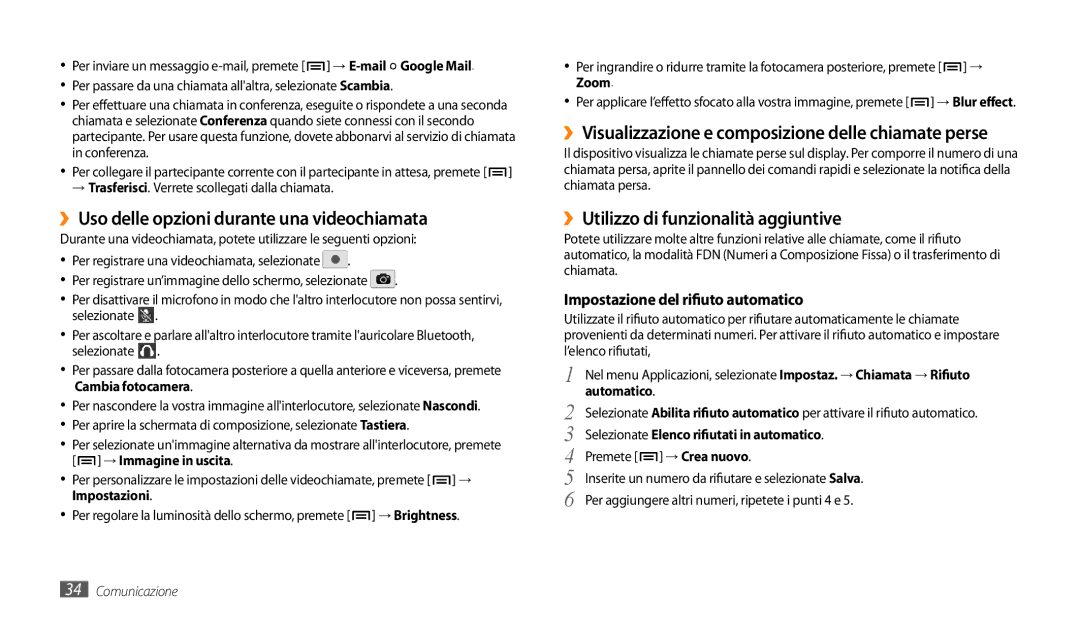
››Uso delle opzioni durante una videochiamata

Durante una videochiamata, potete utilizzare le seguenti opzioni:

Per registrare una videochiamata, selezionate .

Per registrare un’immagine dello schermo, selezionate .

Per disattivare il microfono in modo che l'altro interlocutore non possa sentirvi, selezionate .

Per ascoltare e parlare all'altro interlocutore tramite l'auricolare Bluetooth, selezionate .

Per passare dalla fotocamera posteriore a quella anteriore e viceversa, premete Cambia fotocamera.

Per nascondere la vostra immagine all'interlocutore, selezionate Nascondi.

Per aprire la schermata di composizione, selezionate Tastiera.

Per selezionate un'immagine alternativa da mostrare all'interlocutore, premete [] Immagine in uscita.

Per personalizzare le impostazioni delle videochiamate, premete [] Impostazioni.

Per regolare la luminosità dello schermo, premete [] Brightness.

Per ingrandire o ridurre tramite la fotocamera posteriore, premete [ ] Zoom.

Per applicare l’effetto sfocato alla vostra immagine, premete [ ] Blur effect.

››Visualizzazione e composizione delle chiamate perse

Il dispositivo visualizza le chiamate perse sul display. Per comporre il numero di una chiamata persa, aprite il pannello dei comandi rapidi e selezionate la notifica della chiamata persa.

››Utilizzo di funzionalità aggiuntive

Potete utilizzare molte altre funzioni relative alle chiamate, come il rifiuto automatico, la modalità FDN (Numeri a Composizione Fissa) o il trasferimento di chiamata.

Impostazione del rifiuto automatico

Utilizzate il rifiuto automatico per rifiutare automaticamente le chiamate provenienti da determinati numeri. Per attivare il rifiuto automatico e impostare l’elenco rifiutati,

1 Nel menu Applicazioni, selezionate Impostaz. Chiamata Rifiuto automatico.

2 Selezionate Abilita rifiuto automatico per attivare il rifiuto automatico. 3 Selezionate Elenco rifiutati in automatico.

4 Premete [] Crea nuovo.

5 Inserite un numero da rifiutare e selezionate Salva.

6 Per aggiungere altri numeri, ripetete i punti 4 e 5.

34Comunicazione

Page 34
Image 34
Samsung GT-P1000CWAOMN manual ››Uso delle opzioni durante una videochiamata, ››Utilizzo di funzionalità aggiuntive

GT-P1000CWAHUI, GT-P1000CWAFWB, GT-P1000CWDOMN, GT-P1000CWACOS, GT-P1000CWAVOM specifications

The Samsung GT-P1000, commonly known as the Galaxy Tab, marked a significant milestone in the evolution of mobile computing when it was released. This tablet was part of Samsung's pioneering efforts to create a versatile device that combined the best features of smartphones and laptops, catering to a growing market for portable entertainment and productivity solutions.

One of the main features of the GT-P1000 is its sleek and lightweight design, which makes it extremely portable. Weighing just over 380 grams, the Galaxy Tab can easily be carried in a bag or held in one hand, allowing users to enjoy media consumption, browsing, and communication on the go. The device boasts a 7-inch TFT capacitive touchscreen display with a resolution of 1024 x 600 pixels, providing vibrant colors and decent viewing angles for enjoying videos, games, and ebooks.

Powering the GT-P1000 is a 1 GHz ARM Cortex-A8 processor, coupled with 512 MB of RAM, which ensures smooth performance for a variety of applications. This tablet runs on Android 2.2 Froyo, allowing users to access the Google Play Store and download a wide array of apps tailored for various purposes, including productivity tools, games, and social media platforms.

In terms of connectivity, the Galaxy Tab offers multiple options, including Wi-Fi and optional 3G support, facilitating seamless internet access whether at home or on the move. The integration of Bluetooth technology also enables quick file transfers and connections with other devices, such as headphones or speakers.

The tablet features a front-facing camera for video calls and a rear camera for capturing moments on the go, though the megapixel counts are modest by today’s standards. Storage options include 16GB, 32GB, and the possibility of expansion via a microSD card slot, allowing users to manage their media library effectively.

Battery life is another strong point of the GT-P1000, with a 4000 mAh Lithium-ion battery providing ample usage time for daily tasks, entertainment, and browsing. Overall, the Samsung GT-P1000 laid the groundwork for future tablets, integrating essential features that balanced performance, portability, and connectivity in a user-friendly device.