Network Services
Starting Internet@TV for the First Time
To start up Internet@TV for the first time, follow these steps:
1.Access Internet@TV as described on the previous page. The Internet@TV screen appears. In most cases, immediately after, the Country screen appears.
2.If the Country screen has appeared, use the ▲▼◄►buttons to select your country. When done, press Enter.
✎NOTE
▪Certain applications are available only in certain countries.
3.The General Disclaimer screen appears. Use the ◄► buttons to move to Agree, and then press Enter.
✎NOTE
▪ Screens can take a few seconds to appear.
4. | The Internet Privacy Policy screen appears. |
| Use the ◄► buttons to move to Agree, and |
| then press Enter. |
5. | The Service Update screen appears and |
| installs a number of services and |
| applications. When done, it closes. The |
| applications and services downloaded are |
Account Login
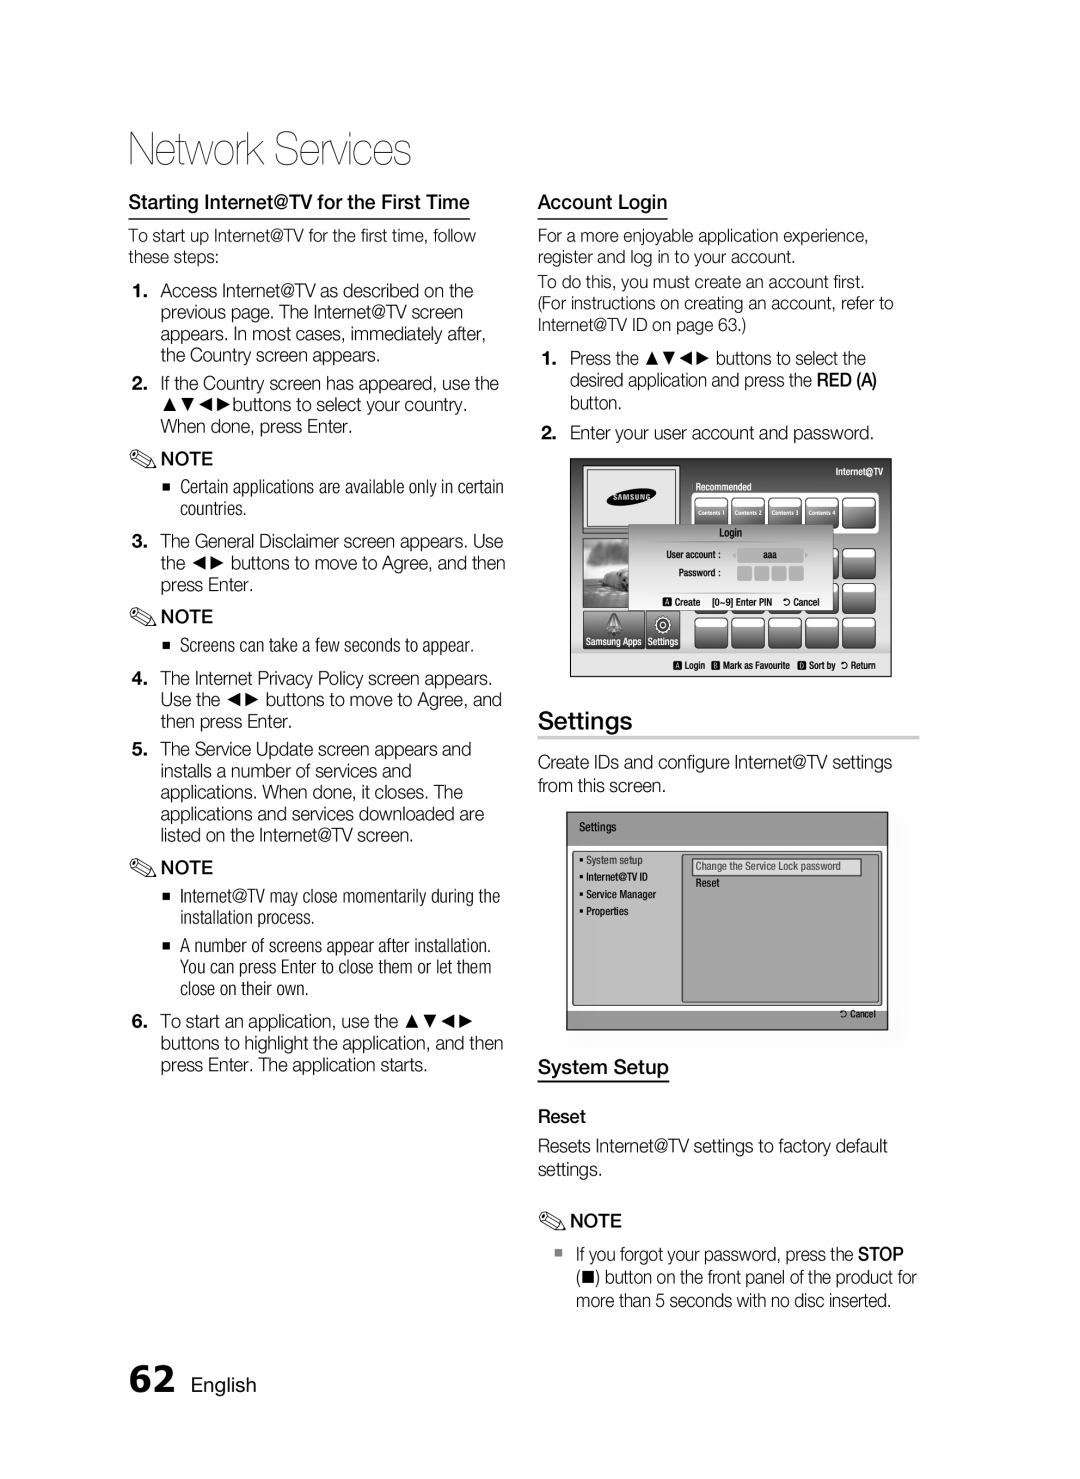
For a more enjoyable application experience, register and log in to your account.
To do this, you must create an account first. (For instructions on creating an account, refer to Internet@TV ID on page 63.)
1.Press the ▲▼◄► buttons to select the desired application and press the RED (A) button.
2.Enter your user account and password.
Settings |
Create IDs and configure Internet@TV settings from this screen.
listed on the Internet@TV screen. |
✎NOTE
▪Internet@TV may close momentarily during the installation process.
▪A number of screens appear after installation. You can press Enter to close them or let them close on their own.
6. To start an application, use the ▲▼◄► |
buttons to highlight the application, and then |
Settings
System setup
Internet@TV ID
Service Manager
Properties
Change the Service Lock password
Reset
' Cancel
press Enter. The application starts. |
System Setup
Reset
Resets Internet@TV settings to factory default settings.
✎NOTE
If you forgot your password, press the STOP
() button on the front panel of the product for more than 5 seconds with no disc inserted.
