Page
Use this camera in the following order
Instructions
Getting to know your camera
Thank you for buying a Samsung Digital Camera
DANGER
008 Identification of features
Contents
System chart
012 Connecting to a power source
053 Using the LCD monitor to adjust the camera settings
025 Things to watch out for when taking pictures 026 Focus lock
026 Using the camera buttons to set the camera
059 LCD monitor Indicator
085 Setup menu 086 SETUP1
SETUP
using the LCD monitor
088 SETUP2
SOFTWARE
Warning indicator
Setting up the playback function
MP3 / PMP / TEXT VIEWER mode
Package Contents
System chart
Sold Separately
AF sensor Self-timer lamp
Identification of features
POWER button
Front & Top
LCD monitor M Mode button
Back
Camera status lamp
Fn / Delete button
Battery holder
Battery chamber slot
Self-timer
Battery chamber cover
Self-timer lamp
Camera Status Lamp
SLB-0937 rechargeable battery Specification
Connecting to a power source
Number of images and battery life Using the SLB-0937
Using an AC cable Connect the AC adapter to the USB cable
Charging LED of the AC Adapter
How to charge the rechargeable battery SLB-0937
Charging LED
Inserting the battery
Inserting the memory card
Instructions on how to use the memory card
Label
Card pins
The camera can use SD/ SDHC Memory Cards and MMC Multi Media Cards
SD Secure Digital memory card
Setting up the language
When using the camera for the first time
Setting up the date, time and date type
0100 PM
LCD monitor indicator
00016
2008/01/01
Starting the Recording mode
How to use the Auto mode
Selecting modes
How to use the FUN mode
How to use the Program mode
How to use the DISDigital Image Stabilization mode
Features to use when the image is ou
Using the Photo Help guide mode
Function that can be used when focusing is difficult
2. Features to counter camera shake
Recording the movie clip without sound
How to use the Movie clip mode
Using Successive Recording
2hours
How to use the Scene modes
0100 PM 2008/01/01
Things to watch out for when taking pictures
Using the Focus Lock
POWER button
Using the camera buttons to set the camera
The recording mode function can be set up by using the camera buttons
Shutter button
FD Face Detection button
Self Portrait
TELE Zoom
ZOOM W / T button
WIDE Zoom
Function Description / Info / Up button
Mode
Macro / Down button
Unit cm
Auto
Selecting the flash mode
Available focusing method, by Recording mode
Flash / Left button
Flash range
Flash mode indicator
Right button
Self-timer
Flash / Left button
Available flash mode, by Recording mode Selectable
The Motion Timer flows are as followings.Movie Clip mode excluded
Motion Timer
Selecting the self-timer
MENU button
Self-timer / Right button
MENU / OK button
OK button
You can use the Fn button to set the following menus
How to use the Fn menu
Fn button
Selectable
Fn button Quality / Frame rate
Fn button Size
You can select the image size appropriate for your application
Fn button Drive mode
Fn button Metering
You can select continuous shot, and AEB Auto Exposure Bracketing
Fn button White balance
You can select the ISO sensitivity when taking pictures
Fn button ISO
more natural
Fn button Exposure compensation
Using the Custom White Balance
You can also select the exposure value by using the Fn button
Compensating Exposure
Wide Auto, F3.5 ~ Tele Auto, F4.5 ~
Fn button Long time shutter
Changing the Shutter speed and Aperture value
Auto, 1 ~ 16S
Available Effects, by recording mode
E Effect button
E Effect button Photo Style Selector
You can add various effects to the image
E Effect button Image editing
Colour
Contrast
Saturation
Press the E button in the Program mode
Left/Right button
E Effect button Cartoon
Press the E button in the FUN recording mode
100-0016
Changing the cartoon image before taking the last shot
Moving and changing the focus frame
E Effect button Pre-set focus frame
The size of High Light image is fixed to under 5M
Shutter button
After taking the last image, press the OK button to save the image
E Effect button Composite shooting
Selecting 2 composite shots
Shutter button
shot
Changing a part of composite shot before taking the last shot
Changing a part of composite shot after taking the last shot
1. During the composite shots, press the Fn button
The size of Photo Frame image is fixed to under 5M
E Effect button Photo Frame
Select Photo Frame
Up/Down/Left/Right button
E Effect button Colour Mask
Zoom W/T button
Select Color Mask
The items indicated by are default settings
Using the LCD monitor to adjust the camera settings
You can use the menu on the LCD monitor to set up recording functions
Focus Area
Voice Memo
You can add your voice-over to a stored still image. Max. 10 sec
Pausing while recording a voice
Voice recording
Recording the movie clip without voice
Starting play mode
Playing back a still image
Movie clip capture function
How to capture the movie clip
Playing back a movie clip
You can capture still images from the movie clip
On camera movie trimming
Playing back a recorded voice
100-0016
LCD monitor Indicator
Playing back a voice memo
Icon
Play mode button
Using the camera buttons to set the camera
Thumbnail / Enlargement button
The maximum enlargement rate in proportion to the image size
Image enlargement
Image size
Info / Up button
Play & Pause / Down button
Print button
Left / Right / Menu / OK button
Delete button
Left/Right/MENU/OK button activates the following
Image Resize Types
E Effect button Resize
Selectable
E Effect button Rotating an image
E Effect button Colour
You can rotate the stored images by various degrees
Custom colour
Red eye removal
Red eye effect can be removed from the captured image
Contrast control
Brightness control
Saturation control
Noise effect
If the image size is or , the FUN menu cannot be selected
E Effect button FUN
Cartoon
You can add a text box to the image to make the image cartoon like
Photo Frame
Preset focus frames
High Light
OK button
Composite image
You can change the focus frame after selecting a Range menu
button
Up/Down/Left
Max. 2 stickers by pressing the
Sticker
Colour Filter
Fn button. Press the OK button to
Colour mask
Final image
Setting up the play back function using the LCD monitor
Play mode functions can be changed by using the LCD monitor
Start the slide show
Setting up the play back function using the LCD monitor
Starting the slide show
The slide show can start only in the Show Start menu
You can select image to view
Selecting Images
Configure slide show effects
Unique screen effects can be used for the slide show
Set the slide show play interval
Setting play interval
Setting Background Music
Set the slide show music
Protecting images
Playback
Voice memo
Deleting images
DPOF
the Right button
Standard
Index
sub menu will be displayed
Print size
Copy To Card
files to the memory card
Sound menu
Available Mode
Beep Sound
Volume
Sound
Start up sound
In this mode, you can set up basic settings. You can use the setup
Setup menu
are default settings
The items indicated by
Setting up the Date / Time / Date type
SETUP1
Language
Quick view
You can adjust the LCD brightness
Start up image
LCD brightness
Formatting a memory
SETUP2
Initialisation
file naming format
File name
This function allows the user to select the
There is an option to include DATE/TIME on still images
Auto power off
Imprinting the recording date
Off setting will be preserved
Selecting video out type
Connecting to an external monitor
BDGHI
PictBridge
Setting up the camera for connection to the printer
Connecting the Camera to a Printer
Auto focus lamp
You can select images you want to print
Setting the Number of Copies to Print
PictBridge Picture Selection
Easy printing
PictBridge Reset
PictBridge Print Setting
Initialises user-changed configurations
MP3 / PMP / TEXT VIEWER mode
Downloading files
Starting the MP3 / PMP / TEXT VIEWER mode
TEXT VIEWER mode
MP3 mode
PMP mode
A title coded with unsupported language is displayed as “--------”
Volume Indication
LCD monitor indicator for MP3 / PMP / TEXT VIEWER mode
TEXT VIEWER mode
Play & Pause / Seeking button
Using the camera buttons to adjust the camera
Volume button
Delete button
MP3 Mode
Hold / Equalizer button
Playlist button
PMP Mode
TEXT
Setting up the playback function using the LCD monitor
VIEWER
Skin of MP3 player
Resume
Play mode
You can set the playback type
Delete all
Setting slide show interval
Playing back the slide show
Frame search
Information of DRM file
Display setting
Setting up the recording function in the MP3 mode
Auto Scroll
Language setting
Setting up the playback function using the LCD monitor
MP3 BGM Setting
You can play MP3 files when you are playing the text
the Left/Right/Up/Down button
World Tour Guide mode
Select the World Tour Guide mode
MULTIMEDIA
Adding the Bookmark
You can select desired function
Bookmark list
Language
Sand can be particularly troublesome to cameras
Be sure to observe the following precautions
Important notes
Handling the camera
Extremes in temperature may cause problems
Caution on Using the Lens
Camera Maintenance
Do not attempt to disassemble or modify the camera
Low Battery
Warning indicator
File Error
DCF Full Error
The camera power ceases while in use
Before contacting a service centre
The camera doesn’t switch on
Battery power quickly drains
Incorrect date and time is displayed
The images are unclear
The flash does not fire
The images don’t play back
1cm ~ 5cm
Specifications
5cm ~ 80cm
5cm ~ Infinity
recording time memory capacity dependent, max
MP3 Specification
PMP Specification
Software notes
Text Specification
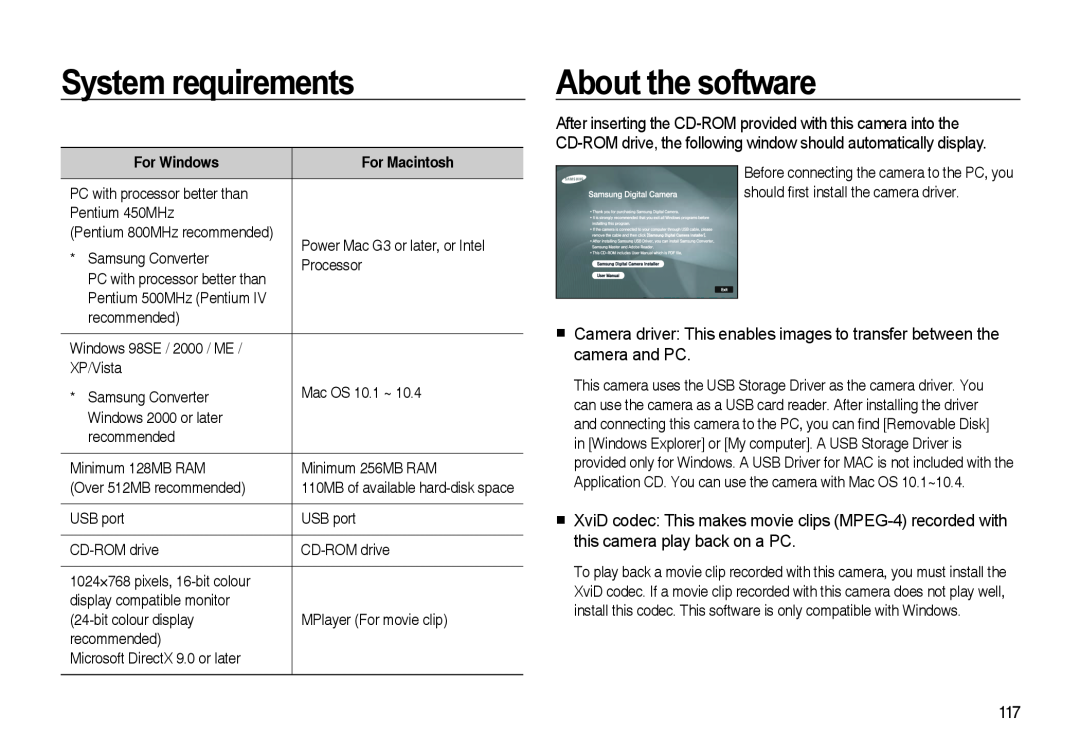
For Windows
System requirements
About the software
For Macintosh
Samsung Converter Multimedia converting program
Samsung Master This is the all-in-one multi media software solution
To use this camera with a PC, install the application software first
You can visit the Saung web-site through the internet
Setting up the application software
4. Install the software by following instructions on the monitor
6. Turn the camera power on. The Found
Disconnecting the camera and PC
Connecting the camera to a PC
Camera settings for connection
Starting PC mode
Downloading stored images
Windows 98SE
Removing the removable disk
Windows 2000/ME/XP/Vista
Using the USB Driver for MAC
Setting up the USB Driver for MAC
Samsung Converter
How to use the Samsung Converter
Removing the USB Driver for Windows 98SE
To remove the USB driver, refer to the process shown below
install a multi-codec
Samsung Master
Downloading images
Image viewer You can view the stored images
Image edit You can edit the still image
Samsung Master
Please check the following if the USB connection malfunctions
When the DirectX 9.0 or later is not installed
When the movie clip doesn’t play back on the PC
When codec for play back the movie clip isn’t installed
Installing codec for Windows
Install all the application programs included in the software CD
Correct Disposal of This Product
of its working life
FCC notice
Declaration of Conformity