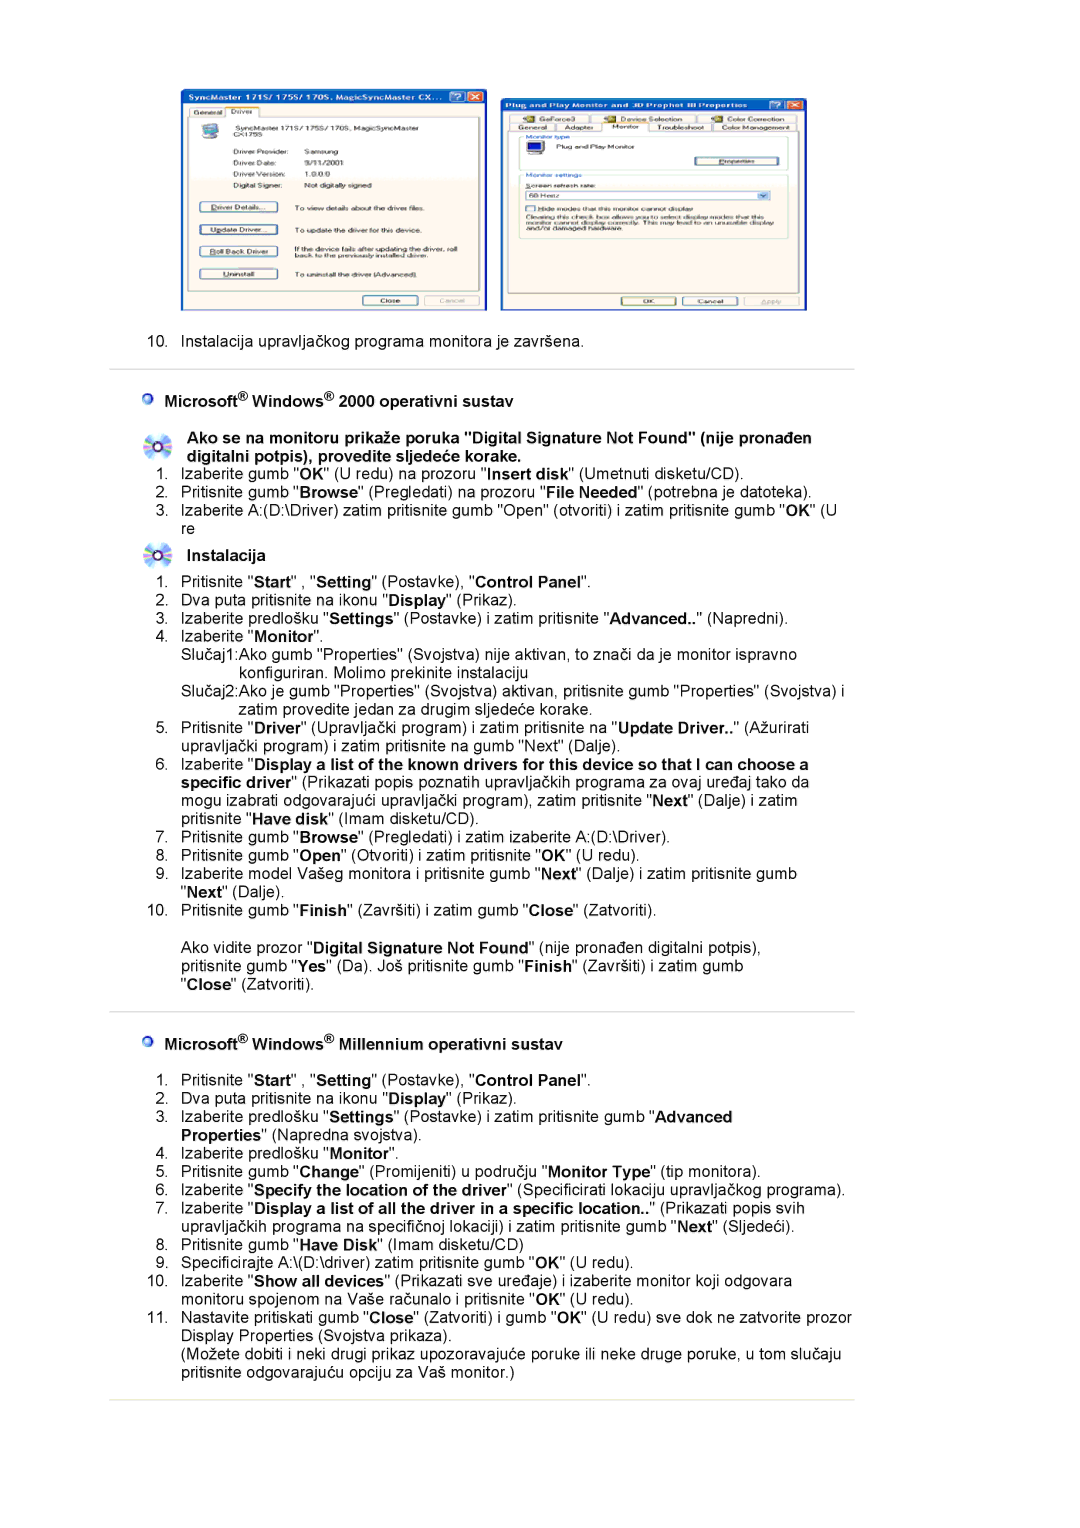
10. Instalacija upravljaþkog programa monitora je završena.

Microsoft® Windows® 2000 operativni sustav

Ako se na monitoru prikaže poruka "Digital Signature Not Found" (nije pronaÿen digitalni potpis), provedite sljedeüe korake.

1.Izaberite gumb "OK" (U redu) na prozoru "Insert disk" (Umetnuti disketu/CD).

2.Pritisnite gumb "Browse" (Pregledati) na prozoru "File Needed" (potrebna je datoteka).

3.Izaberite A:(D:\Driver) zatim pritisnite gumb "Open" (otvoriti) i zatim pritisnite gumb "OK" (U re

Instalacija

1.Pritisnite "Start" , "Setting" (Postavke), "Control Panel".

2.Dva puta pritisnite na ikonu "Display" (Prikaz).

3.Izaberite predlošku "Settings" (Postavke) i zatim pritisnite "Advanced.." (Napredni).

4.Izaberite "Monitor".

Sluþaj1:Ako gumb "Properties" (Svojstva) nije aktivan, to znaþi da je monitor ispravno konfiguriran. Molimo prekinite instalaciju

Sluþaj2:Ako je gumb "Properties" (Svojstva) aktivan, pritisnite gumb "Properties" (Svojstva) i zatim provedite jedan za drugim sljedeüe korake.

5.Pritisnite "Driver" (Upravljaþki program) i zatim pritisnite na "Update Driver.." (Ažurirati upravljaþki program) i zatim pritisnite na gumb "Next" (Dalje).

6.Izaberite "Display a list of the known drivers for this device so that I can choose a specific driver" (Prikazati popis poznatih upravljaþkih programa za ovaj ureÿaj tako da mogu izabrati odgovarajuüi upravljaþki program), zatim pritisnite "Next" (Dalje) i zatim pritisnite "Have disk" (Imam disketu/CD).

7.Pritisnite gumb "Browse" (Pregledati) i zatim izaberite A:(D:\Driver).

8.Pritisnite gumb "Open" (Otvoriti) i zatim pritisnite "OK" (U redu).

9.Izaberite model Vašeg monitora i pritisnite gumb "Next" (Dalje) i zatim pritisnite gumb "Next" (Dalje).

10.Pritisnite gumb "Finish" (Završiti) i zatim gumb "Close" (Zatvoriti).

Ako vidite prozor "Digital Signature Not Found" (nije pronaÿen digitalni potpis), pritisnite gumb "Yes" (Da). Još pritisnite gumb "Finish" (Završiti) i zatim gumb "Close" (Zatvoriti).

Microsoft® Windows® Millennium operativni sustav

1.Pritisnite "Start" , "Setting" (Postavke), "Control Panel".

2.Dva puta pritisnite na ikonu "Display" (Prikaz).

3.Izaberite predlošku "Settings" (Postavke) i zatim pritisnite gumb "Advanced Properties" (Napredna svojstva).

4.Izaberite predlošku "Monitor".

5.Pritisnite gumb "Change" (Promijeniti) u podruþju "Monitor Type" (tip monitora).

6.Izaberite "Specify the location of the driver" (Specificirati lokaciju upravljaþkog programa).

7.Izaberite "Display a list of all the driver in a specific location.." (Prikazati popis svih upravljaþkih programa na specifiþnoj lokaciji) i zatim pritisnite gumb "Next" (Sljedeüi).

8.Pritisnite gumb "Have Disk" (Imam disketu/CD)

9.Specificirajte A:\(D:\driver) zatim pritisnite gumb "OK" (U redu).

10.Izaberite "Show all devices" (Prikazati sve ureÿaje) i izaberite monitor koji odgovara monitoru spojenom na Vaše raþunalo i pritisnite "OK" (U redu).

11.Nastavite pritiskati gumb "Close" (Zatvoriti) i gumb "OK" (U redu) sve dok ne zatvorite prozor Display Properties (Svojstva prikaza).

(Možete dobiti i neki drugi prikaz upozoravajuüe poruke ili neke druge poruke, u tom sluþaju pritisnite odgovarajuüu opciju za Vaš monitor.)

Page 39
Image 39
Samsung LS19MJSTSQ/EDC, LS17MJSTSE/EDC, MJ19MSTSQ/EDC, MJ17MSTSQ/EDC, LS19MJSTSH/EDC, LS17MJSKS/EDC, LS17MJSKSZ/EDC Instalacija

MJ19MSTSQ/EDC, LS17MJSKSZ/EDC, MJ17MSTSQ/EDC, LS17MJSKS/EDC, LS19MJSTSH/EDC specifications

The Samsung LS19MJSTS7/EDC, LS19MJSTSQ/EDC, LS19MJSTSH/EDC, LS17MJSKS/EDC, and LS17MJSTSE/EDC represent a line of high-quality monitors that exemplify Samsung's dedication to innovation, performance, and user satisfaction. Each model offers a unique set of features catering to different needs, from everyday use to more specialized applications.

Starting with the LS19MJSTS7/EDC and LS19MJSTSQ/EDC models, these monitors boast a stunning display with high-definition resolution, delivering crisp and vibrant visuals. Their anti-glare screens make them ideal for various lighting conditions, ensuring comfortable viewing whether you are working in a bright office or a dim home environment. The slim design and sleek bezels enhance the aesthetic appeal, making these monitors suitable for both personal setups and professional environments.

The LS19MJSTSH/EDC offers additional features geared towards gamers and graphic designers. This model includes a higher refresh rate and rapid response time, reducing motion blur in fast-paced visuals, which is essential for gaming and high-definition video playback. Coupled with Samsung's advanced color calibration technology, the LS19MJSTSH/EDC ensures that colors are represented accurately and vividly, providing an immersive experience.

Moving to the LS17MJSKS/EDC and LS17MJSTSE/EDC, these monitors are designed with ergonomics in mind. They come with adjustable stands that allow users to modify height, tilt, and swivel, promoting better posture during prolonged use. Both models incorporate Samsung’s Eye Saver Mode, which reduces blue light emissions and flicker, significantly reducing eye strain during extended viewing periods.

Additionally, the built-in eco-saving technology found in these monitors helps reduce power consumption without sacrificing performance, aligning with modern energy-saving standards. Connectivity options are diverse, featuring HDMI and VGA ports, enabling compatibility with a wide range of devices, from laptops to gaming consoles.

In conclusion, the Samsung LS19MJSTS7/EDC, LS19MJSTSQ/EDC, LS19MJSTSH/EDC, LS17MJSKS/EDC, and LS17MJSTSE/EDC monitors provide consumers with a blend of aesthetics, performance, and functionality. Whether for gaming, professional use, or everyday tasks, these monitors cater to varied preferences while embodying Samsung's commitment to quality and user experience.