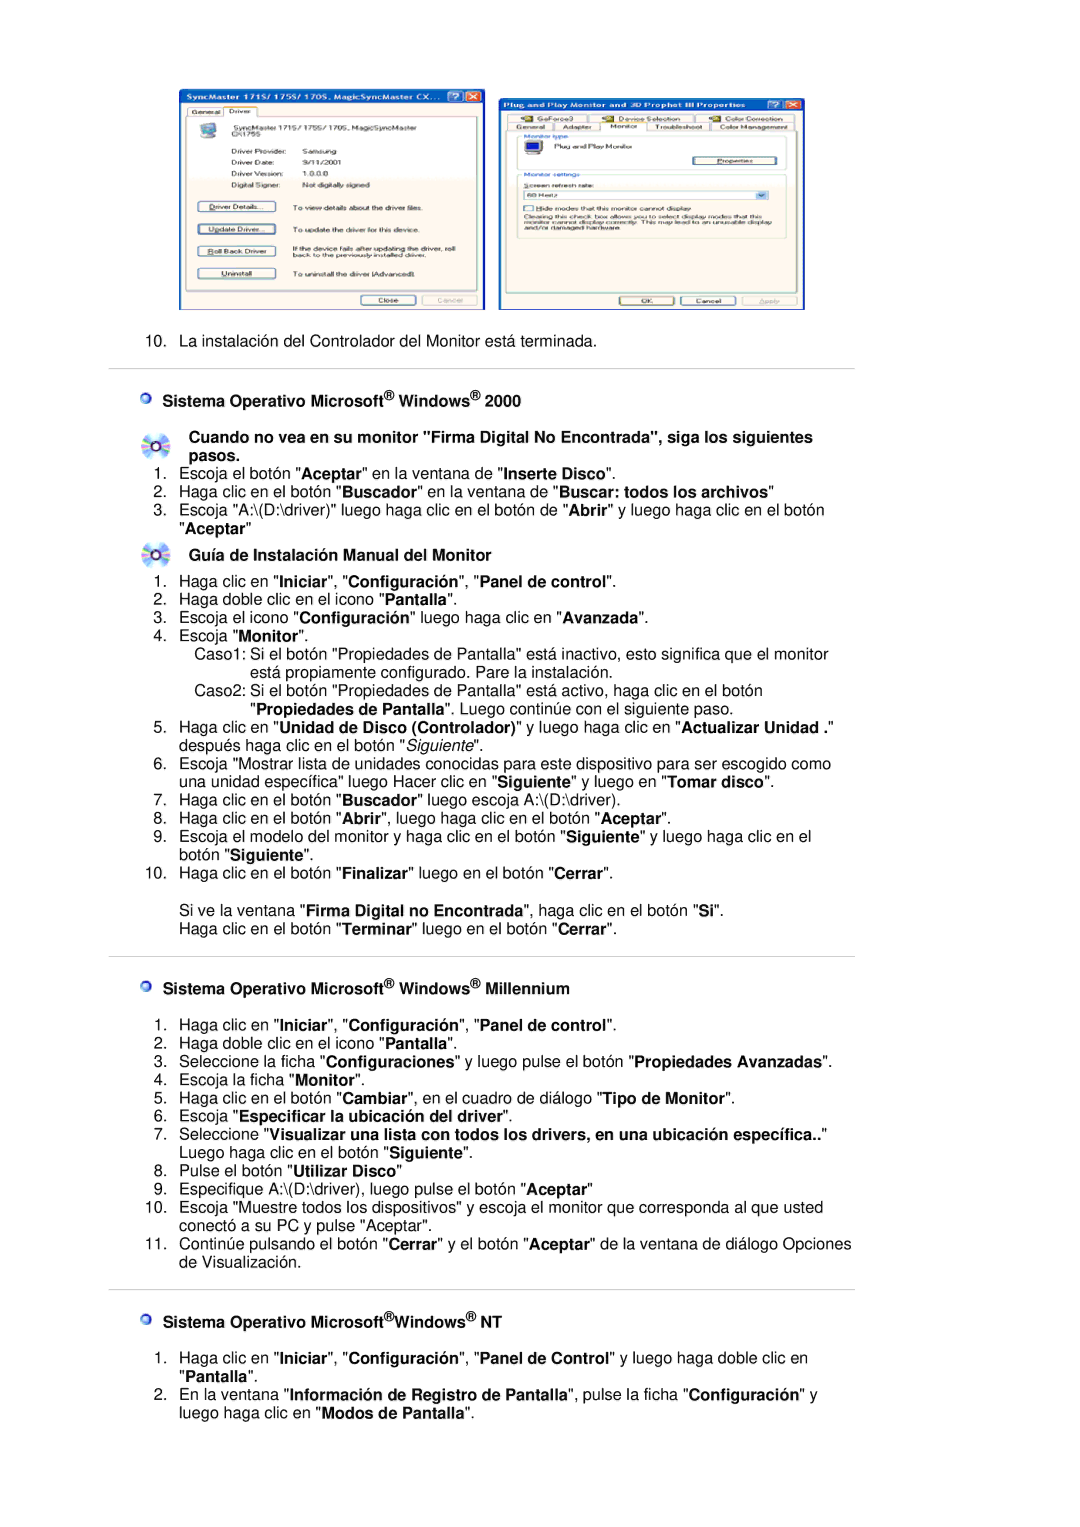
10. La instalación del Controlador del Monitor está terminada.

Sistema Operativo Microsoft® Windows® 2000

Cuando no vea en su monitor "Firma Digital No Encontrada", siga los siguientes pasos.

1.Escoja el botón "Aceptar" en la ventana de "Inserte Disco".

2.Haga clic en el botón "Buscador" en la ventana de "Buscar: todos los archivos"

3.Escoja "A:\(D:\driver)" luego haga clic en el botón de "Abrir" y luego haga clic en el botón "Aceptar"

Guía de Instalación Manual del Monitor

1.Haga clic en "Iniciar", "Configuración", "Panel de control".

2.Haga doble clic en el icono "Pantalla".

3.Escoja el icono "Configuración" luego haga clic en "Avanzada".

4.Escoja "Monitor".

Caso1: Si el botón "Propiedades de Pantalla" está inactivo, esto significa que el monitor está propiamente configurado. Pare la instalación.

Caso2: Si el botón "Propiedades de Pantalla" está activo, haga clic en el botón "Propiedades de Pantalla". Luego continúe con el siguiente paso.

5.Haga clic en "Unidad de Disco (Controlador)" y luego haga clic en "Actualizar Unidad ." después haga clic en el botón "Siguiente".

6.Escoja "Mostrar lista de unidades conocidas para este dispositivo para ser escogido como una unidad específica" luego Hacer clic en "Siguiente" y luego en "Tomar disco".

7.Haga clic en el botón "Buscador" luego escoja A:\(D:\driver).

8.Haga clic en el botón "Abrir", luego haga clic en el botón "Aceptar".

9.Escoja el modelo del monitor y haga clic en el botón "Siguiente" y luego haga clic en el botón "Siguiente".

10.Haga clic en el botón "Finalizar" luego en el botón "Cerrar".

Si ve la ventana "Firma Digital no Encontrada", haga clic en el botón "Si". Haga clic en el botón "Terminar" luego en el botón "Cerrar".

Sistema Operativo Microsoft® Windows® Millennium

1.Haga clic en "Iniciar", "Configuración", "Panel de control".

2.Haga doble clic en el icono "Pantalla".

3.Seleccione la ficha "Configuraciones" y luego pulse el botón "Propiedades Avanzadas".

4.Escoja la ficha "Monitor".

5.Haga clic en el botón "Cambiar", en el cuadro de diálogo "Tipo de Monitor".

6.Escoja "Especificar la ubicación del driver".

7.Seleccione "Visualizar una lista con todos los drivers, en una ubicación específica.." Luego haga clic en el botón "Siguiente".

8.Pulse el botón "Utilizar Disco"

9.Especifique A:\(D:\driver), luego pulse el botón "Aceptar"

10.Escoja "Muestre todos los dispositivos" y escoja el monitor que corresponda al que usted conectó a su PC y pulse "Aceptar".

11.Continúe pulsando el botón "Cerrar" y el botón "Aceptar" de la ventana de diálogo Opciones de Visualización.

Sistema Operativo Microsoft®Windows® NT

1.Haga clic en "Iniciar", "Configuración", "Panel de Control" y luego haga doble clic en "Pantalla".

2.En la ventana "Información de Registro de Pantalla", pulse la ficha "Configuración" y luego haga clic en "Modos de Pantalla".

Page 21
Image 21
Samsung LS19MBXXFV/EDC, LS19MBPXFV/EDC, LS19MBPXHV/EDC, LS19MBXXHV/EDC manual Sistema Operativo MicrosoftWindows NT

LS19MBPXFV/EDC, LS19MBXXHV/EDC, LS19MBXXFV/EDC, LS19MBPXHV/EDC specifications

The Samsung LS19MBPXHV/EDC, LS19MBXXFV/EDC, LS19MBXXHV/EDC, and LS19MBPXFV/EDC represent a series of high-quality monitors designed for versatility and exceptional performance. Each model in this series is crafted to cater to varying user needs, providing robust features that enhance productivity and visual experience.

One of the key attributes of these monitors is their display technology. These models utilize an advanced LED-backlit LCD panel, offering vibrant colors and crisp images. The resolution typically reaches Full HD (1920x1080), ensuring that users can enjoy sharp and clear visuals whether for work or entertainment purposes. This high resolution is particularly beneficial for graphic design, multimedia editing, and gaming.

Additionally, the monitors feature a wide viewing angle, often up to 178 degrees horizontally and vertically. This allows users to view the screen comfortably from various positions without significant color distortion or visibility reduction. This characteristic enhances collaboration in work environments where multiple users may need to view the screen simultaneously.

The design of these monitors emphasizes ergonomics and user comfort. Many models offer height adjustment, tilt, and swivel functions, enabling users to customize their viewing experience according to their preferences. This is especially important for prolonged use, as it helps reduce neck and eye strain.

Another noteworthy feature is the inclusion of various connectivity options, such as HDMI, VGA, and DisplayPort. This versatility allows users to integrate the monitor with different devices, be it laptops, desktops, or gaming consoles, making it an excellent choice for both office and home setups.

Samsung’s commitment to energy efficiency is evident in these models, which often come with Energy Star certification. This not only contributes to lower electricity bills but also aligns with modern sustainability practices.

In terms of additional technologies, features like Flicker-Free technology and Eye Saver Mode are included to minimize screen flickering and reduce blue light emissions. This enhances user comfort during extended viewing sessions, making these monitors suitable for a wide range of tasks, from professional graphic design to casual browsing.

In summary, the Samsung LS19MBPXHV/EDC, LS19MBXXFV/EDC, LS19MBXXHV/EDC, and LS19MBPXFV/EDC monitors stand out for their excellent display quality, ergonomic design, and versatile connectivity options, making them suitable for various applications, whether in a professional environment or home use.