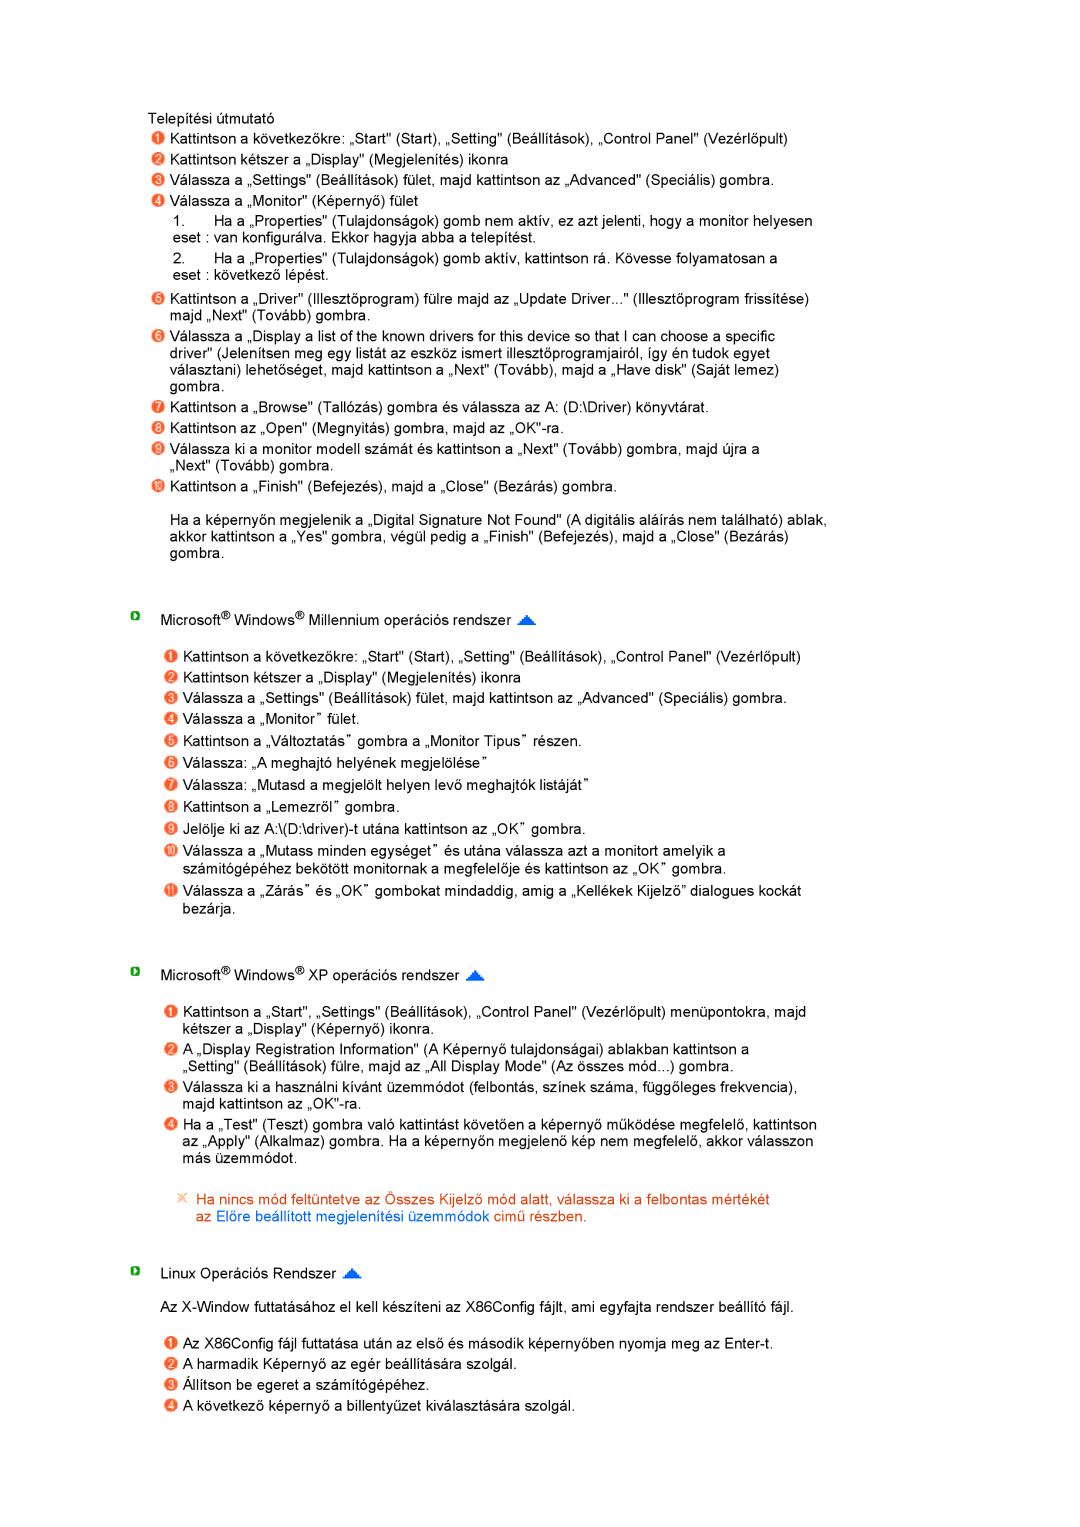
Telepítési útmutató

Kattintson a következőkre: „Start" (Start), „Setting" (Beállítások), „Control Panel" (Vezérlőpult)

Kattintson kétszer a „Display" (Megjelenítés) ikonra

Válassza a „Settings" (Beállítások) fület, majd kattintson az „Advanced" (Speciális) gombra. Válassza a „Monitor" (Képernyő) fület

1.Ha a „Properties" (Tulajdonságok) gomb nem aktív, ez azt jelenti, hogy a monitor helyesen

eset : van konfigurálva. Ekkor hagyja abba a telepítést.

2.Ha a „Properties" (Tulajdonságok) gomb aktív, kattintson rá. Kövesse folyamatosan a

eset : következő lépést.

Kattintson a „Driver" (Illesztőprogram) fülre majd az „Update Driver..." (Illesztőprogram frissítése) majd „Next" (Tovább) gombra.

Válassza a „Display a list of the known drivers for this device so that I can choose a specific driver" (Jelenítsen meg egy listát az eszköz ismert illesztőprogramjairól, így én tudok egyet választani) lehetőséget, majd kattintson a „Next" (Tovább), majd a „Have disk" (Saját lemez) gombra.

Kattintson a „Browse" (Tallózás) gombra és válassza az A: (D:\Driver) könyvtárat.

Kattintson az „Open" (Megnyitás) gombra, majd az „OK"-ra.

Válassza ki a monitor modell számát és kattintson a „Next" (Tovább) gombra, majd újra a „Next" (Tovább) gombra.

Kattintson a „Finish" (Befejezés), majd a „Close" (Bezárás) gombra.

Ha a képernyőn megjelenik a „Digital Signature Not Found" (A digitális aláírás nem található) ablak, akkor kattintson a „Yes" gombra, végül pedig a „Finish" (Befejezés), majd a „Close" (Bezárás) gombra.

Microsoft® Windows® Millennium operációs rendszer

Kattintson a következőkre: „Start" (Start), „Setting" (Beállítások), „Control Panel" (Vezérlőpult)

Kattintson kétszer a „Display" (Megjelenítés) ikonra

Válassza a „Settings" (Beállítások) fület, majd kattintson az „Advanced" (Speciális) gombra.

Válassza a „Monitor” fület.

Kattintson a „Változtatás” gombra a „Monitor Tipus” részen.

Válassza: „A meghajtó helyének megjelölése”

Válassza: „Mutasd a megjelölt helyen levő meghajtók listáját”

Kattintson a „Lemezről” gombra.

Jelölje ki az A:\(D:\driver)-t utána kattintson az „OK” gombra.

Válassza a „Mutass minden egységet” és utána válassza azt a monitort amelyik a számitógépéhez bekötött monitornak a megfelelője és kattintson az „OK” gombra.

Válassza a „Zárás” és „OK” gombokat mindaddig, amig a „Kellékek Kijelző” dialogues kockát bezárja.

Microsoft® Windows® XP operációs rendszer

Kattintson a „Start", „Settings" (Beállítások), „Control Panel" (Vezérlőpult) menüpontokra, majd kétszer a „Display" (Képernyő) ikonra.

A „Display Registration Information" (A Képernyő tulajdonságai) ablakban kattintson a „Setting" (Beállítások) fülre, majd az „All Display Mode" (Az összes mód...) gombra.

Válassza ki a használni kívánt üzemmódot (felbontás, színek száma, függőleges frekvencia), majd kattintson az „OK"-ra.

Ha a „Test" (Teszt) gombra való kattintást követően a képernyő működése megfelelő, kattintson az „Apply" (Alkalmaz) gombra. Ha a képernyőn megjelenő kép nem megfelelő, akkor válasszon más üzemmódot.

Ha nincs mód feltüntetve az Összes Kijelző mód alatt, válassza ki a felbontas mértékét az Előre beállított megjelenítési üzemmódok cimű részben.

Linux Operációs Rendszer

Az X-Window futtatásához el kell készíteni az X86Config fájlt, ami egyfajta rendszer beállító fájl.

Az X86Config fájl futtatása után az első és második képernyőben nyomja meg az Enter-t.

A harmadik Képernyő az egér beállítására szolgál.

Állítson be egeret a számítógépéhez.

A következő képernyő a billentyűzet kiválasztására szolgál.

Page 27
Image 27
Samsung LS17MEDSBQ/EDC, LS19MEDSBQ/EDC manual

LS19MEDSBQ/EDC, LS17MEDSBQ/EDC specifications

The Samsung LS17MEDSBQ and LS19MED series monitors are designed to enhance the user experience with advanced features, cutting-edge technology, and impressive performance. These monitors cater to different needs but share many characteristics that make them standout options for both personal and professional use.

The LS17MEDSBQ/XSS and LS17MEDSBQ/EDC models come equipped with a 17-inch display with a resolution that offers crisp and clear visuals, making them ideal for everyday tasks like browsing the web, viewing documents, or streaming videos. The compact size is perfect for smaller workspaces, allowing for a clutter-free environment. With a slim bezel design, these monitors maximize screen real estate, providing an immersive viewing experience.

On the other hand, the LS19MEBSBQ/TRU and LS19MEDSBQ/ILC models introduce a larger 19-inch screen that enhances productivity by providing additional screen space for multitasking. The higher resolution ensures vibrant colors and sharp details, making them suitable for graphic design, video editing, and gaming. The extra size also makes these monitors ideal for workshops or educational settings, where multiple viewers can benefit from the improved visibility.

All models in the series feature Samsung’s advanced display technologies such as LED backlighting, which improves energy efficiency and enhances brightness levels. They also support wide viewing angles, ensuring that the picture remains consistent and vivid regardless of the viewer's position.

In terms of connectivity, these monitors offer multiple ports, including VGA and HDMI inputs, making it easy to connect to various devices such as laptops, desktops, and gaming consoles. This flexibility allows users to switch between devices seamlessly.

Moreover, the monitors are designed with eye comfort in mind. They include features like flicker-free technology to reduce eye strain during prolonged use and various screen modes that adjust the display settings based on the content being viewed.

In summary, the Samsung LS17MEDSBQ/XSS, LS17MEDSBQ/EDC, LS19MEBSBQ/TRU, LS19MEDSBQ/ILC, and LS19MEDSSQ/EDC monitors offer an impressive combination of size, resolution, and advanced features. These characteristics make them suitable for a wide range of applications, ensuring that users can enjoy high-quality graphics while maintaining a comfortable viewing experience. Whether for work or leisure, these monitors represent a solid investment in display technology.