C O N T E N T S

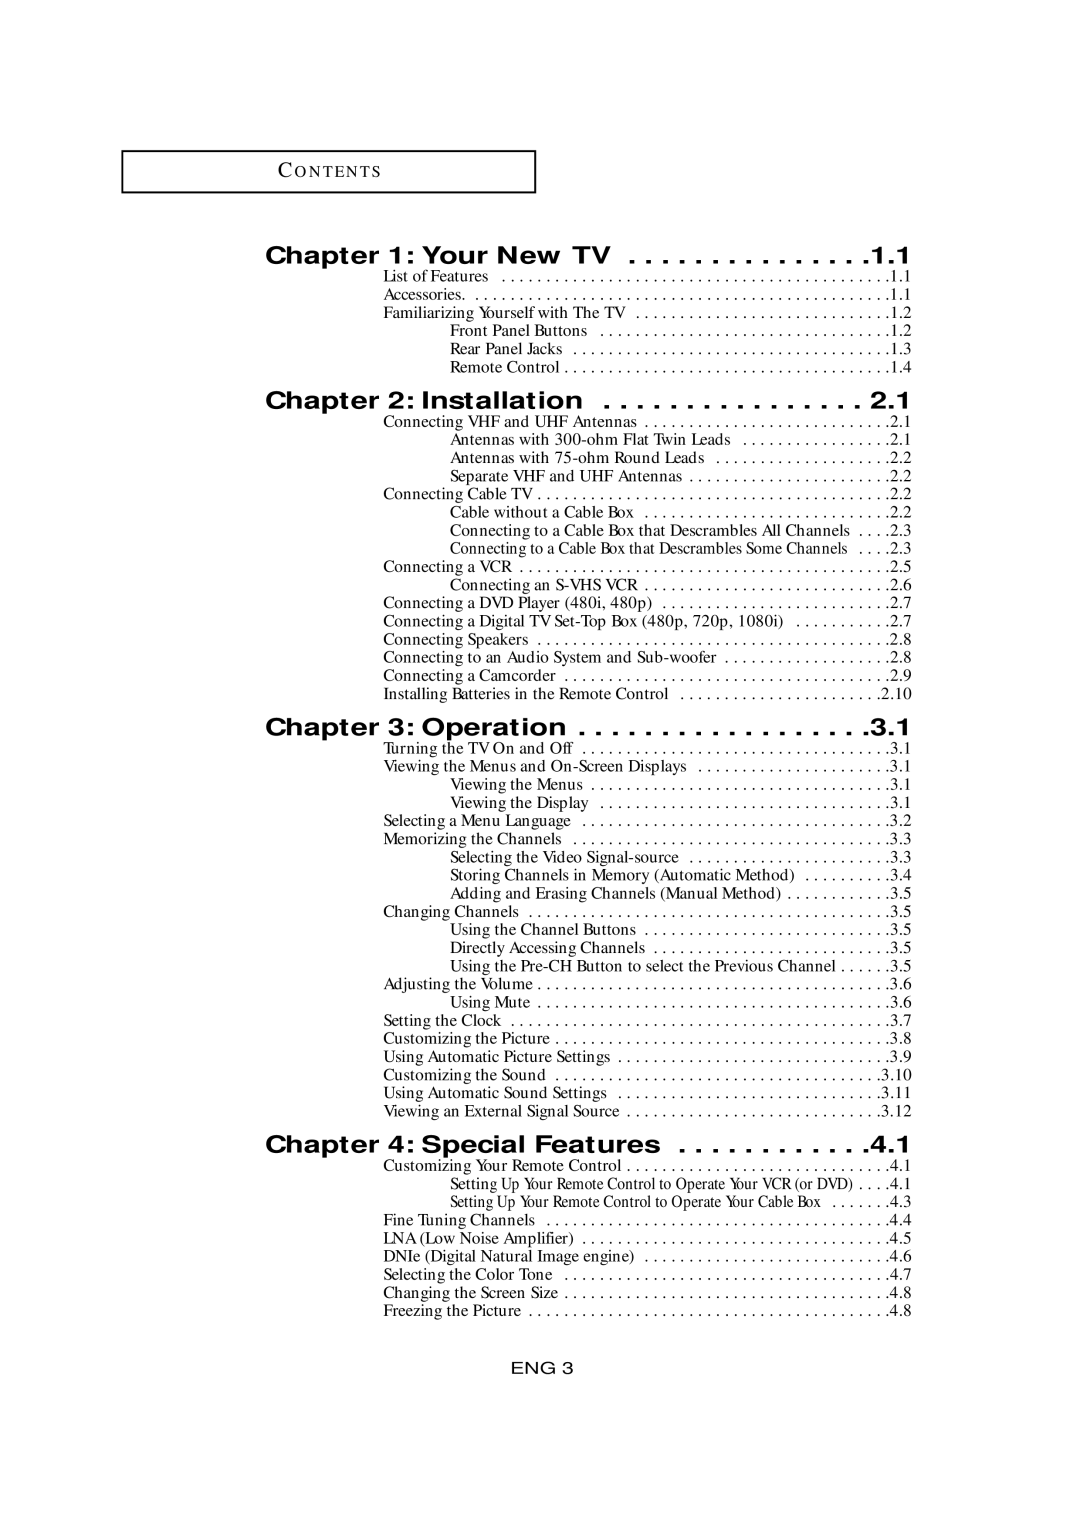
Chapter 1: Your New TV . . . . . . . . . . . . . . .1.1

List of Features . . . . . . . . . . . . . . . . . . . . . . . . . . . . . . . . . . . . . . . . . . . .1.1 Accessories. . . . . . . . . . . . . . . . . . . . . . . . . . . . . . . . . . . . . . . . . . . . . . . .1.1 Familiarizing Yourself with The TV . . . . . . . . . . . . . . . . . . . . . . . . . . . . .1.2 Front Panel Buttons . . . . . . . . . . . . . . . . . . . . . . . . . . . . . . . . .1.2 Rear Panel Jacks . . . . . . . . . . . . . . . . . . . . . . . . . . . . . . . . . . . .1.3 Remote Control . . . . . . . . . . . . . . . . . . . . . . . . . . . . . . . . . . . . .1.4

Chapter 2: Installation . . . . . . . . . . . . . . . . 2.1

Connecting VHF and UHF Antennas . . . . . . . . . . . . . . . . . . . . . . . . . . . .2.1 Antennas with 300-ohm Flat Twin Leads . . . . . . . . . . . . . . . . .2.1 Antennas with 75-ohm Round Leads . . . . . . . . . . . . . . . . . . . .2.2 Separate VHF and UHF Antennas . . . . . . . . . . . . . . . . . . . . . . .2.2

Connecting Cable TV . . . . . . . . . . . . . . . . . . . . . . . . . . . . . . . . . . . . . . . .2.2 Cable without a Cable Box . . . . . . . . . . . . . . . . . . . . . . . . . . . .2.2 Connecting to a Cable Box that Descrambles All Channels . . . .2.3 Connecting to a Cable Box that Descrambles Some Channels . . . .2.3 Connecting a VCR . . . . . . . . . . . . . . . . . . . . . . . . . . . . . . . . . . . . . . . . . .2.5 Connecting an S-VHS VCR . . . . . . . . . . . . . . . . . . . . . . . . . . . .2.6 Connecting a DVD Player (480i, 480p) . . . . . . . . . . . . . . . . . . . . . . . . . .2.7 Connecting a Digital TV Set-Top Box (480p, 720p, 1080i) . . . . . . . . . . .2.7 Connecting Speakers . . . . . . . . . . . . . . . . . . . . . . . . . . . . . . . . . . . . . . . .2.8 Connecting to an Audio System and Sub-woofer . . . . . . . . . . . . . . . . . . .2.8 Connecting a Camcorder . . . . . . . . . . . . . . . . . . . . . . . . . . . . . . . . . . . . .2.9 Installing Batteries in the Remote Control . . . . . . . . . . . . . . . . . . . . . . .2.10

Chapter 3: Operation . . . . . . . . . . . . . . . . . .3.1

Turning the TV On and Off . . . . . . . . . . . . . . . . . . . . . . . . . . . . . . . . . . .3.1 Viewing the Menus and On-Screen Displays . . . . . . . . . . . . . . . . . . . . . .3.1 Viewing the Menus . . . . . . . . . . . . . . . . . . . . . . . . . . . . . . . . . .3.1 Viewing the Display . . . . . . . . . . . . . . . . . . . . . . . . . . . . . . . . .3.1

Selecting a Menu Language . . . . . . . . . . . . . . . . . . . . . . . . . . . . . . . . . . .3.2 Memorizing the Channels . . . . . . . . . . . . . . . . . . . . . . . . . . . . . . . . . . . .3.3 Selecting the Video Signal-source . . . . . . . . . . . . . . . . . . . . . . .3.3 Storing Channels in Memory (Automatic Method) . . . . . . . . . .3.4 Adding and Erasing Channels (Manual Method) . . . . . . . . . . . .3.5

Changing Channels . . . . . . . . . . . . . . . . . . . . . . . . . . . . . . . . . . . . . . . . .3.5 Using the Channel Buttons . . . . . . . . . . . . . . . . . . . . . . . . . . . .3.5 Directly Accessing Channels . . . . . . . . . . . . . . . . . . . . . . . . . . .3.5 Using the Pre-CH Button to select the Previous Channel . . . . . .3.5

Adjusting the Volume . . . . . . . . . . . . . . . . . . . . . . . . . . . . . . . . . . . . . . . .3.6 Using Mute . . . . . . . . . . . . . . . . . . . . . . . . . . . . . . . . . . . . . . . .3.6 Setting the Clock . . . . . . . . . . . . . . . . . . . . . . . . . . . . . . . . . . . . . . . . . . .3.7

Customizing the Picture . . . . . . . . . . . . . . . . . . . . . . . . . . . . . . . . . . . . . .3.8 Using Automatic Picture Settings . . . . . . . . . . . . . . . . . . . . . . . . . . . . . . .3.9 Customizing the Sound . . . . . . . . . . . . . . . . . . . . . . . . . . . . . . . . . . . . .3.10 Using Automatic Sound Settings . . . . . . . . . . . . . . . . . . . . . . . . . . . . . .3.11 Viewing an External Signal Source . . . . . . . . . . . . . . . . . . . . . . . . . . . . .3.12

Chapter 4: Special Features . . . . . . . . . . . .4.1

Customizing Your Remote Control . . . . . . . . . . . . . . . . . . . . . . . . . . . . . .4.1 Setting Up Your Remote Control to Operate Your VCR (or DVD) . . . .4.1 Setting Up Your Remote Control to Operate Your Cable Box . . . . . . .4.3

Fine Tuning Channels . . . . . . . . . . . . . . . . . . . . . . . . . . . . . . . . . . . . . . .4.4 LNA (Low Noise Amplifier) . . . . . . . . . . . . . . . . . . . . . . . . . . . . . . . . . . .4.5 DNIe (Digital Natural Image engine) . . . . . . . . . . . . . . . . . . . . . . . . . . . .4.6 Selecting the Color Tone . . . . . . . . . . . . . . . . . . . . . . . . . . . . . . . . . . . . .4.7 Changing the Screen Size . . . . . . . . . . . . . . . . . . . . . . . . . . . . . . . . . . . . .4.8 Freezing the Picture . . . . . . . . . . . . . . . . . . . . . . . . . . . . . . . . . . . . . . . . .4.8

ENG 3

Page 5
Image 5
Samsung LTM405W, LTM 295W manual Your New TV, Installation, Operation, Special Features

LTM405W, LTM 295W specifications

The Samsung LTM 295W and LTM 405W are advanced display technologies that stand out for their impressive performance and innovative features. These models signify Samsung's commitment to enhancing visual experiences and providing solutions that cater to diverse applications in both commercial and consumer markets.

The LTM 295W boasts a 29-inch widescreen format that is suitable for a range of settings, from reception areas to retail environments. With its ultra-wide aspect ratio, the monitor offers an immersive viewing experience, making it ideal for showcasing multimedia content and advertisements. The display features high-definition resolution, ensuring that images are sharp and color reproduction is vivid. The LED backlighting enhances brightness and energy efficiency, while the slim profile makes it easy to integrate into various designs.

On the other hand, the LTM 405W takes the display experience a step further with its 40-inch size. This larger screen is designed for even more engaging content delivery, making it perfect for video walls or commercial displays. The 405W utilizes advanced panel technology that supports wide viewing angles, ensuring that the image quality remains consistent regardless of the viewer's position. Furthermore, it supports high color fidelity, making it an excellent choice for applications requiring precise color accuracy.

Both models are equipped with Smart Connectivity features, allowing for seamless integration with various devices. They support multiple input options, including HDMI, DisplayPort, and USB-C, offering flexibility for users to connect various sources easily. This capability is particularly beneficial for businesses that rely on multiple devices for presentations and digital signage.

Additionally, Samsung has incorporated energy-saving technologies into both models, allowing for reduced power consumption without compromising on performance. This gives users not only a high-quality display but also an eco-friendly solution suitable for long-term use.

In summary, the Samsung LTM 295W and LTM 405W are exemplary displays that highlight the brand's expertise in the field of visual technology. With robust features, advanced panel technologies, and an emphasis on connectivity and energy efficiency, these models serve as powerful tools for enhancing visual communication and engaging audiences across various environments. Whether for professional or personal use, they set a new standard for display excellence.