Before you start
Accessories
For first time use, clean the accessories thoroughly with warm water, detergent and a soft clean cloth.
The | |
| with or without the |
| to the front. |
Before you start
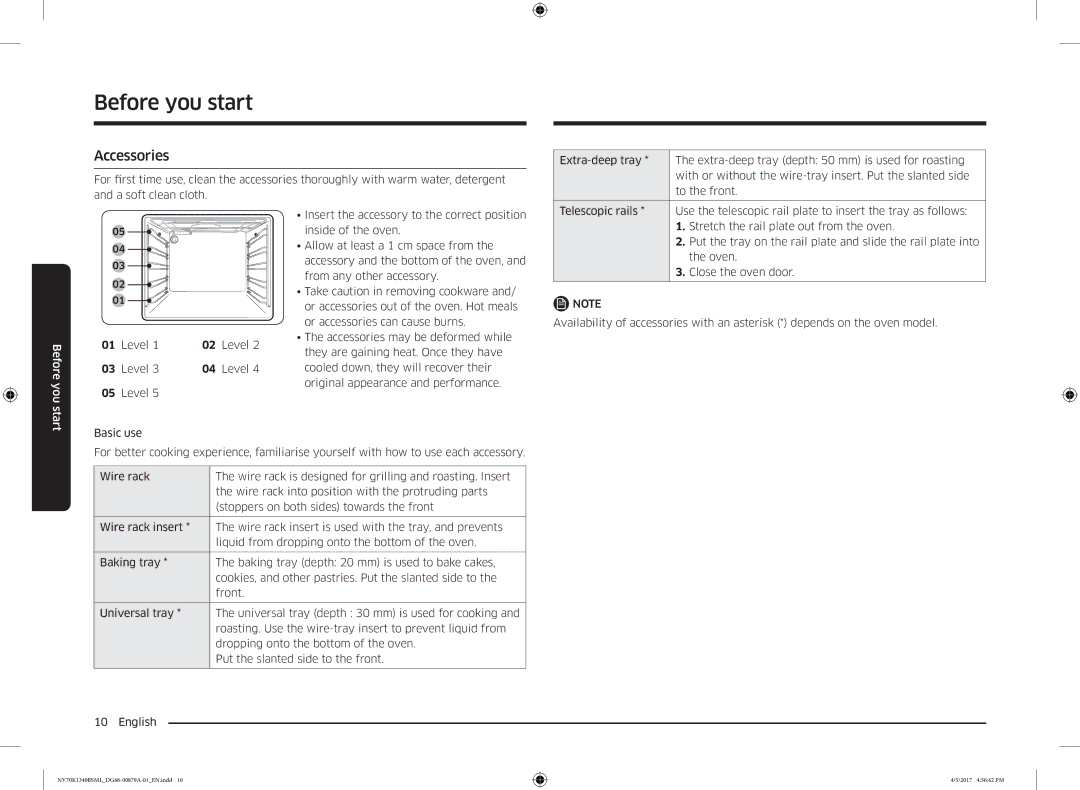
05
04
03
02
01
01 | Level 1 | 02 | Level 2 |
03 | Level 3 | 04 | Level 4 |
05Level 5
Basic use
•Insert the accessory to the correct position inside of the oven.
•Allow at least a 1 cm space from the accessory and the bottom of the oven, and from any other accessory.
•Take caution in removing cookware and/ or accessories out of the oven. Hot meals or accessories can cause burns.
•The accessories may be deformed while they are gaining heat. Once they have cooled down, they will recover their original appearance and performance.
Telescopic rails * | Use the telescopic rail plate to insert the tray as follows: | |
| 1. | Stretch the rail plate out from the oven. |
| 2. | Put the tray on the rail plate and slide the rail plate into |
|
| the oven. |
| 3. | Close the oven door. |
![]() NOTE
NOTE
Availability of accessories with an asterisk (*) depends on the oven model.
For better cooking experience, familiarise yourself with how to use each accessory.
Wire rack | The wire rack is designed for grilling and roasting. Insert |
|
| the wire rack into position with the protruding parts |
|
| (stoppers on both sides) towards the front |
|
|
|
|
Wire rack insert * | The wire rack insert is used with the tray, and prevents |
|
| liquid from dropping onto the bottom of the oven. |
|
|
|
|
Baking tray * | The baking tray (depth: 20 mm) is used to bake cakes, |
|
| cookies, and other pastries. Put the slanted side to the |
|
| front. |
|
|
|
|
Universal tray * | The universal tray (depth : 30 mm) is used for cooking and |
|
| roasting. Use the |
|
| dropping onto the bottom of the oven. |
|
| Put the slanted side to the front. |
|
|
|
|
10 English |
|
|
4/5/2017 4:56:42 PM
