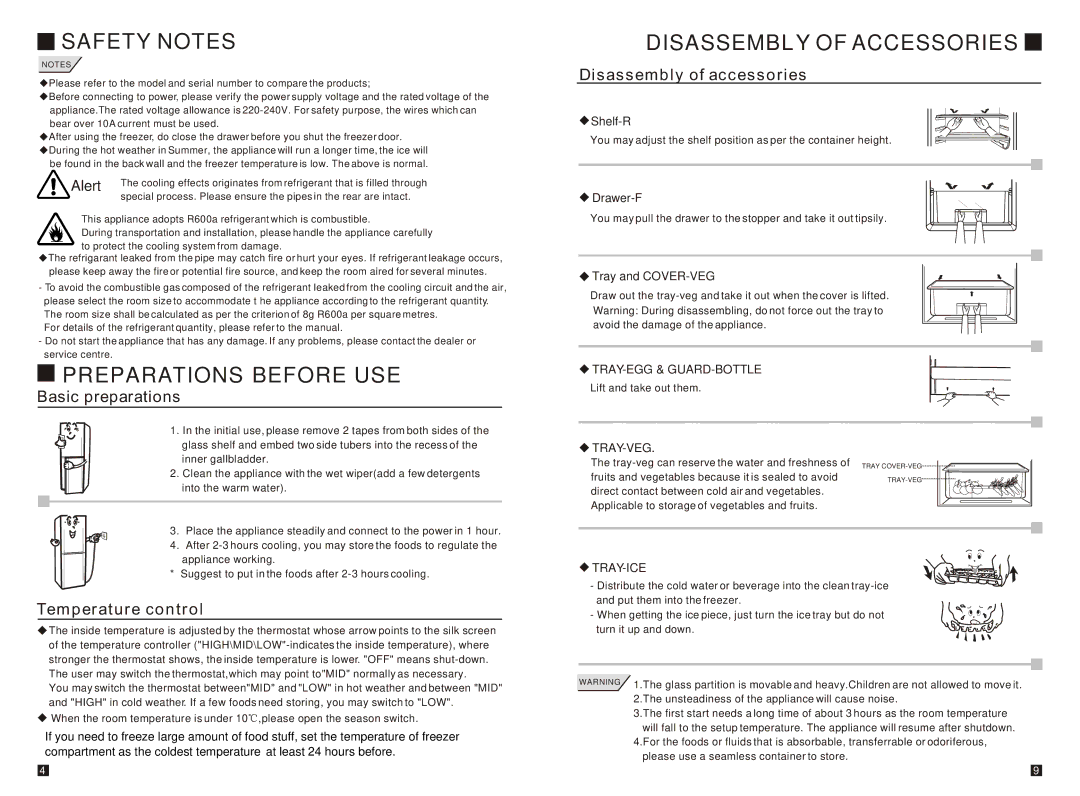
 SAFETY NOTES
NOTES
![]() Please refer to the model and serial number to compare the products;
Please refer to the model and serial number to compare the products;
![]() Before connecting to power, please verify the power supply voltage and the rated voltage of the
Before connecting to power, please verify the power supply voltage and the rated voltage of the
appliance.The rated voltage allowance is
![]() After using the freezer, do close the drawer before you shut the freezer door.
After using the freezer, do close the drawer before you shut the freezer door. ![]() During the hot weather in Summer, the appliance will run a longer time, the ice will
During the hot weather in Summer, the appliance will run a longer time, the ice will
be found in the back wall and the freezer temperature is low. The above is normal. | ||
Alert | The cooling effects originates from refrigerant that is filled through | |
special process. Please ensure the pipes in the rear are intact. | ||
| ||
This appliance adopts R600a refrigerant which is combustible.
During transportation and installation, please handle the appliance carefully to protect the cooling system from damage.
![]() The refrigarant leaked from the pipe may catch fire or hurt your eyes. If refrigerant leakage occurs, please keep away the fire or potential fire source, and keep the room aired for several minutes.
The refrigarant leaked from the pipe may catch fire or hurt your eyes. If refrigerant leakage occurs, please keep away the fire or potential fire source, and keep the room aired for several minutes.
-To avoid the combustible gas composed of the refrigerant leaked from the cooling circuit and the air, please select the room size to accommodate t he appliance according to the refrigerant quantity. The room size shall be calculated as per the criterion of 8g R600a per square metres.
For details of the refrigerant quantity, please refer to the manual.
-Do not start the appliance that has any damage. If any problems, please contact the dealer or service centre.
 PREPARATIONS BEFORE USE
Basic preparations
1. In the initial use, please remove 2 tapes from both sides of the
glass shelf and embed two side tubers into the recess of the inner gallbladder.
2.Clean the appliance with the wet wiper(add a few detergents into the warm water).
3. Place the appliance steadily and connect to the power in 1 hour.
4. After
* Suggest to put in the foods after
Temperature control
![]() The inside temperature is adjusted by the thermostat whose arrow points to the silk screen of the temperature controller
The inside temperature is adjusted by the thermostat whose arrow points to the silk screen of the temperature controller
You may switch the thermostat between"MID" and "LOW" in hot weather and between "MID" and "HIGH" in cold weather. If a few foods need storing, you may switch to "LOW".
When the room temperature is under 10![]() ,please open the season switch.
,please open the season switch.
If you need to freeze large amount of food stuff, set the temperature of freezer compartment as the coldest temperature at least 24 hours before.
DISASSEMBLY OF ACCESSORIES 
Disassembly of accessories
![]()
You may adjust the shelf position as per the container height.
![]()
You may pull the drawer to the stopper and take it out tipsily.
 Tray and
 COVER-VEG
Draw out the
![]()
Lift and take out them.
|
|
The | TRAY |
fruits and vegetables because it is sealed to avoid | |
direct contact between cold air and vegetables. |
|
Applicable to storage of vegetables and fruits. |
|

TRAY-ICE
- Distribute the cold water or beverage into the clean
- When getting the ice piece, just turn the ice tray but do not turn it up and down.
WARNING 1.The glass partition is movable and heavy.Children are not allowed to move it. 2.The unsteadiness of the appliance will cause noise.
3.The first start needs a long time of about 3 hours as the room temperature will fall to the setup temperature. The appliance will resume after shutdown.
4.For the foods or fluids that is absorbable, transferrable or odoriferous, please use a seamless container to store.
4 | 9 |
