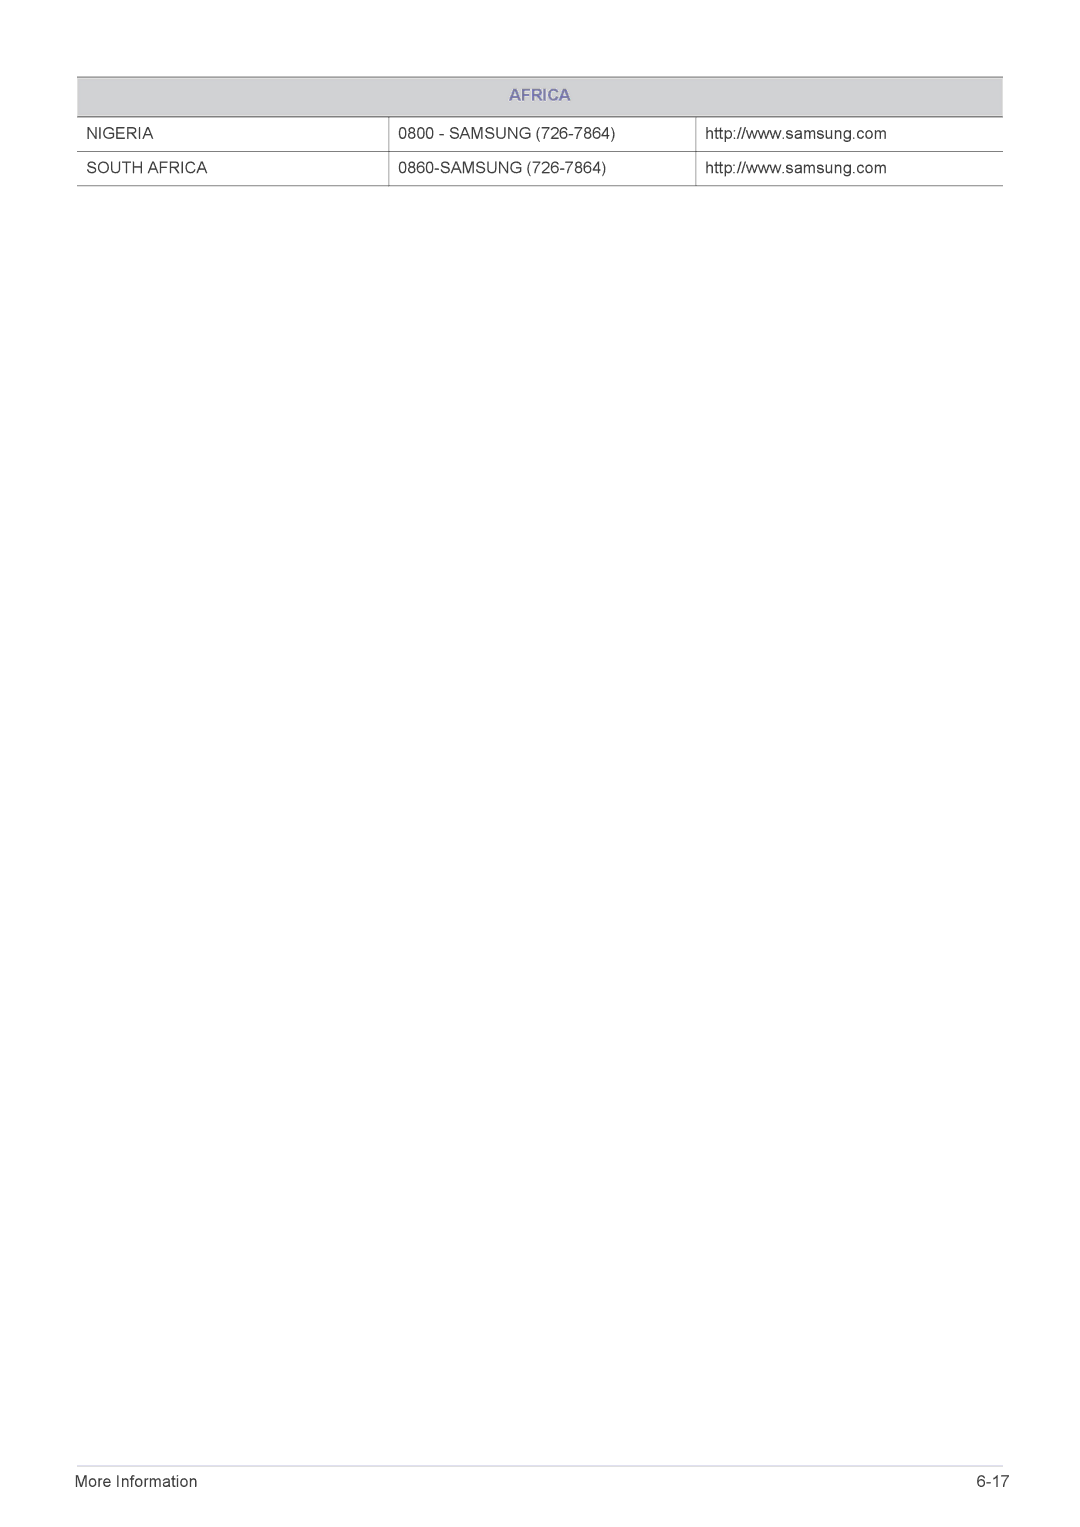
Manuals
/
Samsung
/
Computer Equipment
/
Computer Monitor
Samsung
S20A300N, S24A300BL, S23A300B Nigeria, Samsung, South Africa, More Information, 6-17
Models:
S24A300BL
S19A300B
S22A300B
S23A300B
S20A300N
S19A300N
S20A300B
S24A300B
1
68
69
69
Download
69 pages
43.99 Kb
62
63
64
65
66
67
68
69
<
>
Troubleshooting
Specifications
Install
Connecting with a PC
Setup&Reset
and contrast and can set up the adjustment function assigned to the
Disassembly is in the reverse order of the assembly
Avoid lifting up or move the product by holding only the power cord or signal cable
Using the Screen Adjustment Menu OSD On Screen Display
Setting the Optimal Resolution
Page 68
Image 68
AFRICA
NIGERIA
0800 - SAMSUNG
(726-7864)
http://www.samsung.com
SOUTH AFRICA
0860-SAMSUNG
(726-7864)
http://www.samsung.com
More Information
6-17
Page 67
Page 69
Page 68
Image 68
Page 67
Page 69
Contents
without prior notice to improve the performance
Monitor
User Manual
Table Of Contents
MAJOR SAFETY PRECAUTIONS
INSTALLING THE PRODUCT
USING THE PRODUCT
Specifications Power Saving Function Specifications
Power Saving Function Specifications Power Saving Function
Specifications Power Saving Function Contact SAMSUNG WORLDWIDE
Correct Disposal of This Product
1 Major Safety Precautions
Using this Manual
1-1 Before You Start
Icons used in this manual
1-2 Custody and Maintenance
External Surface and Screen Maintenance
Securing the Installation Space
The appearance and the color may differ depending on the model
Precautions for Storage
1-3 Cleaning the Monitor
Cleaning the Monitor
1-4 Safety Precautions
Icons used for safety precautions
Power Related
Meaning of Signs
Installation Related
Usage Related
Avoid lifting up or move the product by holding only the power cord or signal cable
Maintaining the Correct Posture when Using this Product
2 Installing the Product
2-1 Package Contents
Contents
Monitor
2-2 Installing the Stand
Avoid lifting the product holding only the stand
Disassembly is in the reverse order of the assembly
Installing the Product
2-3 Connecting with a PC
The connecting part may differ depending on the product model
The input voltage is switched automatically
Installing the Product
To lock the product, follow these steps
2-4 Kensington Lock
You must purchase the Kensington Lock separately
3 Using the product
3-1 Setting the Optimal Resolution
To set the resolution to the optimal resolution
In the Settings tab, set the resolution to the optimal resolution
3-2 Standard Signal Mode Table
DISPLAY MODE
HORIZONTAL
VERTICAL
3-3 Standard Signal Mode Table
DISPLAY MODE
HORIZONTAL
VERTICAL
3-4 Standard Signal Mode Table
DISPLAY MODE
HORIZONTAL
VERTICAL
3-5 Standard Signal Mode Table
DISPLAY MODE
HORIZONTAL
VERTICAL
3-6 Standard Signal Mode Table
DISPLAY MODE
HORIZONTAL
VERTICAL
PIXEL CLOCK MHZ
3-7 Standard Signal Mode Table
DISPLAY MODE
HORIZONTAL
VERTICAL
PIXEL CLOCK MHZ
3-8 Standard Signal Mode Table
DISPLAY MODE
HORIZONTAL
VERTICAL
PIXEL CLOCK MHZ
3-9 Standard Signal Mode Table
DISPLAY MODE
HORIZONTAL
VERTICAL
PIXEL CLOCK MHZ
3-10 Installing the Device Driver
3-11 Product Operating Buttons
Product Operating Buttons
and contrast and can set up the adjustment function assigned to the
To go to the menu, press the button on the front of the monitor again
ICON
DESCRIPTION
This function is only available in Analog mode
The buttons on the right of the product are touch-type buttons
3-12 Using the Screen Adjustment Menu OSD On Screen Display
PICTURE
Top Menus
Sub Menus
This menu is unavailable when Angle or Eco Saving is set
Menu
Description
This menu is unavailable when
Set to Off when viewing directly in front of the screen
Menu
Description
This menu is unavailable when
COLOR
Cool 2 - Sets the color temperature of the screen to very cool
Cool 1- Sets the color temperature of the screen to cool
Warm 1 - Sets the color temperature of the screen to warm
SIZE & POSITION
A signal not in the standard mode table is not supported
Menu
Description
SETUP&RESET
Menu
Description
functions of the PC
INFORMATION
Menu
Description
Not applicable to analog D-SUB-or-digital DVI-dedicated models
4-1 Natural Color
4 Installing the Software
What is Natural Color ?
What is MagicTune?
Installing the Software
Restrictions and Problems with the Installation MagicTune
4-2 MagicTune
4. Click Change or Remove Programs to remove the software
What is MultiScreen ?
Restrictions and Problems with the Installation MultiScreen
4-3 MultiScreen
Installing the Software
5 Troubleshooting
5-1 Monitor Self-Diagnosis
5-2 Before Requesting Service
The on screen adjustment menu OSD does not appear
A blank screen appears / I cannot turn the product on
THE IMAGE IS TOO LIGHT OR TOO DARK
The pictures are out-of-focus
A “beep, beep” sound is heard when booting the computer
The display area suddenly moves to an edge or to the center
PLEASE TRY THE FOLLOWING
Specifications
More Information
USA only
MODEL NAME
6-2 Power Saving Function
POWER SAVING MODE
POWER OFF
STATE
Specifications
USA only
MODEL NAME
S19A300B
6-4 Power Saving Function
POWER SAVING MODE
POWER OFF
STATE
Specifications
USA only
MODEL NAME
S20A300B
6-6 Power Saving Function
POWER SAVING MODE
POWER OFF
STATE
Specifications
USA only
MODEL NAME
S20A300N
6-8 Power Saving Function
POWER SAVING MODE
POWER OFF
STATE
Specifications
USA only
MODEL NAME
S22A300B
6-10 Power Saving Function
POWER SAVING MODE
POWER OFF
STATE
6-11 Specifications
USA only
MODEL NAME
S23A300B
6-12 Power Saving Function
POWER SAVING MODE
POWER OFF
STATE
6-13 Specifications
USA only
MODEL NAME
S24A300B
6-14 Power Saving Function
POWER SAVING MODE
POWER OFF
STATE
6-15 Specifications
USA only
MODEL NAME
S24A300BL
6-16 Power Saving Function
POWER SAVING MODE
POWER OFF
STATE
6-17 Contact SAMSUNG WORLDWIDE
NORTH AMERICA
LATIN AMERICA
EUROPE
EUROPE
ASIA PACIFIC
MIDDLE EAST
AFRICA
NIGERIA
0800 - SAMSUNG
SOUTH AFRICA
6-18 Correct Disposal of This Product
Waste Electrical & Electronic Equipment - Europe only