SMT-190N, SMT-171P, SMT-190P, SMT-171N specifications
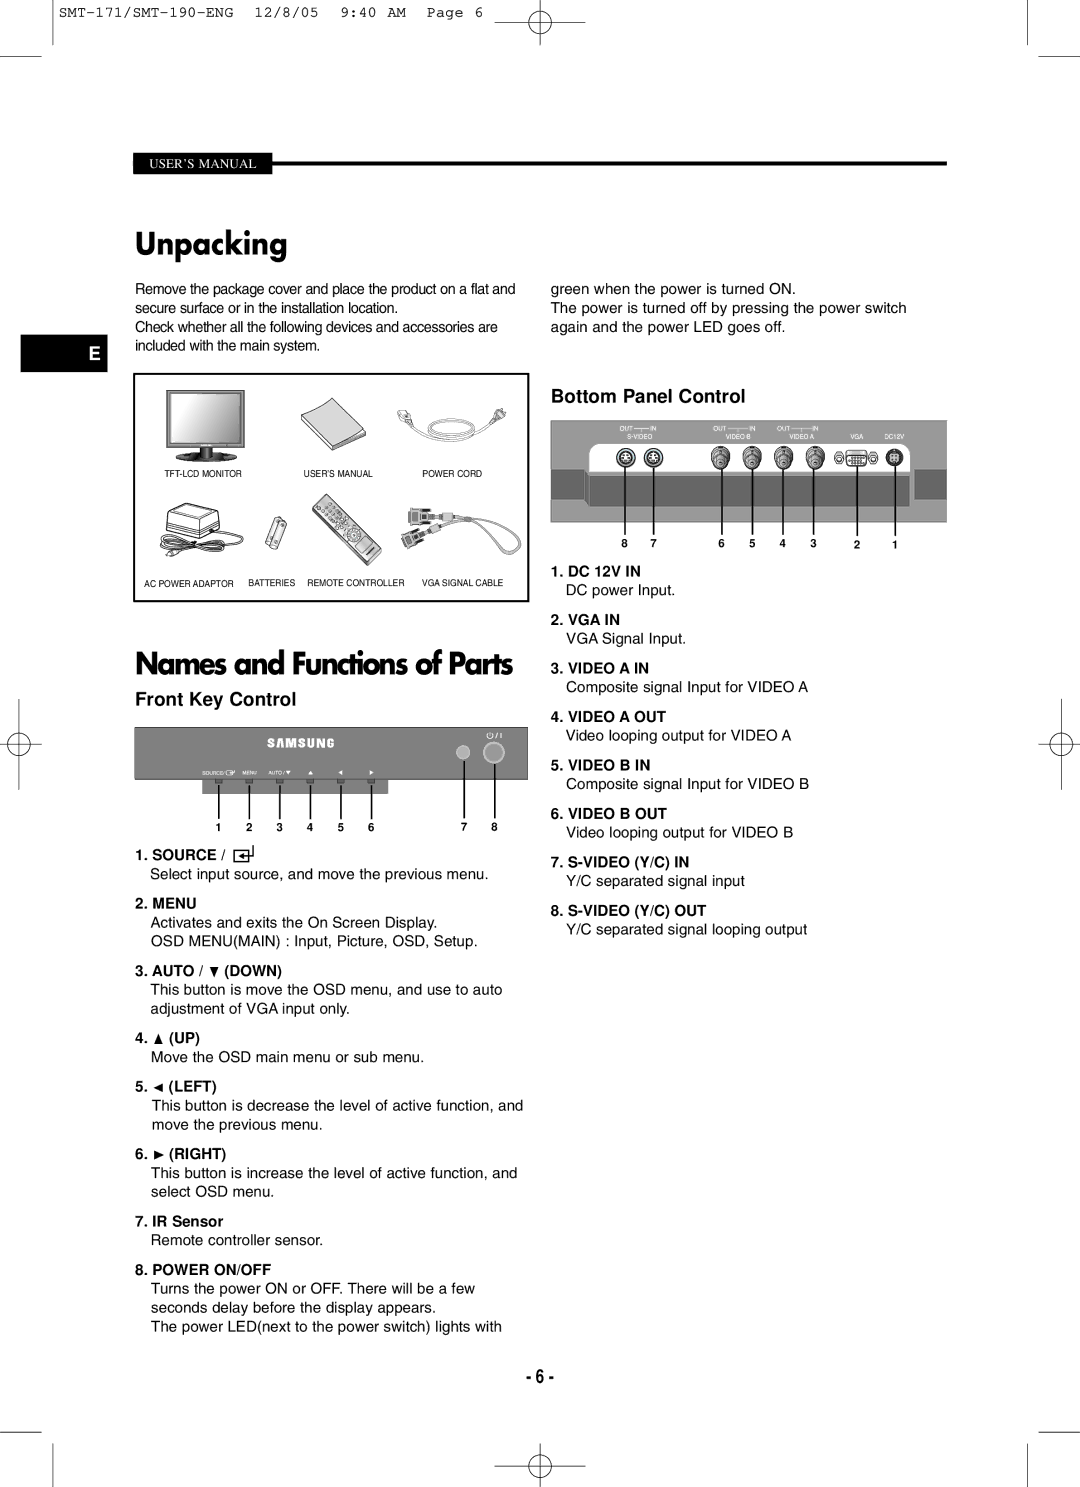
The Samsung SMT-171N, SMT-190P, SMT-171P, and SMT-190N are part of Samsung's innovative line of digital signage monitors, designed to cater to a variety of commercial applications. These displays are engineered to deliver vibrant visuals, high durability, and versatility, making them suitable for retail, corporate, and public spaces.One of the key features of the SMT-171N is its 17-inch size, providing a compact yet effective solution for environments where space is at a premium. It boasts a high-resolution display that ensures sharp images and text clarity, crucial for capturing the attention of passersby. The SMT-171N focuses on easy integration, supporting multiple connectivity options including HDMI and VGA, allowing seamless connection to various media sources.
On the other hand, the SMT-190P offers a larger 19-inch screen, perfect for applications requiring more visual impact. This model leverages advanced LED backlighting technology, which not only enhances brightness but also improves energy efficiency, reducing operational costs. The SMT-190P's touch-screen capabilities open new avenues for interactivity, enabling businesses to engage customers in a dynamic way.
Similar to the SMT-190P, the SMT-171P features a 17-inch display but stands out with its sleek design and robust build quality, ensuring longevity in challenging environments. This model is ideal for touch-based applications, featuring an intuitive touch interface that facilitates user engagement, making it suitable for kiosks or information points.
Finally, the SMT-190N is a larger 19-inch model that prioritizes connectivity and usability, designed not just for displaying information but for delivering an interactive user experience. With its multi-touch support, this model empowers users to easily navigate through content, providing an engaging platform for advertisements and information dissemination.
All four models incorporate Samsung's high-quality panel technology, delivering excellent color accuracy and viewing angles. Their construction prioritizes reliability, ensuring that they can withstand extended use in demanding environments. With features like HDMI and VGA inputs, as well as USB ports for easy content updates, these digital signage solutions are versatile enough to meet a broad range of commercial needs.
In conclusion, the Samsung SMT-171N, SMT-190P, SMT-171P, and SMT-190N stand out in the digital signage market due to their focus on quality, interactivity, and user engagement, making them ideal choices for businesses looking to enhance their visual communication strategies.

