
T24C550ND specifications
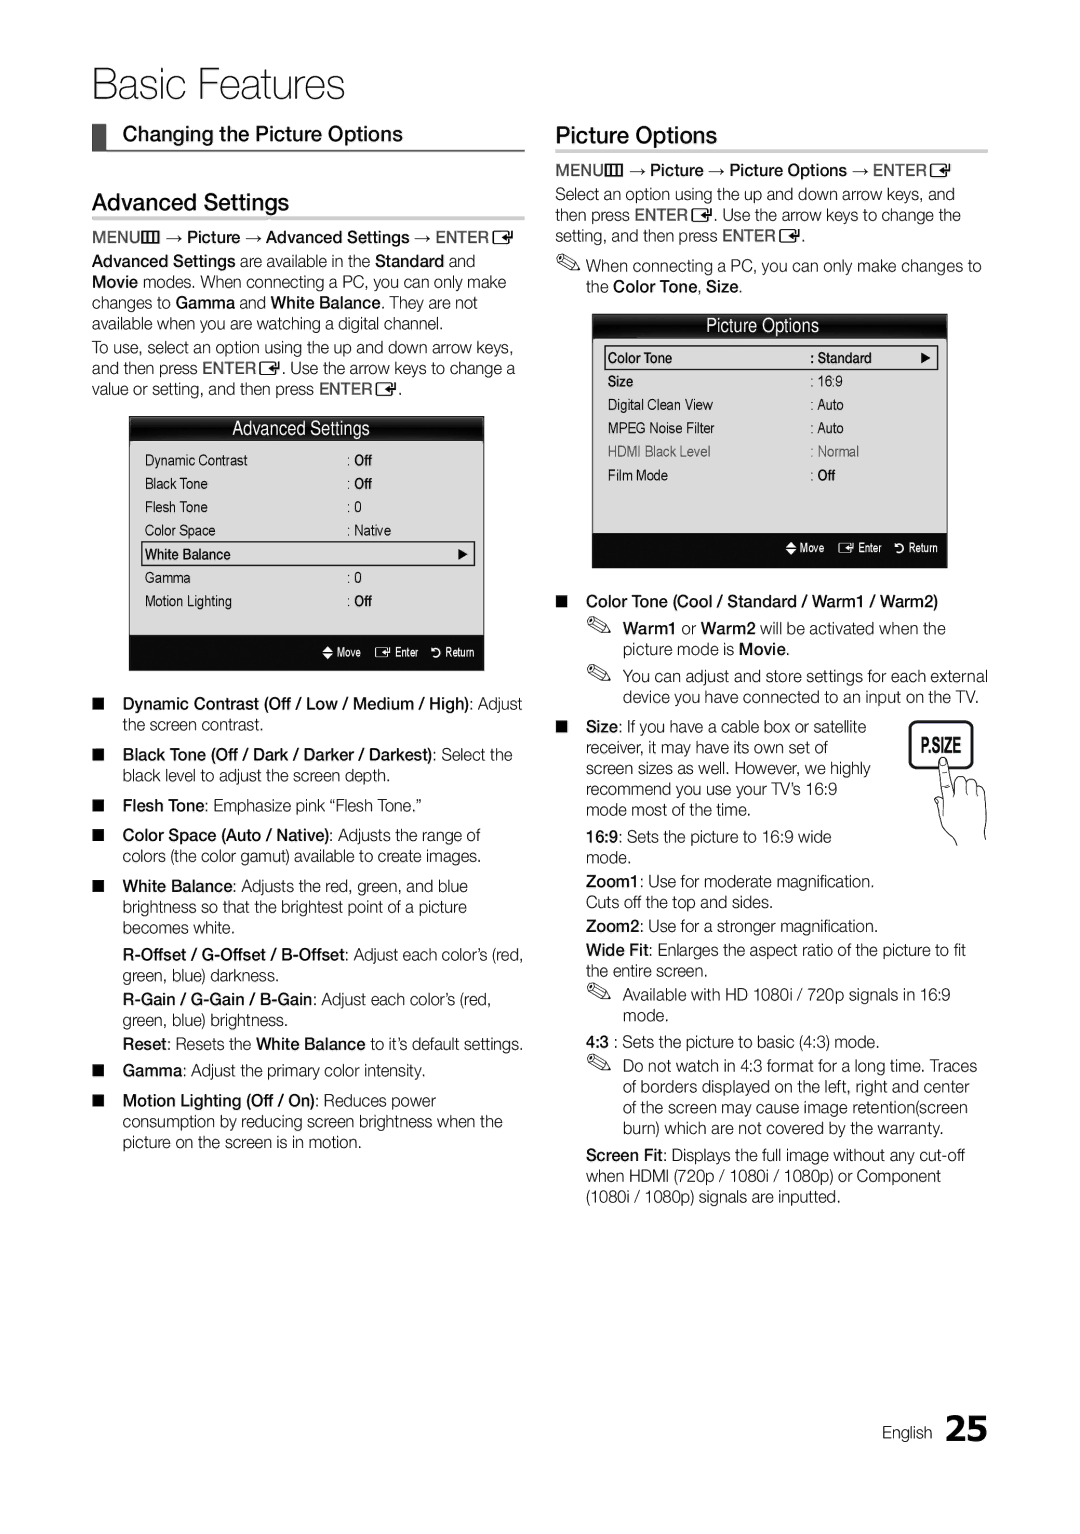
The Samsung T24C550ND is a versatile and stylish 24-inch LED monitor that seamlessly integrates the functionality of a television with the high standards of a computer monitor. It offers a unique blend of features aimed at enhancing user experience, whether for work or entertainment.One of the standout characteristics of the T24C550ND is its Full HD resolution of 1920 x 1080 pixels, which delivers crisp and vibrant images. This resolution is ideal for watching movies, playing video games, or working on graphic design projects. The LED backlighting technology contributes to a brighter screen with excellent color reproduction, ensuring that images appear more vivid and lifelike.
Additionally, the monitor utilizes Samsung's advanced Magic Angle technology, which enables users to enjoy clear and consistent picture quality from various viewing angles. This feature is particularly beneficial in multi-user environments where viewers might be seated at different positions relative to the screen.
The T24C550ND also includes built-in dual speakers, providing an immersive audio experience that complements its stunning visuals. The audio output is sufficient for casual viewing, eliminating the need for external speakers. Furthermore, the monitor is equipped with multiple connectivity options, including HDMI, D-Sub, and USB ports, allowing users to connect a variety of devices such as laptops, gaming consoles, and streaming devices easily.
The monitor’s slim and elegant design makes it a stylish addition to any workspace or living area. Its stand is adjustable, allowing for customizable height setting, which enhances comfort and ergonomics. Moreover, the T24C550ND supports various picture modes, enabling users to optimize the screen settings based on their activity, whether it be gaming, watching movies, or working on documents.
Energy efficiency is another significant aspect, as the T24C550ND comes with features designed to minimize power consumption. This not only helps reduce electricity bills but also contributes to environmentally friendly usage.
In summary, the Samsung T24C550ND is a robust monitor that offers a combination of high-definition display, versatile connectivity, rich audio output, and appealing design, making it an excellent choice for both casual and professional users. Whether for gaming or professional tasks, this monitor stands out in performance and aesthetics.