
UD22B specifications
The Samsung UD22B is a cutting-edge display designed primarily for professional environments, showcasing a blend of advanced technology, superior visual quality, and user-centered design. This model is a part of Samsung's innovative lineup of digital signage solutions, which are engineered to provide impactful displays suited for a variety of commercial applications.One of the standout features of the UD22B is its impressive Ultra HD resolution of 3840 x 2160 pixels. This high pixel density ensures that images and videos are displayed with remarkable clarity and detail, making it ideal for environments where attention to visual content is crucial, such as retail stores, command centers, and presentation areas. The enhanced color accuracy further complements the high resolution, allowing for vivid and lifelike presentations that catch the viewer's eye.
The UD22B also incorporates Samsung’s advanced calibration technology, which ensures consistent color performance across multiple displays in a video wall setup. This feature is vital in environments where multiple screens are used in tandem, as it allows for seamless visuals and minimizes color discrepancies that can detract from the viewer experience.
In addition to its impressive image quality, the UD22B offers a slim and sleek design that enhances its aesthetic appeal while conserving space. The thin bezels generate an almost borderless appearance when multiple units are tiled together, which is perfect for creating immersive video walls that captivate audiences.
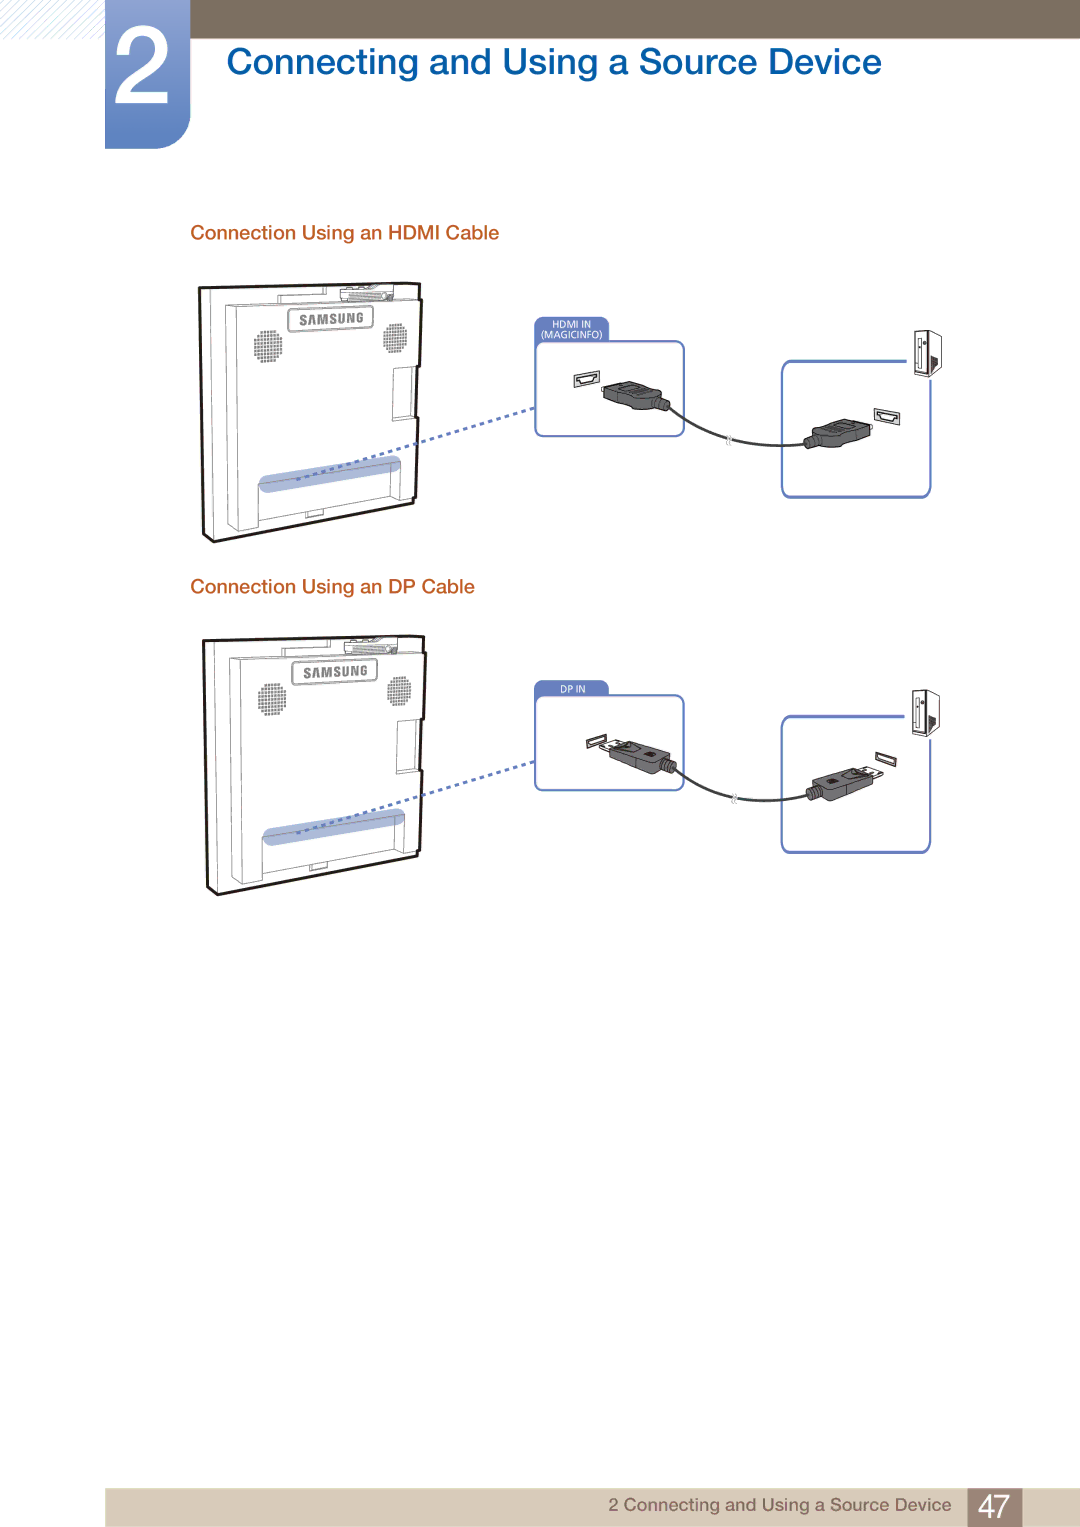
Samsung has equipped the UD22B with versatile connectivity options, including HDMI and DisplayPort, enabling easy integration with various media sources and control systems. The display also supports daisy chaining, which simplifies the connection of multiple screens and streamlines installation.
Another key feature of the UD22B is its durability. Built to withstand continuous operation, this display is designed for long-term use, reducing the need for maintenance and ensuring a reliable performance in bustling commercial environments.
Moreover, the UD22B includes advanced features such as content scheduling and remote management capabilities, allowing users to control and update content from a centralized system. This flexibility is critical for businesses that require dynamic and timely updates to their visual communications.
Overall, the Samsung UD22B stands out as a premium choice for businesses seeking high-quality digital signage solutions. Its combination of superior image quality, durability, and user-friendly features makes it a powerful tool for enhancing communication and engagement in diverse professional settings.