VP-DC165WI/XEV, VP-DC165WI/HAC, VP-DC165WI/UMG, VP-DC165WI/MEA specifications
The Samsung VP-DC165WI is an advanced camcorder that combines cutting-edge technology with user-friendly features, ideal for capturing high-quality videos and precious moments. This model comes in three variants: VP-DC165WI/MEA, VP-DC165WI/UMG, and VP-DC165WI/HAC, each designed to cater to diverse user requirements while maintaining core performance capabilities.One of the standout features of the VP-DC165WI is its impressive video resolution. The camcorder supports high-resolution video recording, allowing users to capture stunning footage with clarity and detail. Its advanced lens system ensures that images are sharp and vibrant, making it suitable for both casual recording and professional videography.
The camcorder is equipped with a 34x optical zoom and a 1200x digital zoom, providing extraordinary flexibility for users to get close-up shots from a distance. This capability is particularly beneficial for nature enthusiasts, event videographers, or anyone needing to capture detailed images without physical proximity.
Another prominent technology featured in the VP-DC165WI is the advanced image stabilization system. This feature reduces the impact of shaky hands and movements, resulting in smoother, more fluid videos. Whether users are walking, running, or filming in dynamic environments, they can be assured that their recordings will look professional-grade.
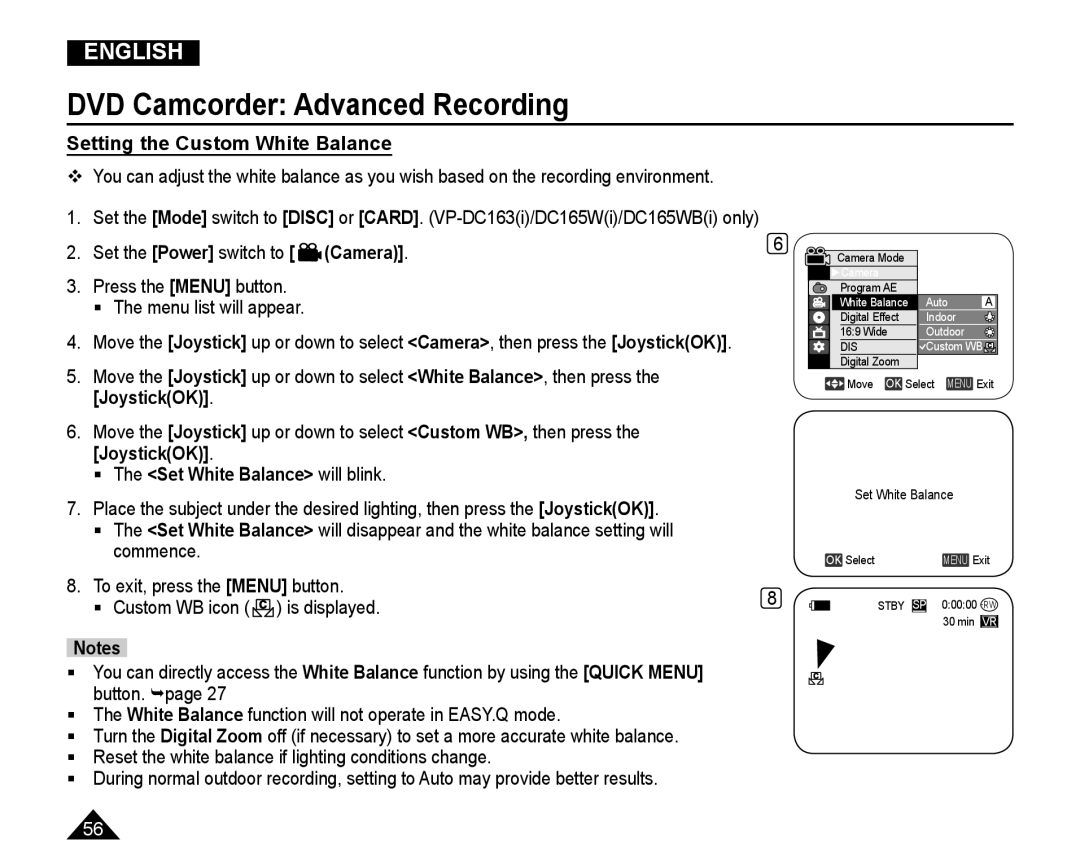
For convenience, the VP-DC165WI models come with a bright 2.7-inch LCD screen. This display enables users to easily frame their shots and monitor their recordings in real-time. Furthermore, the intuitive user interface simplifies navigation through menus and settings, making the camcorder accessible for beginners and experienced videographers alike.
In terms of storage, the VP-DC165WI supports various memory options, including SD cards, which allow for expandable capacity. This feature is particularly useful for extended filming sessions, ensuring that users have ample space to store their recordings.
The camcorder also includes several operational modes and effects, catering to a wide variety of filming scenarios. Whether it’s family gatherings, outdoor adventures, or artistic projects, the VP-DC165WI can adapt to meet the creative aspirations of its users.
In summary, the Samsung VP-DC165WI series offers an excellent combination of advanced features, user-friendly technology, and versatility, making it a compelling choice for anyone looking to enhance their video recording capabilities. With its outstanding optical zoom, effective stabilization, and intuitive interface, this camcorder continues to be a preferred choice for video enthusiasts around the globe.