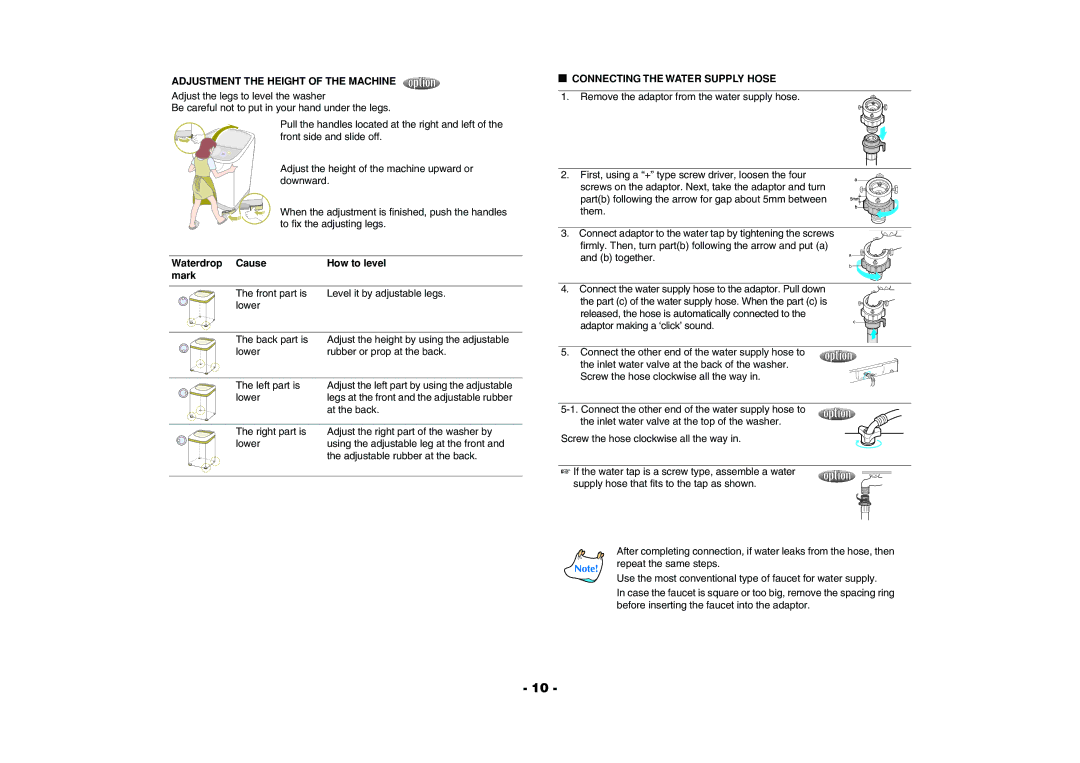
ADJUSTMENT THE HEIGHT OF THE MACHINE
Adjust the legs to level the washer
Be careful not to put in your hand under the legs.
Pull the handles located at the right and left of the front side and slide off.
Adjust the height of the machine upward or downward.
When the adjustment is finished, push the handles to fix the adjusting legs.
Waterdrop Cause | How to level |
mark |
|
The front part is | Level it by adjustable legs. |
lower |
|
The back part is | Adjust the height by using the adjustable |
lower | rubber or prop at the back. |
The left part is | Adjust the left part by using the adjustable |
lower | legs at the front and the adjustable rubber |
| at the back. |
The right part is | Adjust the right part of the washer by |
lower | using the adjustable leg at the front and |
| the adjustable rubber at the back. |
■CONNECTING THE WATER SUPPLY HOSE
1. Remove the adaptor from the water supply hose.
2. | First, using a “+” type screw driver, loosen the four |
|
| screws on the adaptor. Next, take the adaptor and turn |
|
| part(b) following the arrow for gap about 5mm between |
|
| them. |
|
3. | Connect adaptor to the water tap by tightening the screws |
|
| firmly. Then, turn part(b) following the arrow and put (a) |
|
| and (b) together. | a |
| b | |
|
| |
4. | Connect the water supply hose to the adaptor. Pull down |
|
| the part (c) of the water supply hose. When the part (c) is |
|
| released, the hose is automatically connected to the | c |
| adaptor making a ‘click’ sound. | |
|
| |
5. | Connect the other end of the water supply hose to |
|
| the inlet water valve at the back of the washer. |
|
| Screw the hose clockwise all the way in. |
|
Screw the hose clockwise all the way in.
☞ If the water tap is a screw type, assemble a water supply hose that fits to the tap as shown.
After completing connection, if water leaks from the hose, then repeat the same steps.
Use the most conventional type of faucet for water supply.
In case the faucet is square or too big, remove the spacing ring before inserting the faucet into the adaptor.
- 10 -
